
How to Make Fancy Salt Dough Christmas Ornaments
This post may contain affiliate links. For more information, you can read my full disclaimer here.
If you’ve never made your own DIY salt dough Christmas ornaments – this is your sign to give it a try!
In today’s post, I’m going to show you how to make your own DIY salt dough Christmas ornaments. But these aren’t just any old salt dough ornaments – these are fancy salt dough ornaments!
They’re so fancy, they look like they could have been heirloom ornaments, passed down from your fancy Grandma!
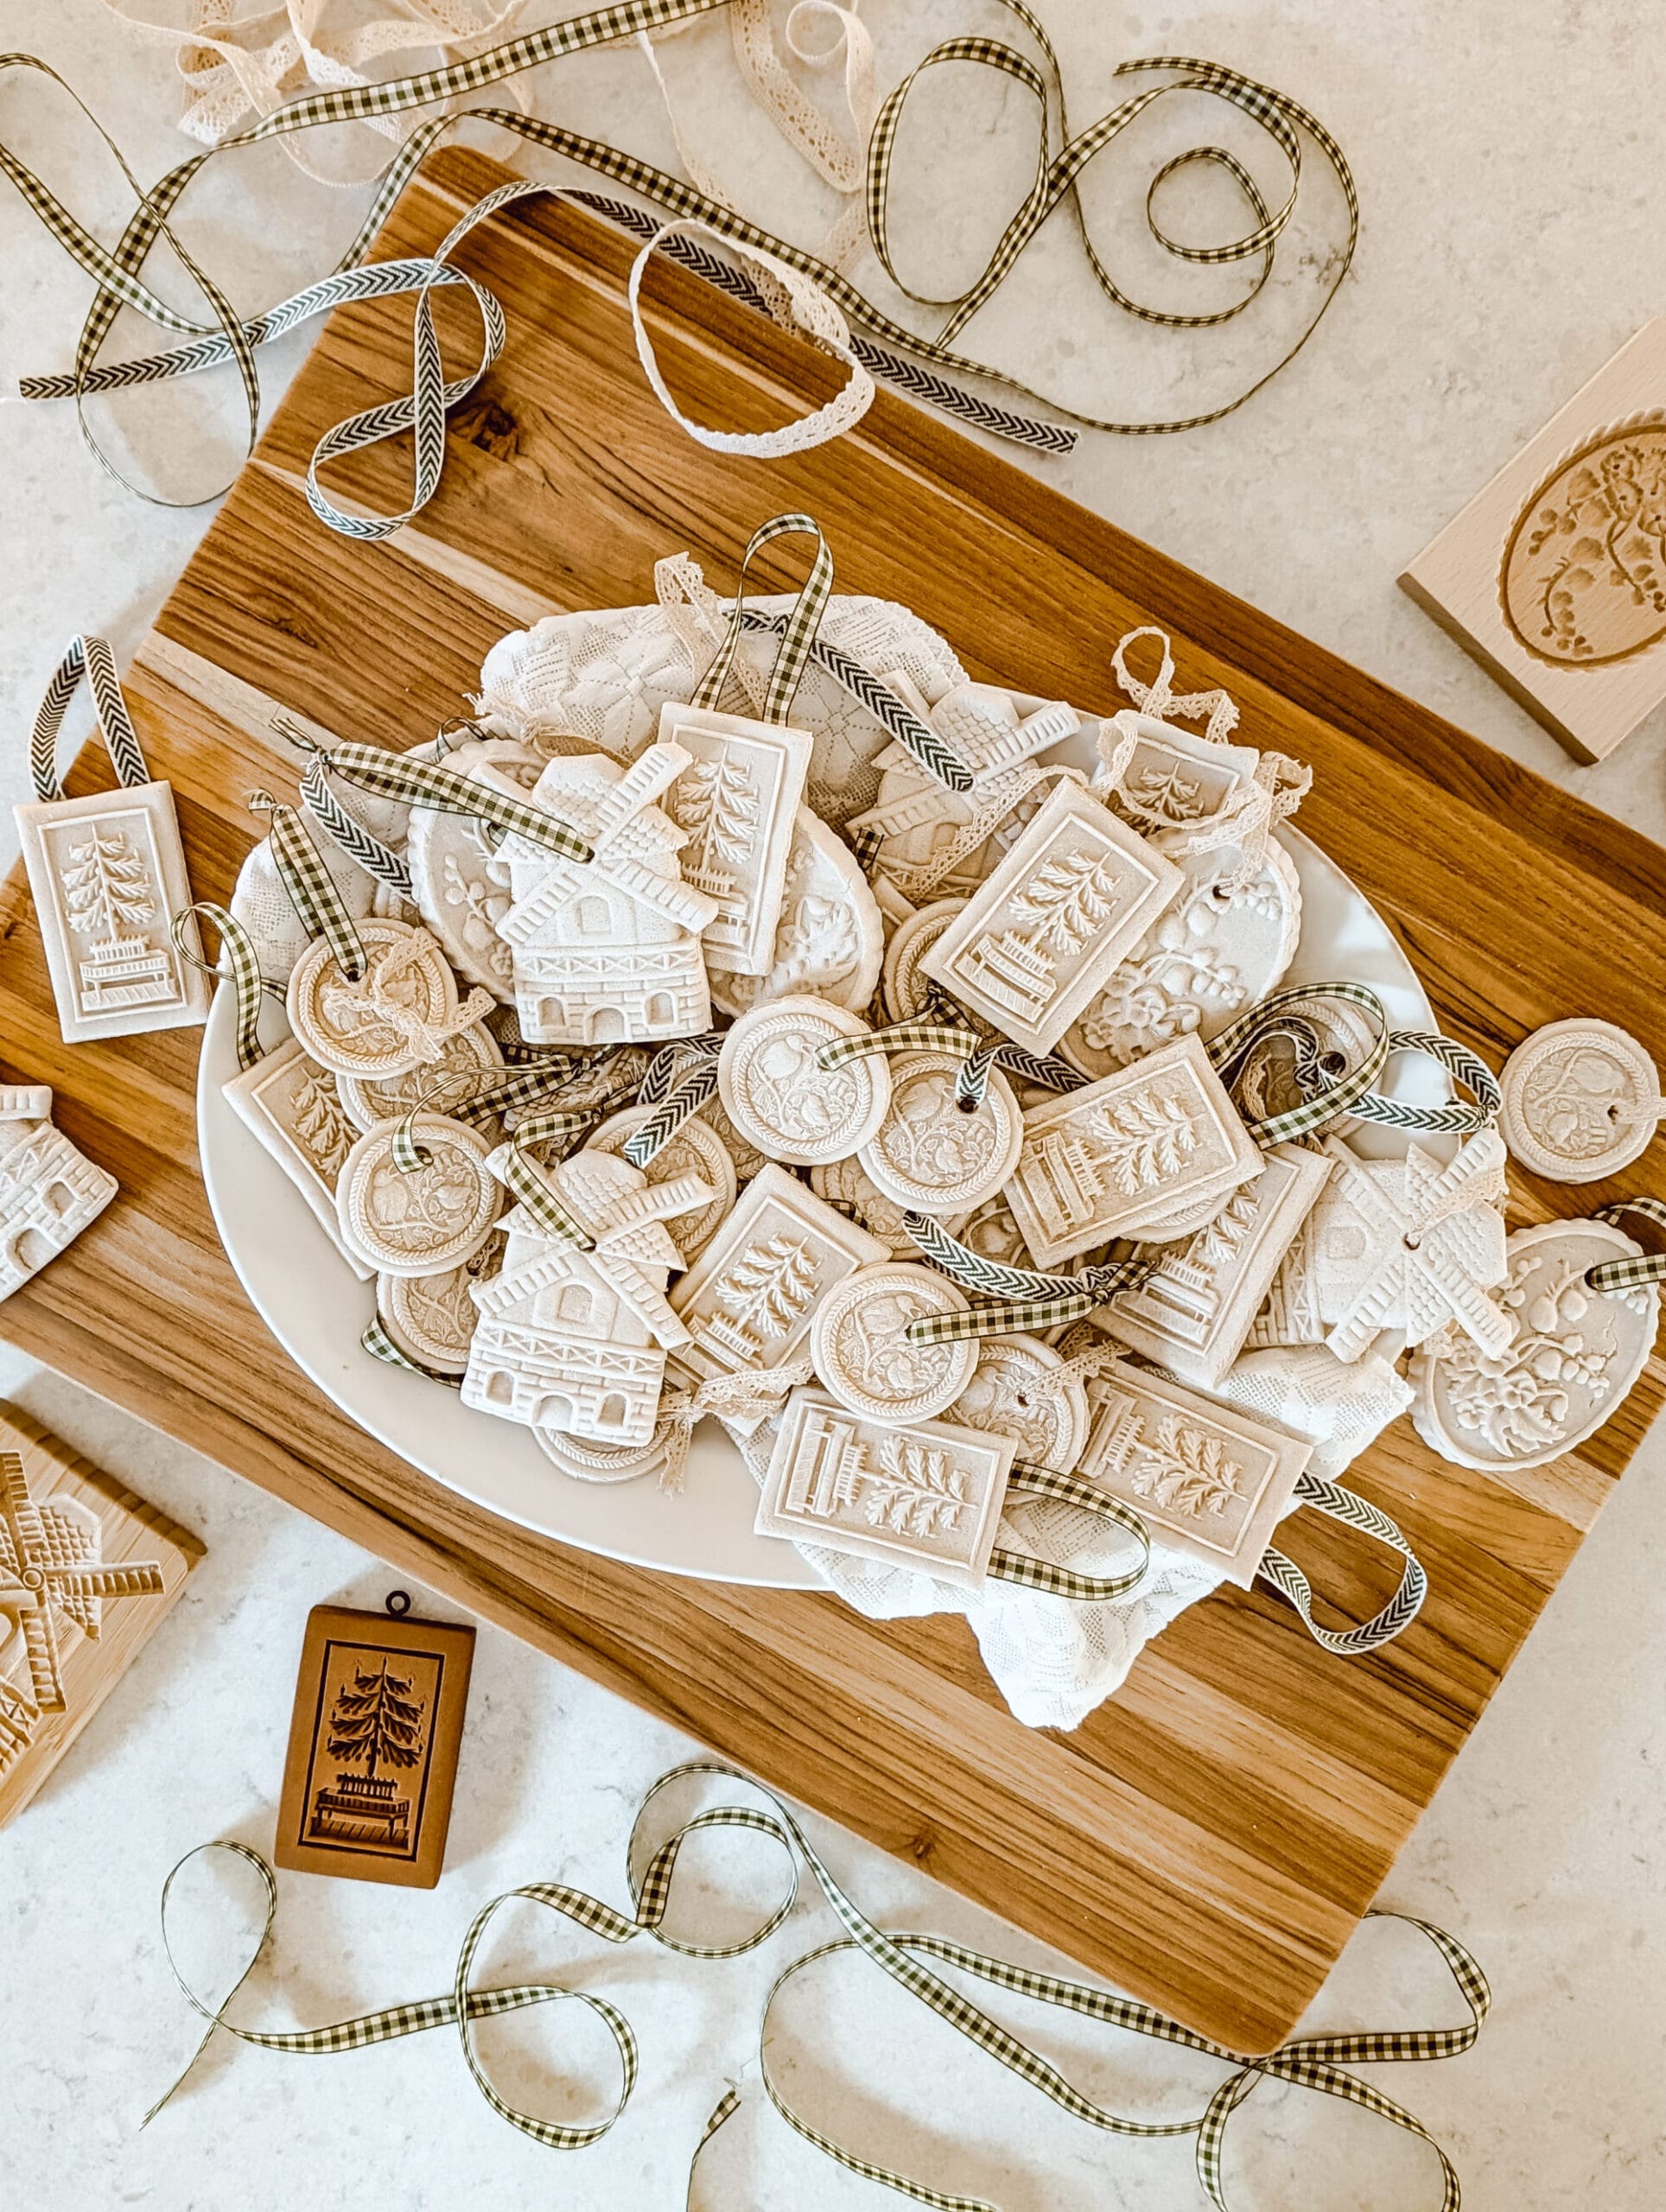
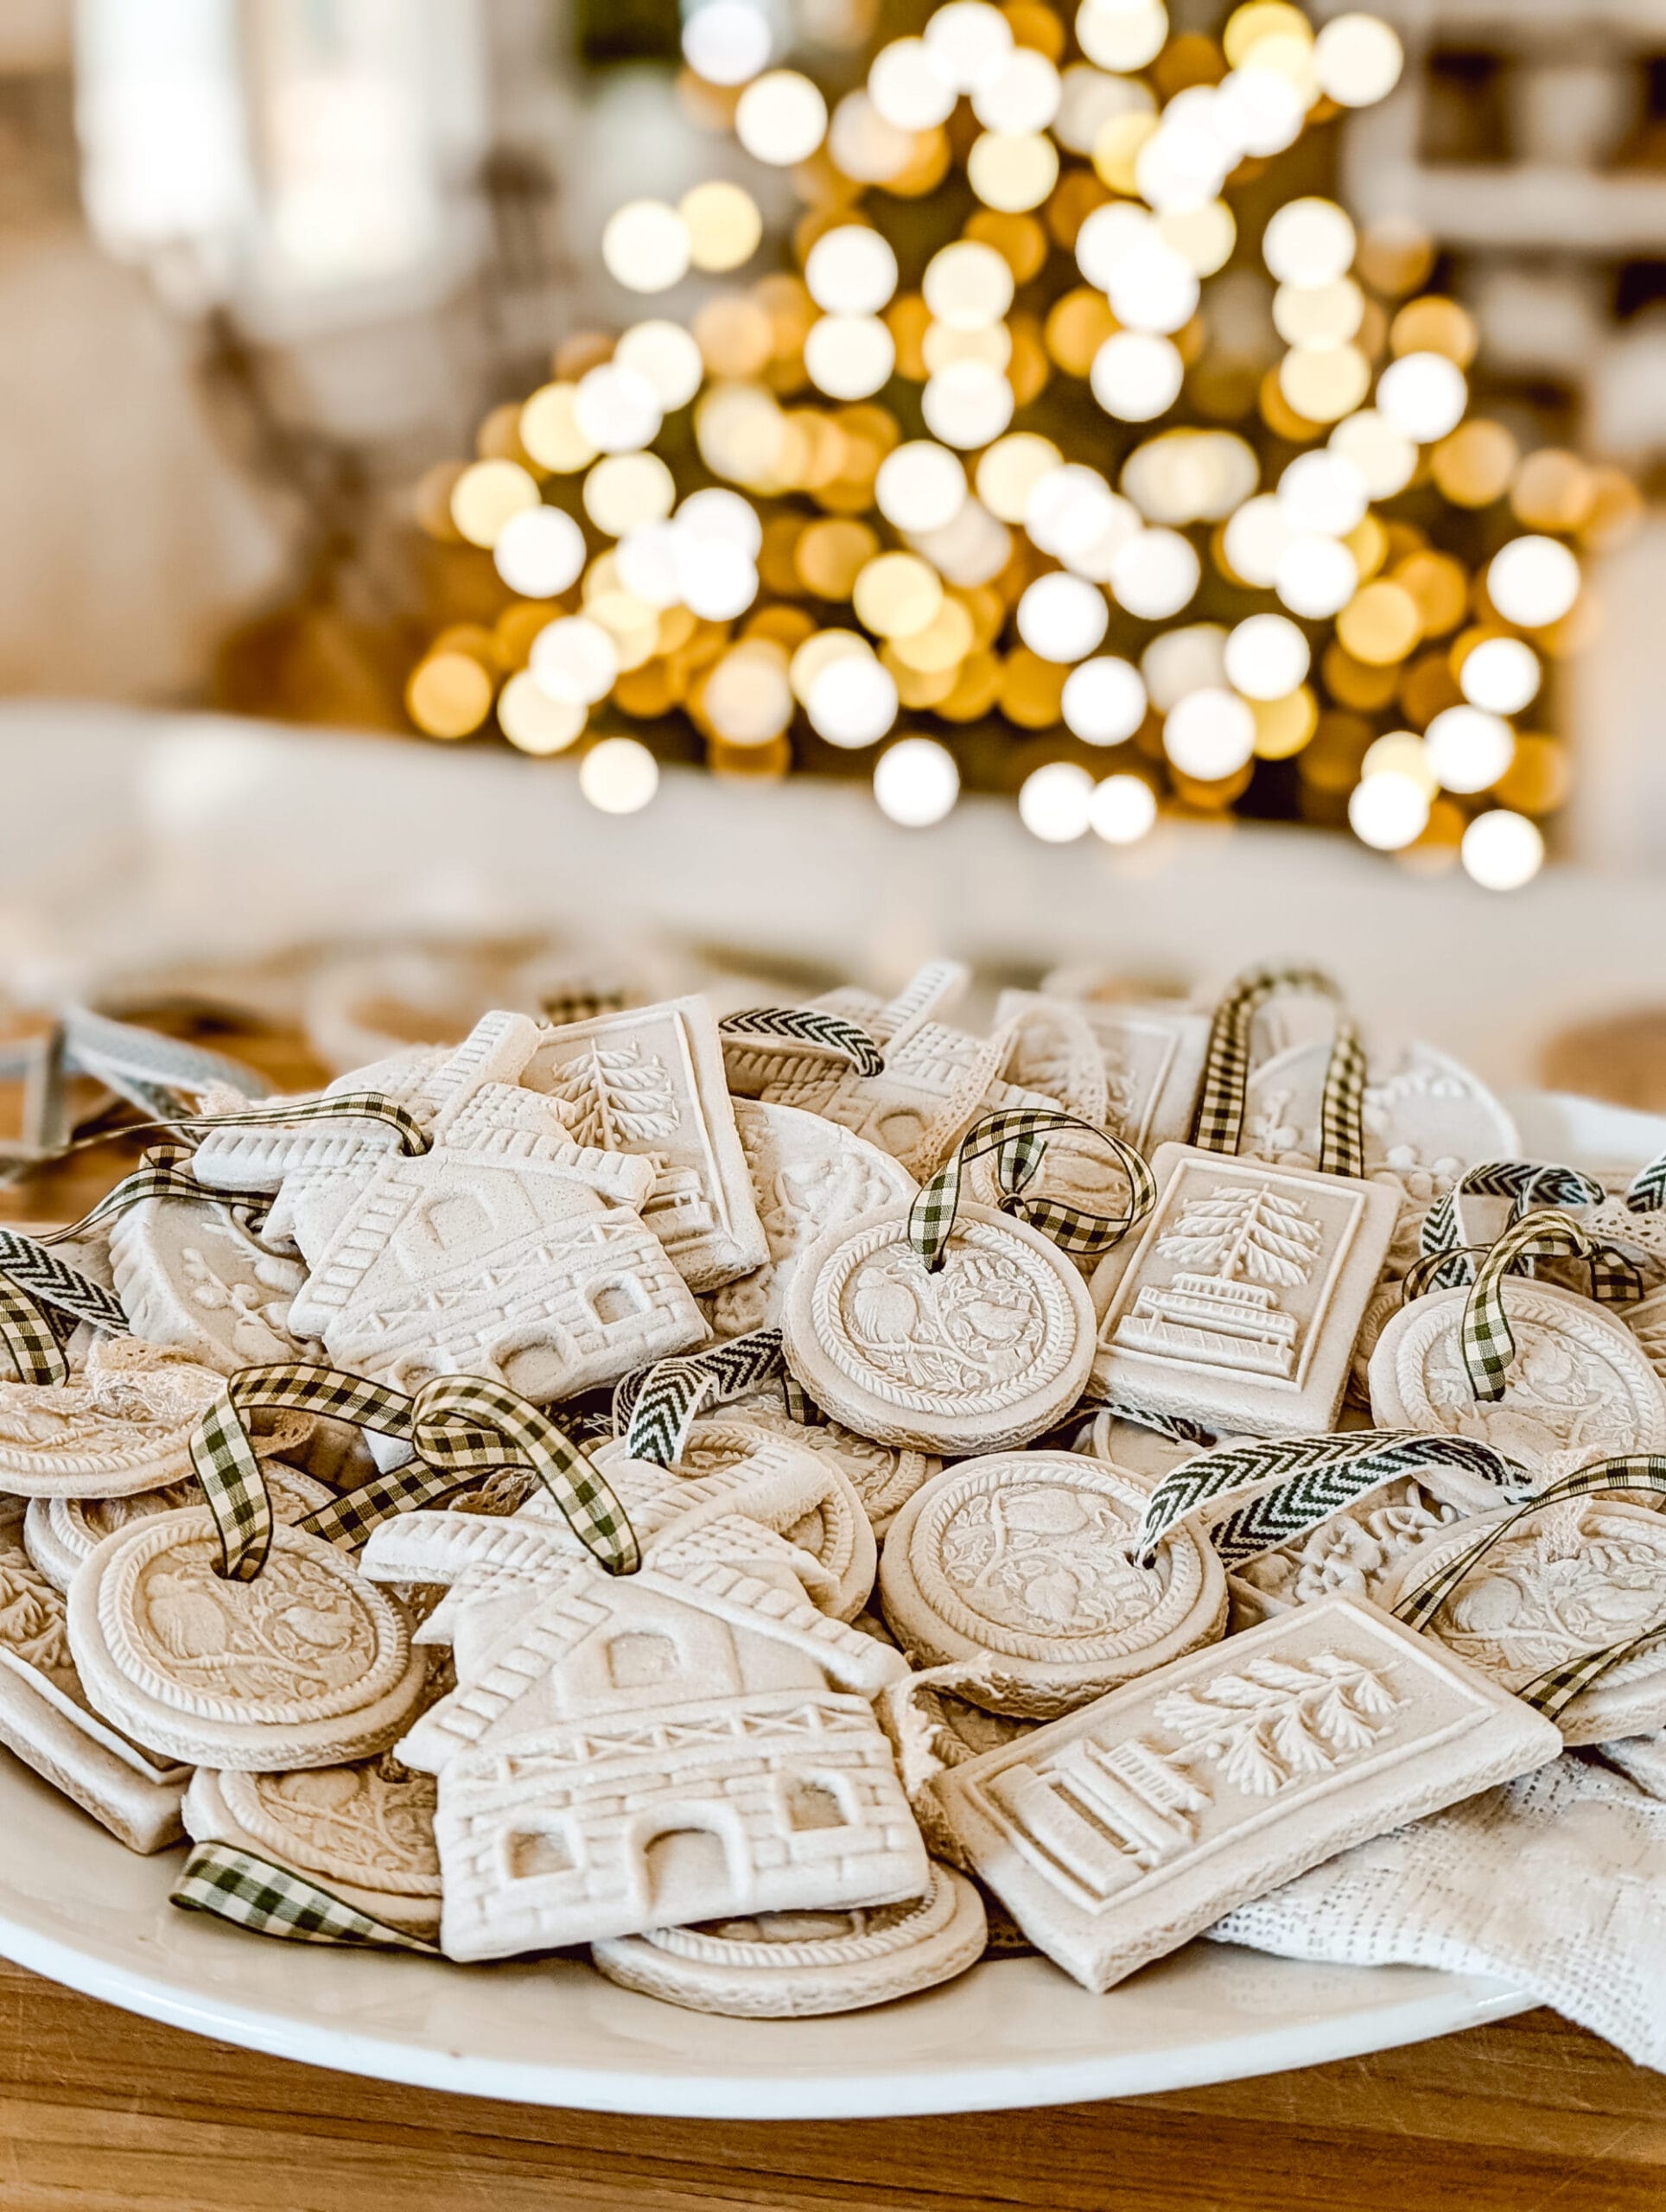
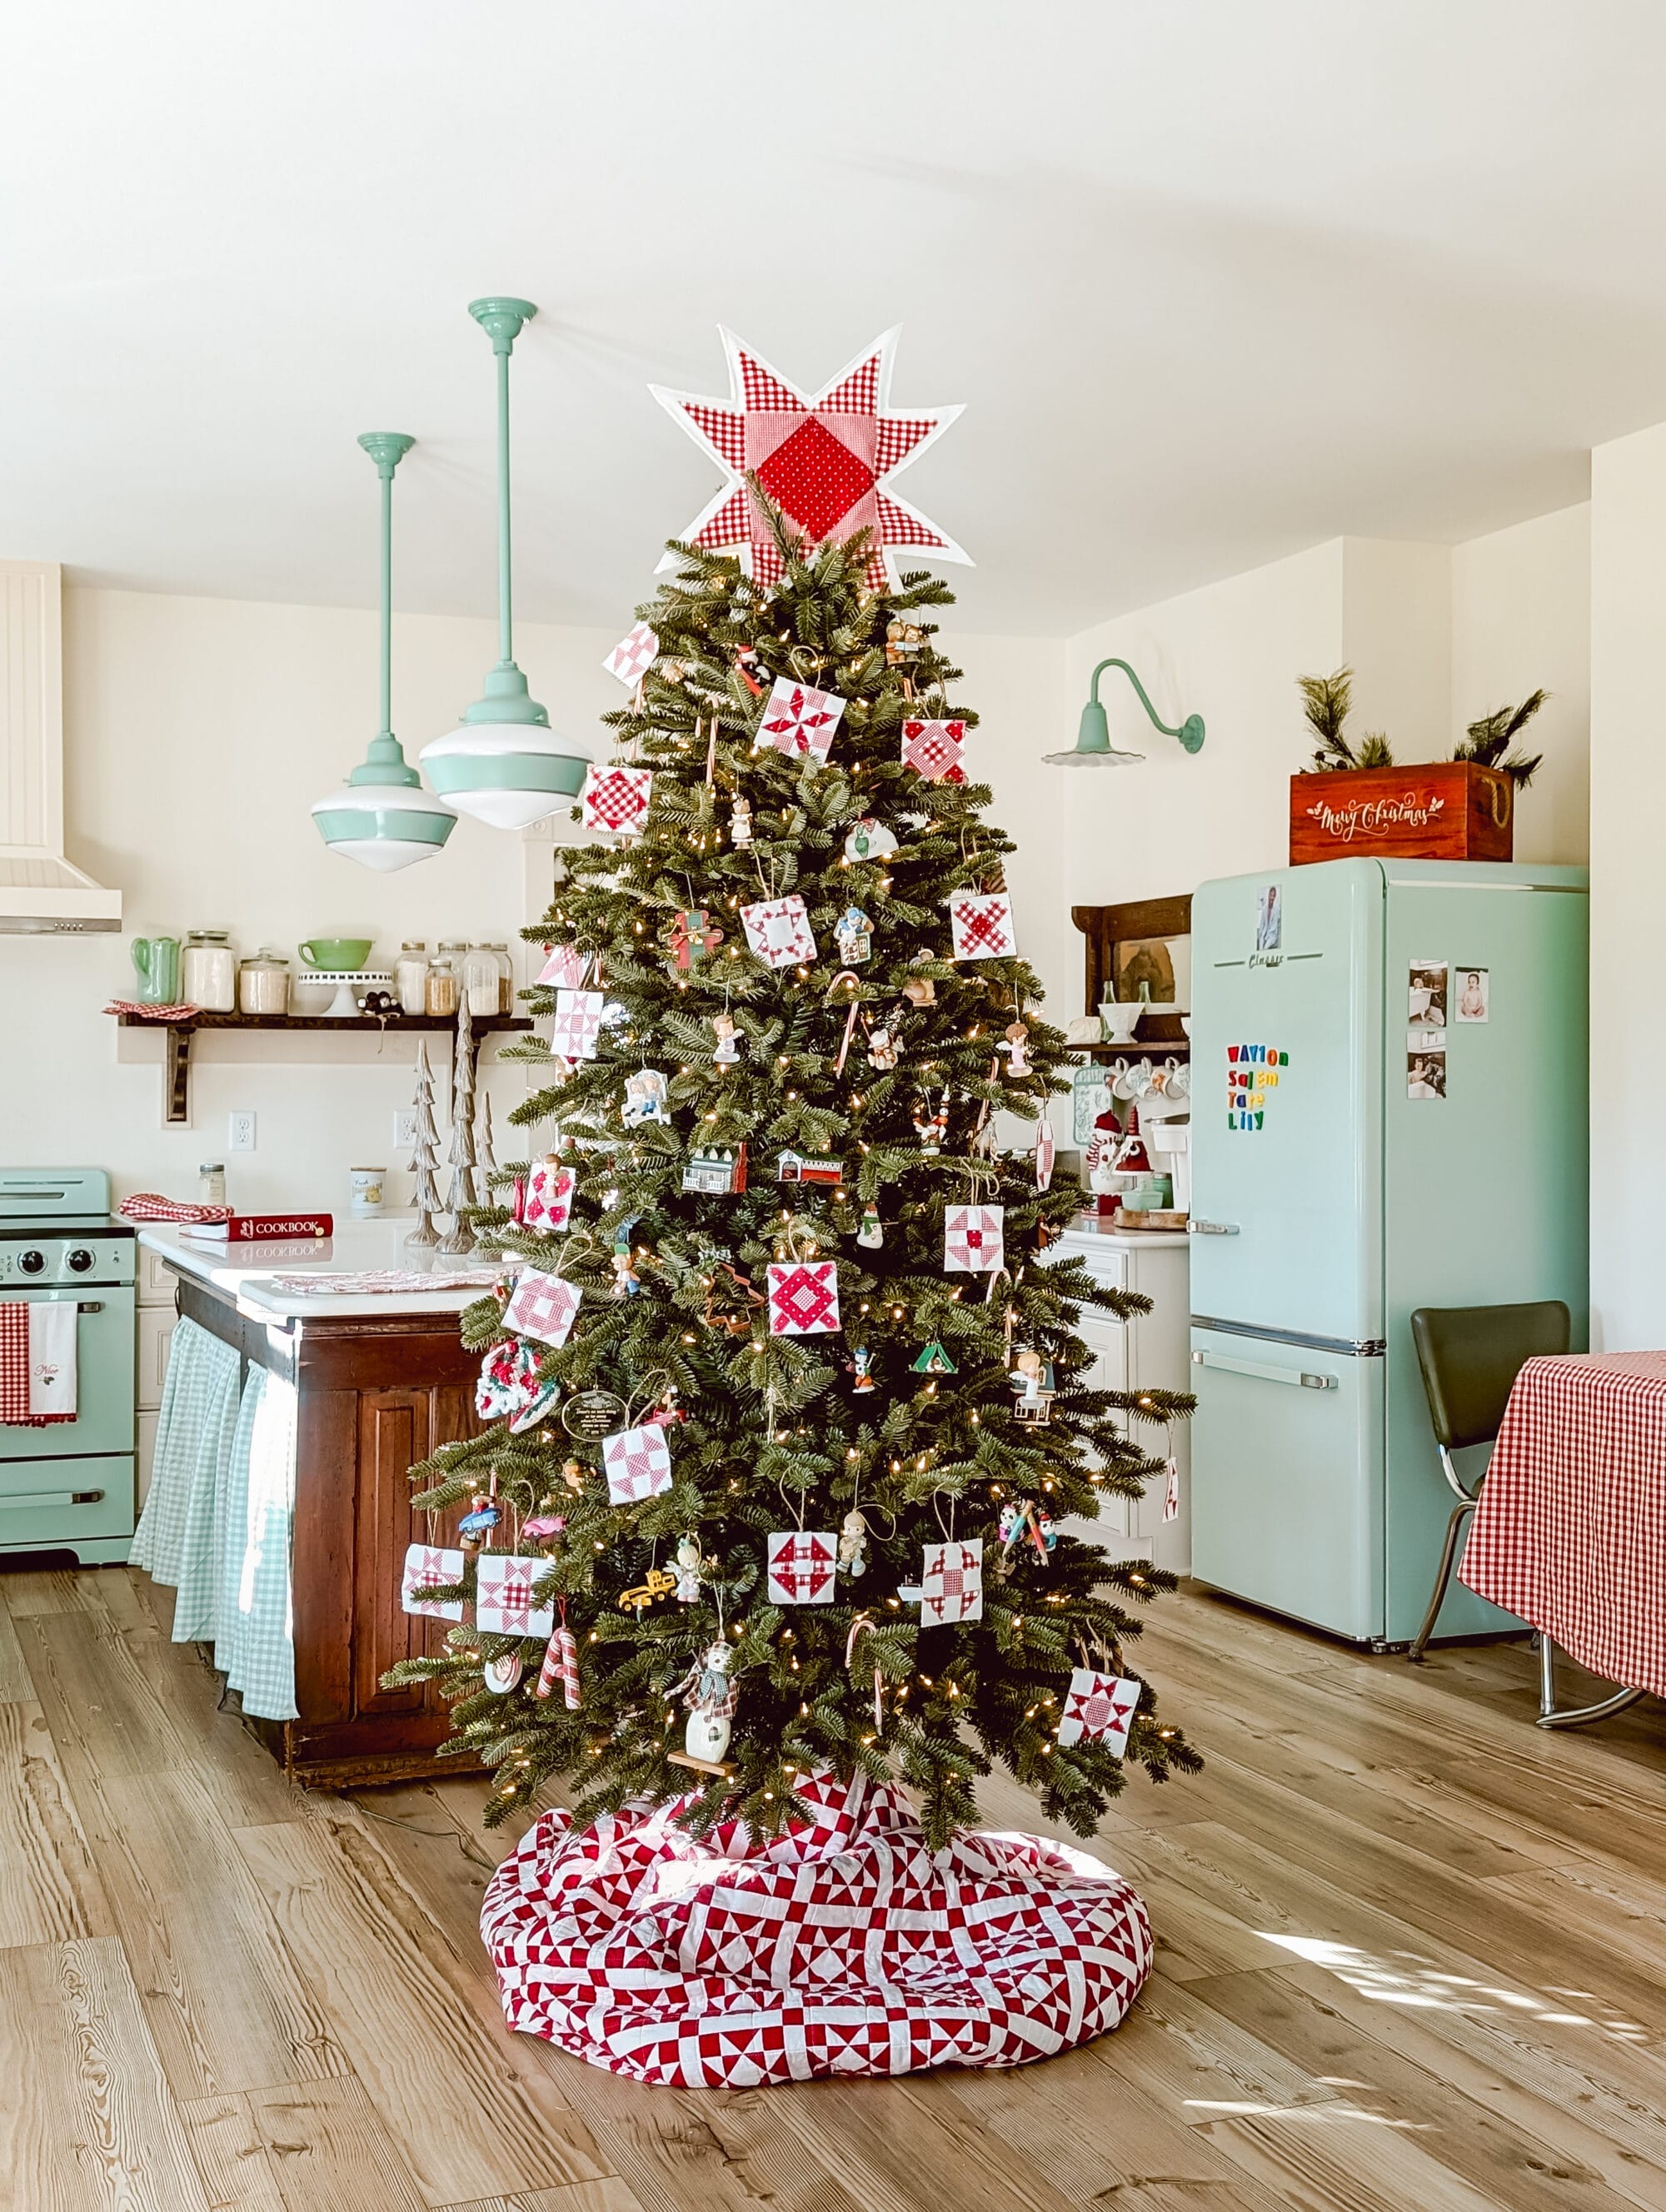
I made a bunch of them to use on our family’s Christmas tree this year… and I’m just in awe of how pretty they are. AND how easy they were to make!
Making salt dough ornaments is such a fun way to put your own personal touch on your Christmas decor!
It’s also an easy Christmas craft project, and one you can do with the kids or with your girlfriends for a festive girls night in activity.
I can’t wait to jump into the DIY so let’s get started…
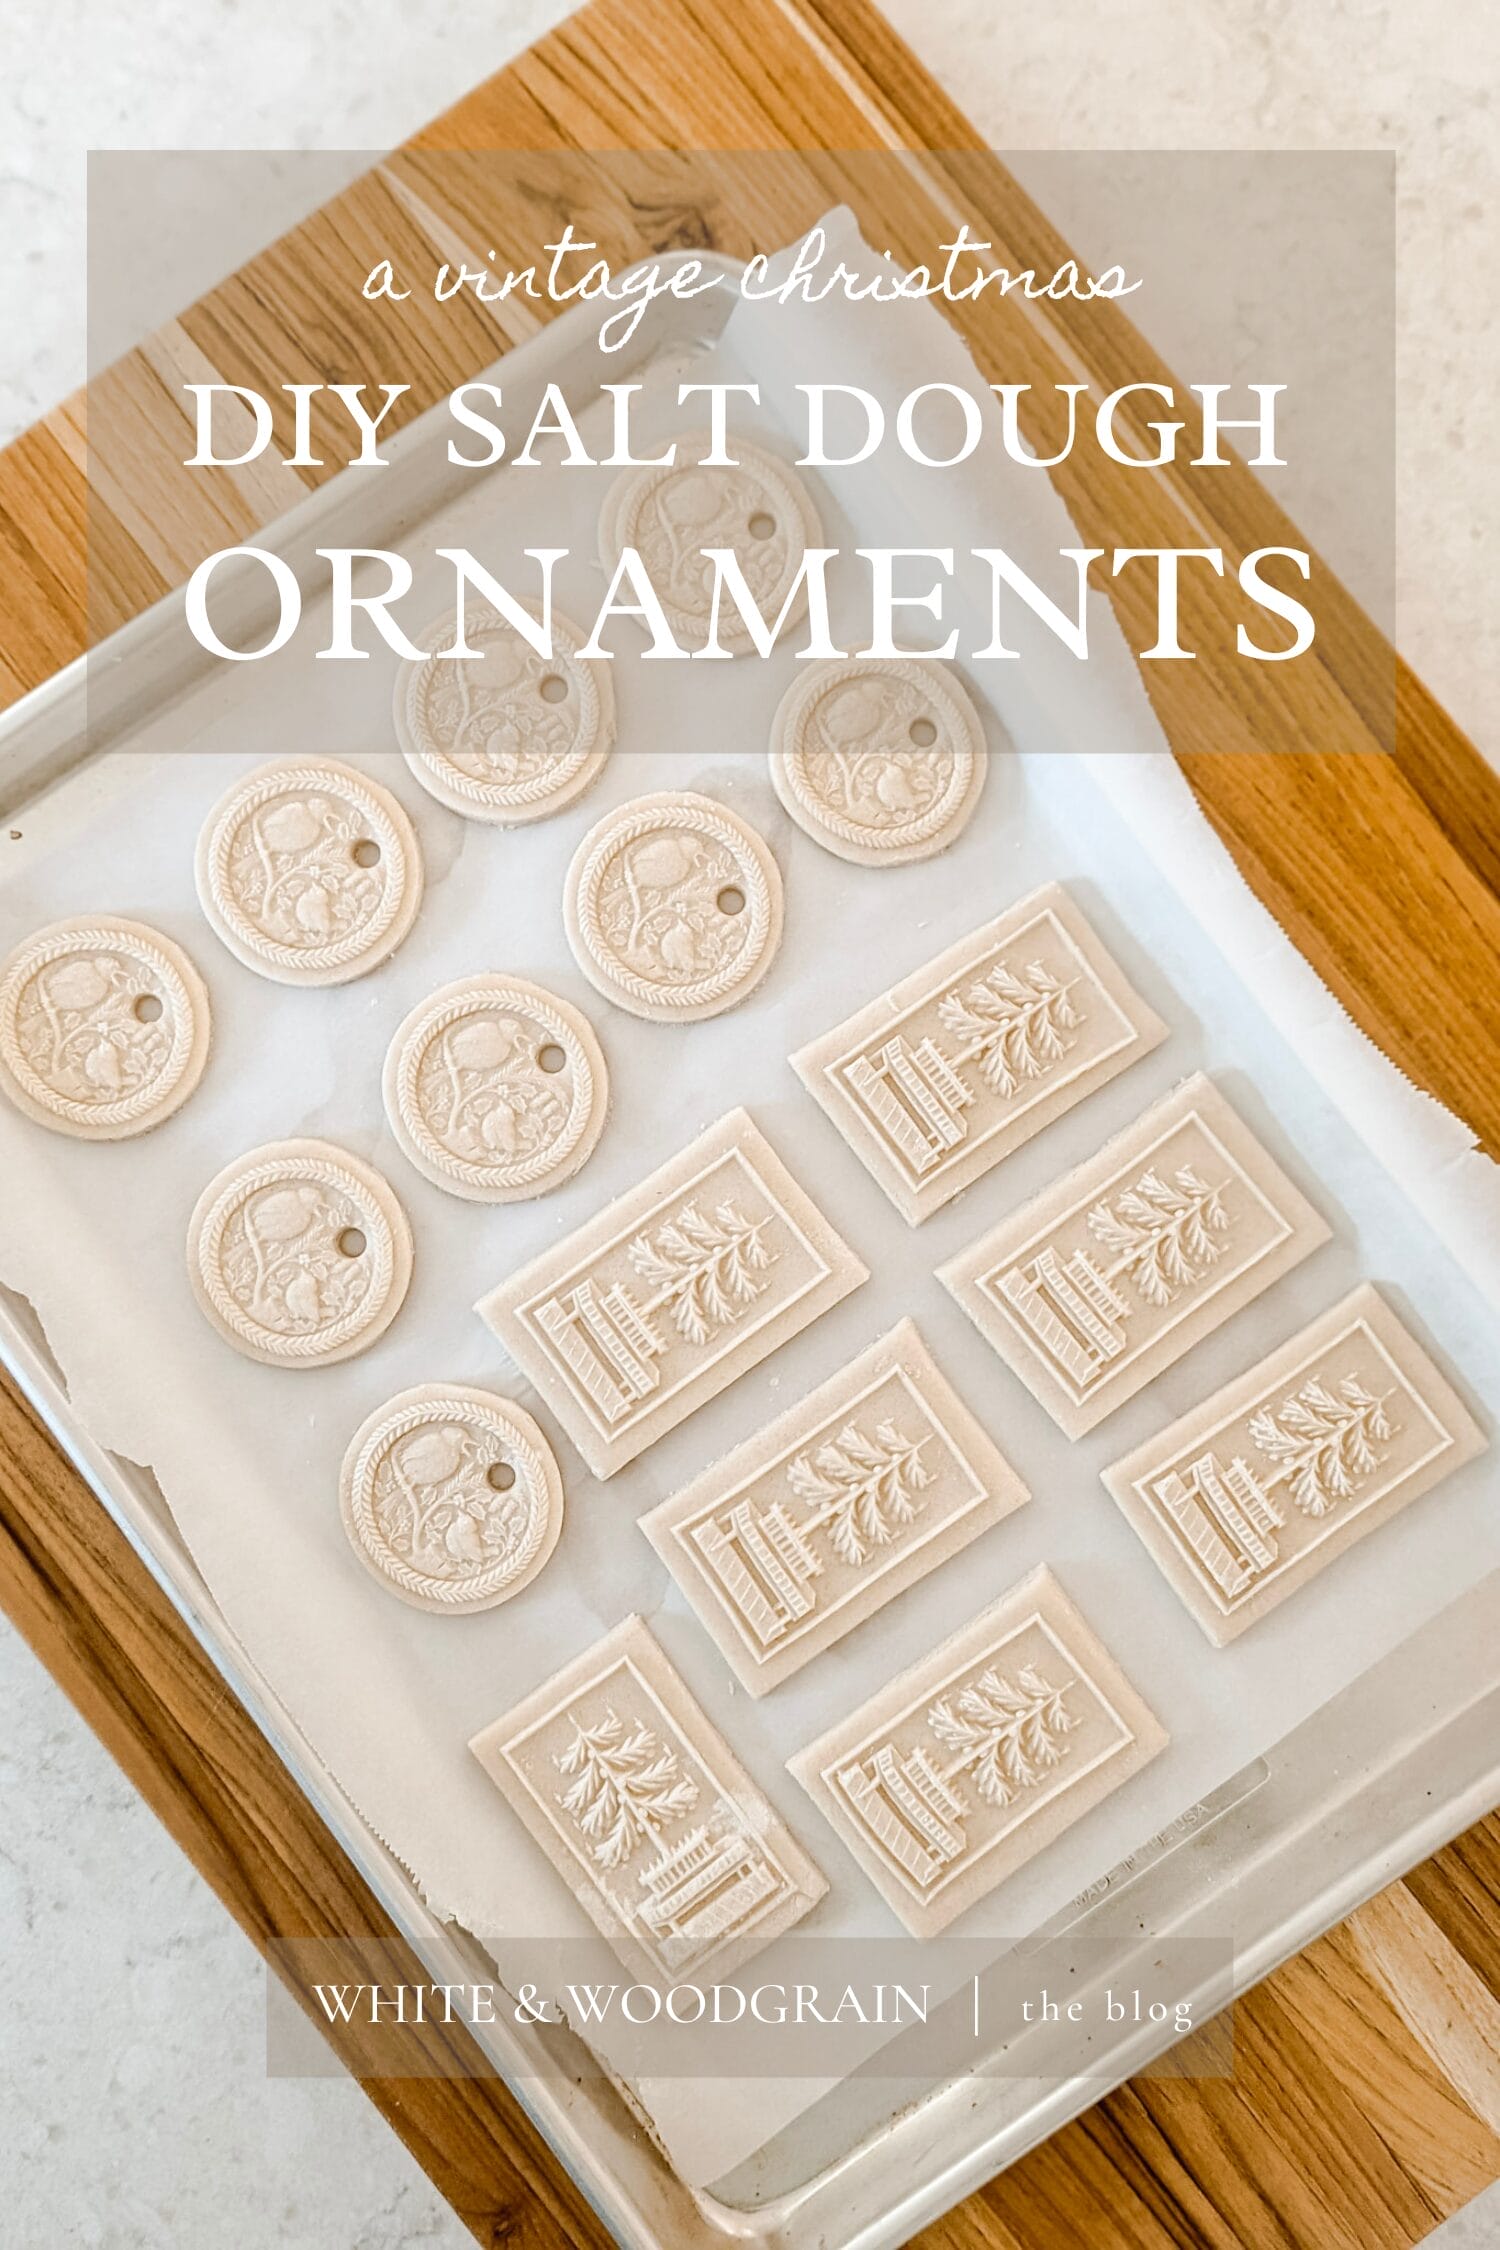
How to Make Fancy Heirloom Style Salt Dough Ornaments
First things first, I want to point out that you can use my salt dough recipe and this tutorial to make any style of salt dough ornaments you like.
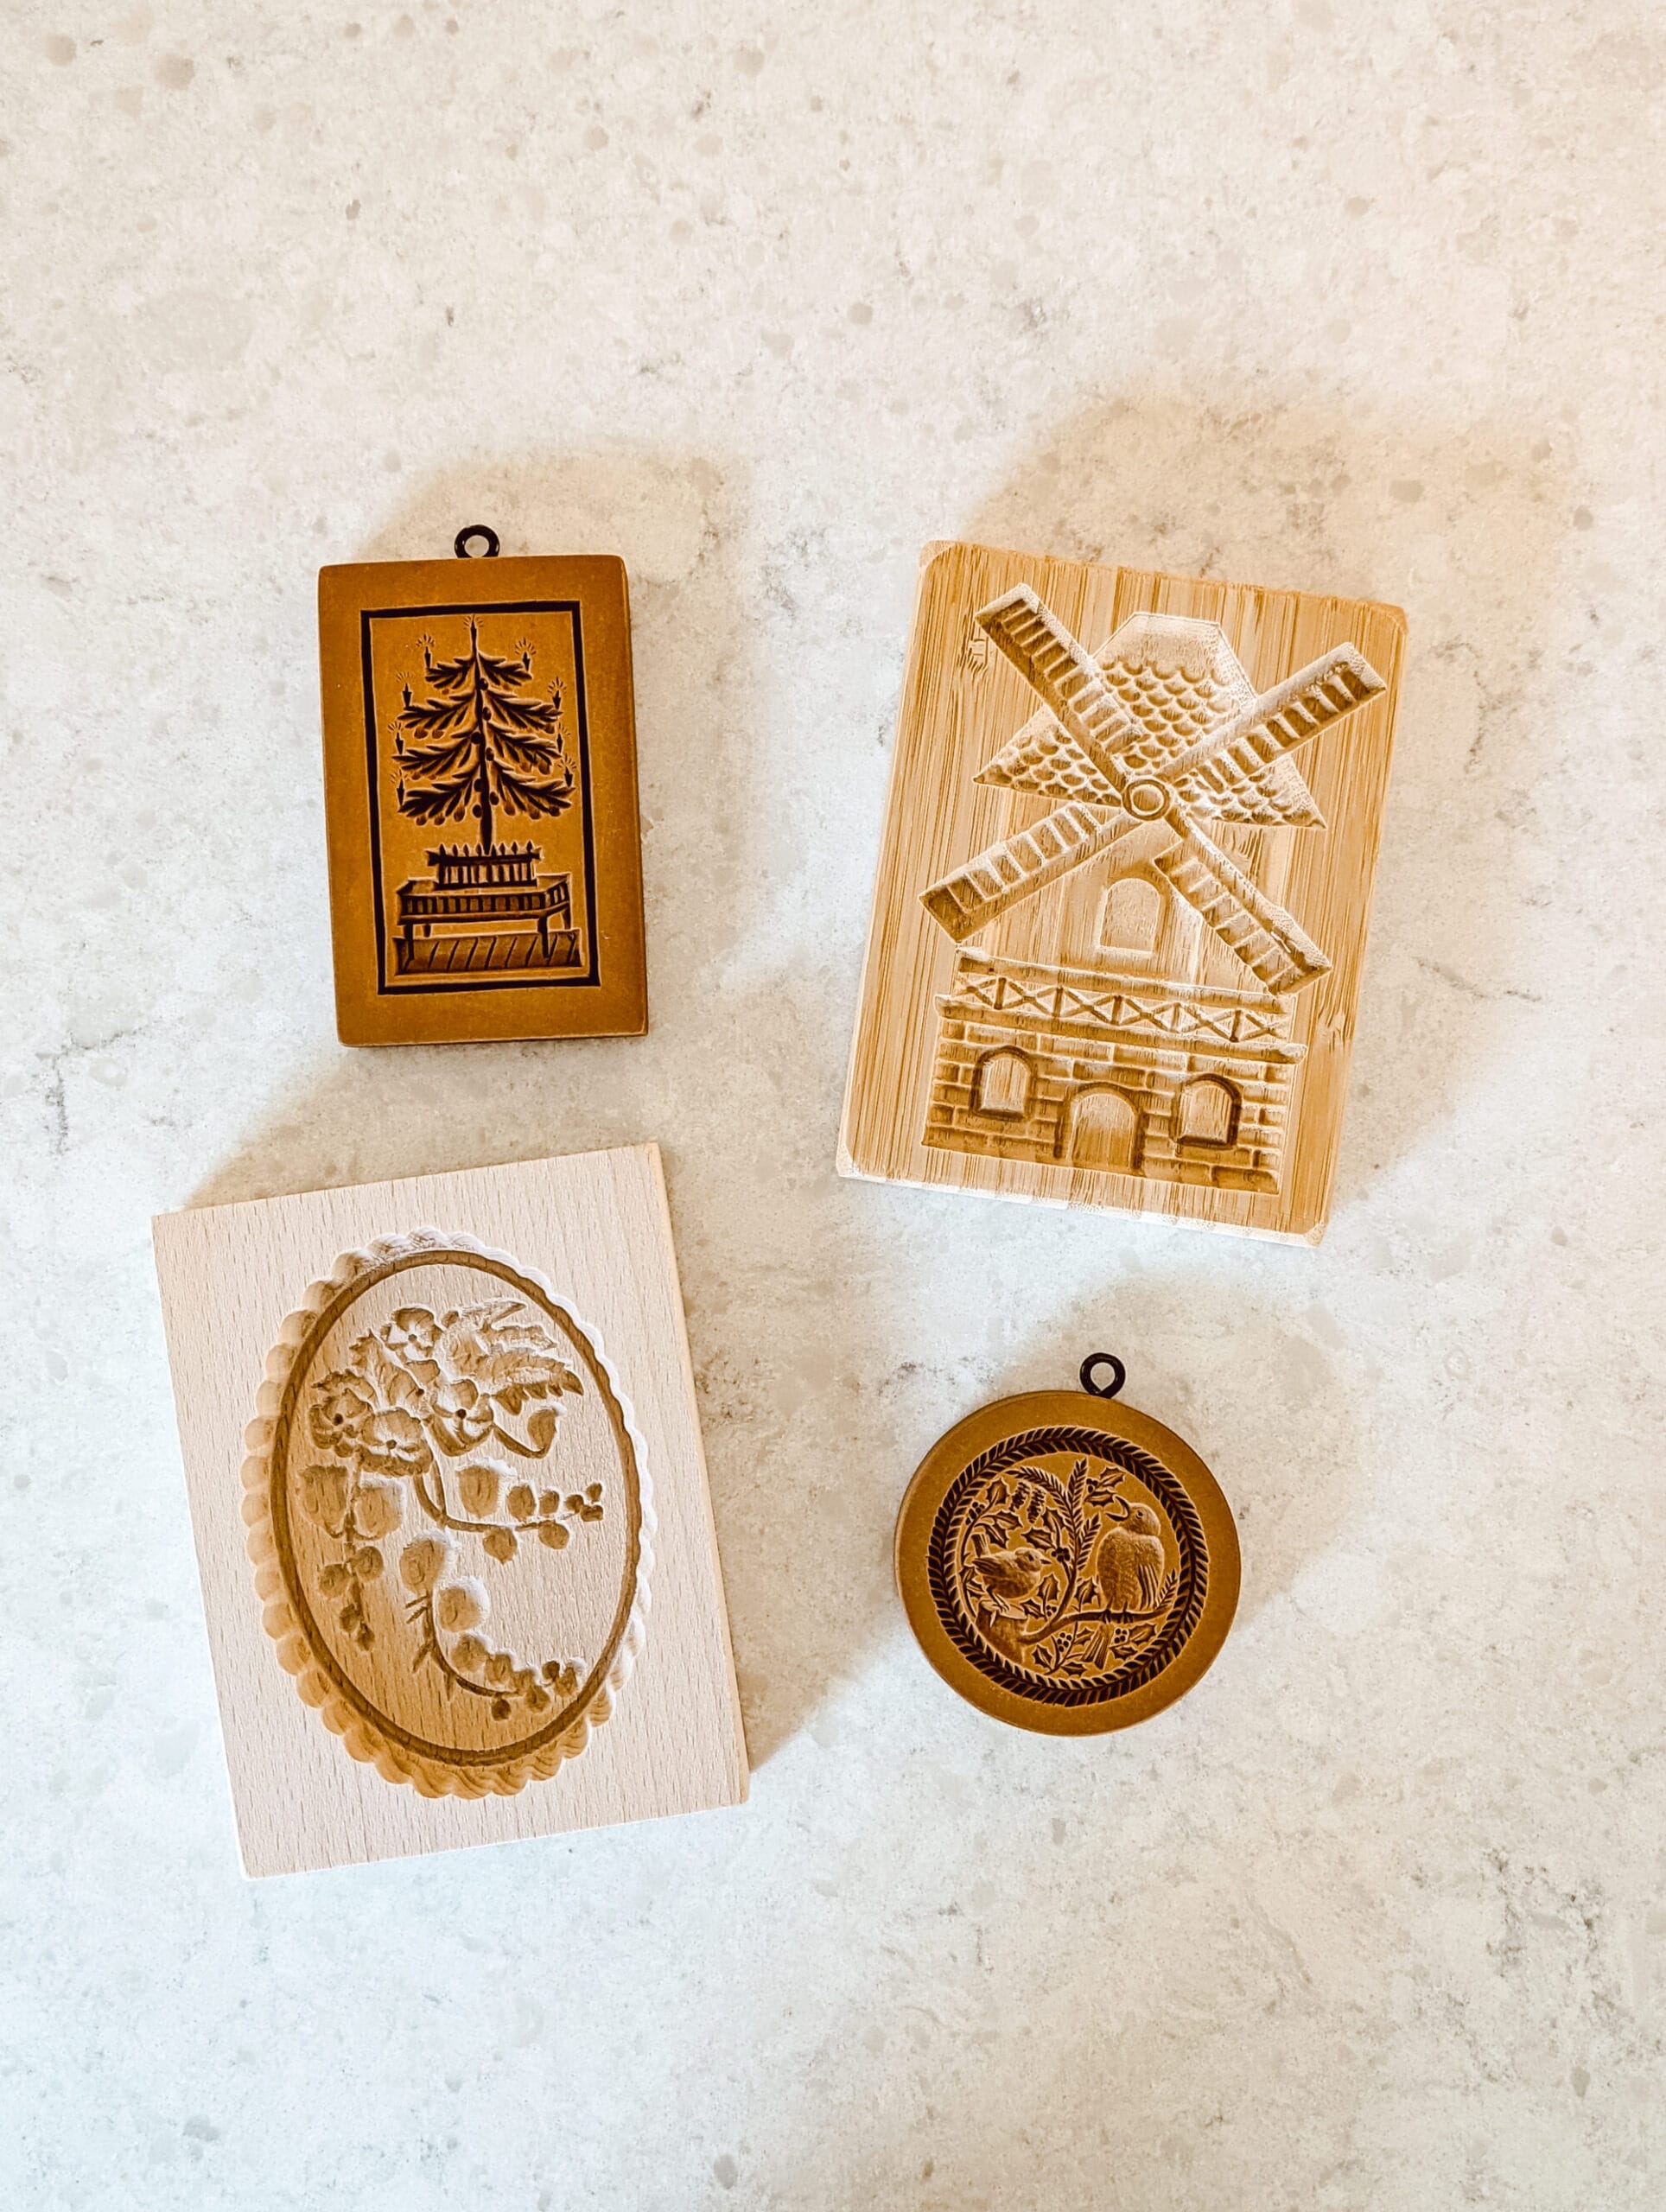
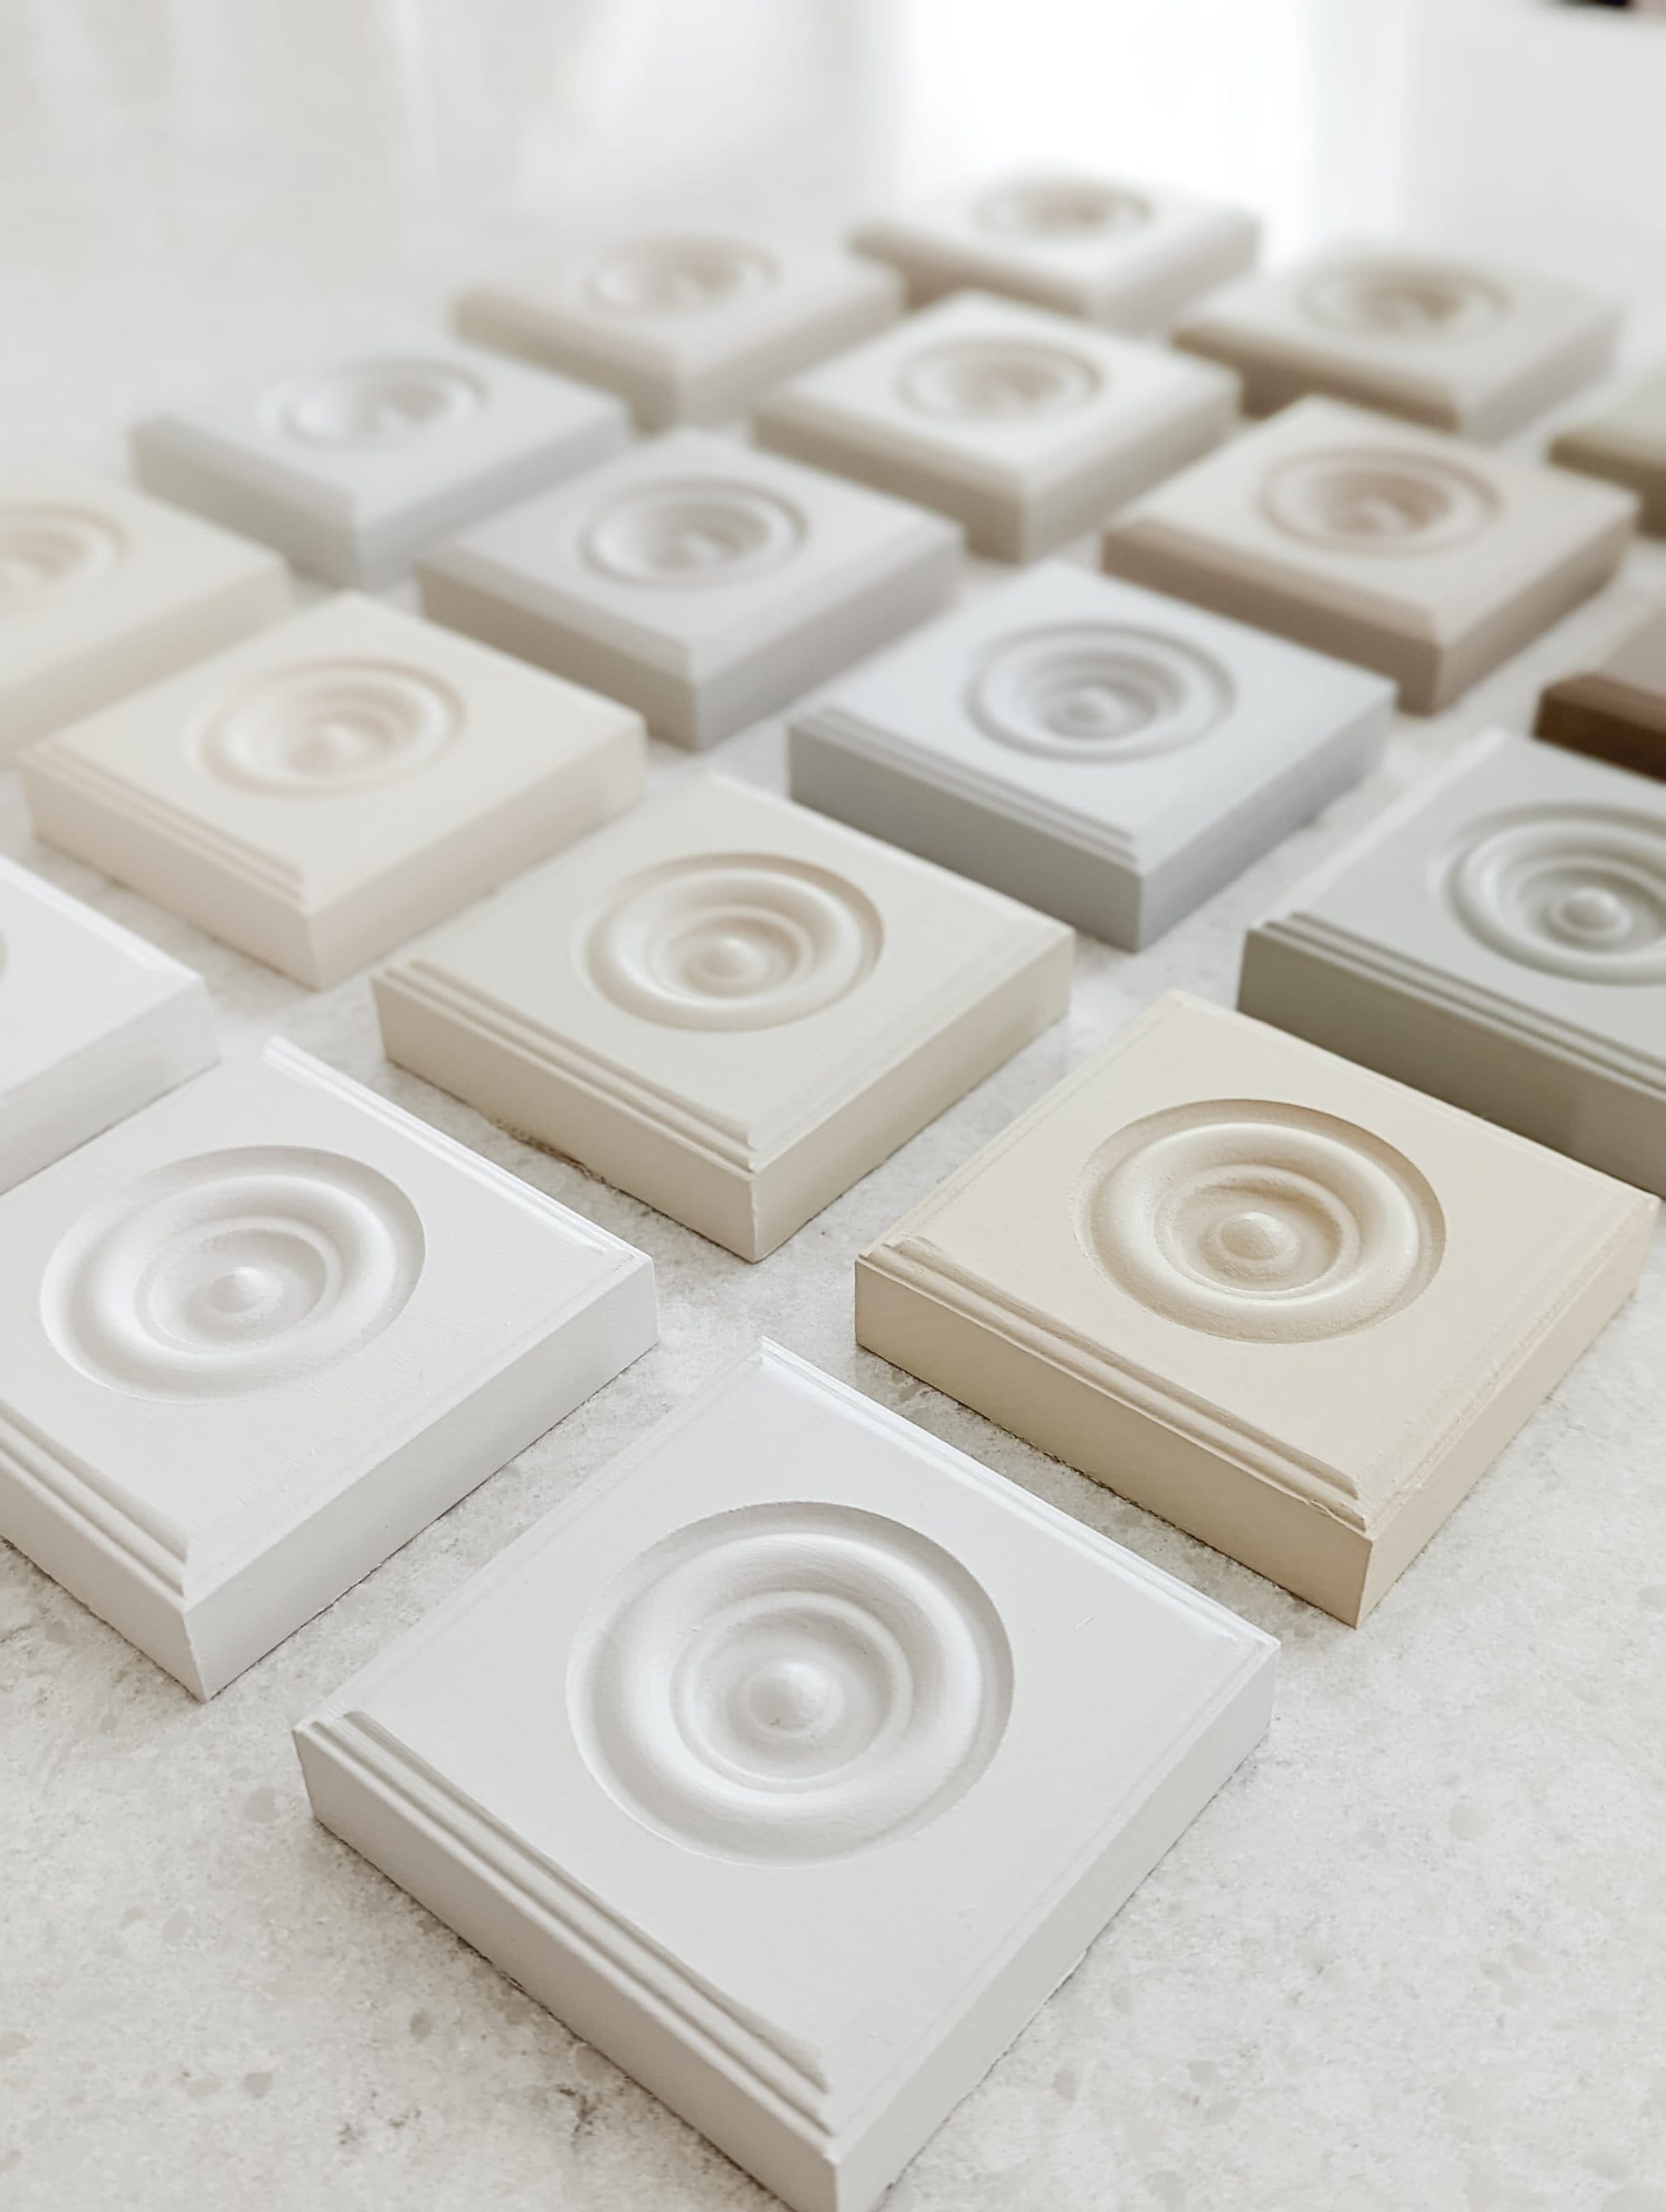
I used cookie molds to create these heirloom style salt dough Christmas ornaments!
But you can use regular cookie cutters, an antique butter mold, or even one of those rolling pins that presses designs into your dough!
The possibilities are endless, and you can get really creative with the shapes and designs for these DIY ornaments for a look that is unique to you and your home.
Supplies You Need for this DIY:
- all purpose flour
- salt
- water
- a baking sheet
- some parchment paper
- cookie molds / stamps / cookie cutters
- a straw or a skewer
- ribbon (3/8 of an inch thick works best)
Step by Step Instructions for DIY Salt Dough Ornaments
Step 1: mix up your dough
I mixed the dough with a fork, and then kneaded it some by hand until it came together and was a stiff but moldable dough.

The dough should feel wet but not overly sticky. If it’s too sticky, add more flour. If it’s crumbly, you can add a little water.
Step 2: Roll out the dough
Use a rolling pin and roll your dough out to about 1/4 to 1/2 an inch thick.
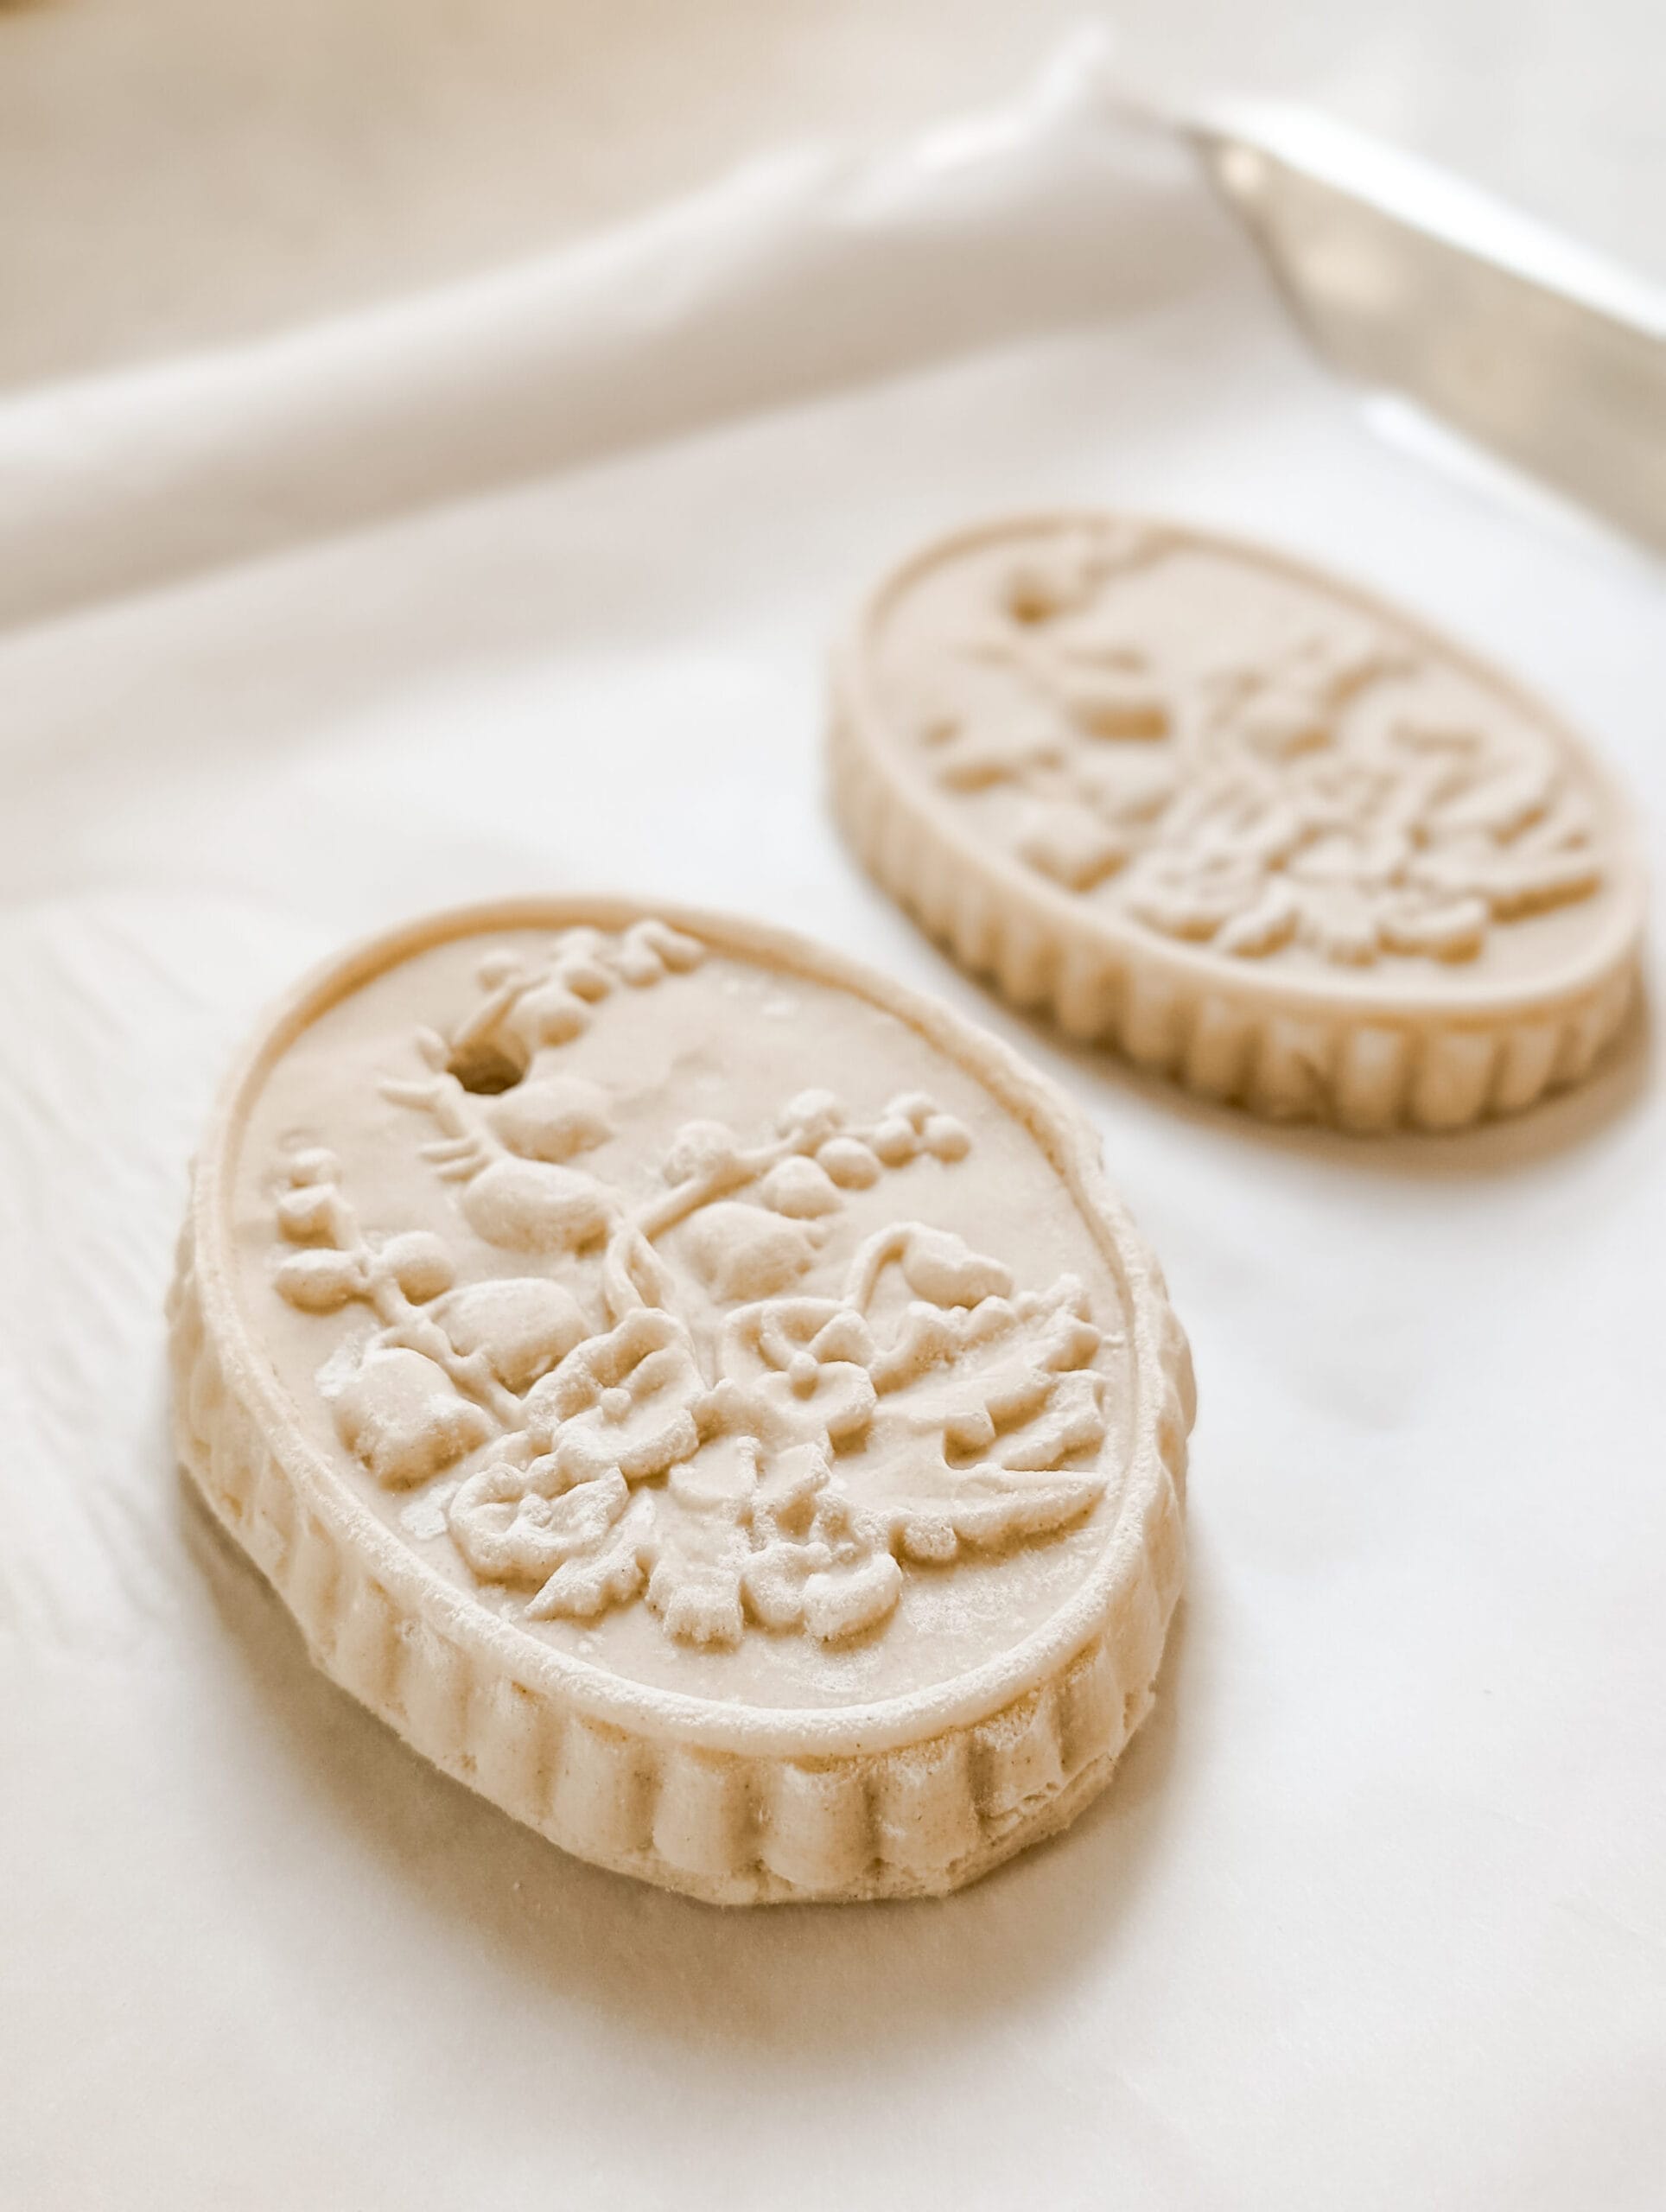
Step 3: Press your Molds into the dough
Before pressing your cookie molds into the dough, you’ll want to lightly flour them to prevent the dough from sticking.
I used one of the kids’ old paintbrushes to dust flour into the cracks and crevices of my cookie molds.
Then you can press the molds into the dough.
After pressing down firmly, slowly pull the mold away from the dough so as not to stretch or break the design.
If you mess up, no worries!
I did a few times while I was getting the hang of it. When that happens you can always mash the dough back together, re-roll it with your rolling pin and try again.
This dough is very forgiving!
Step 4: Cut away the excess dough
After you’ve removed the mold, cut away the excess dough so you can pick up your ornament and transfer it to your baking sheet.

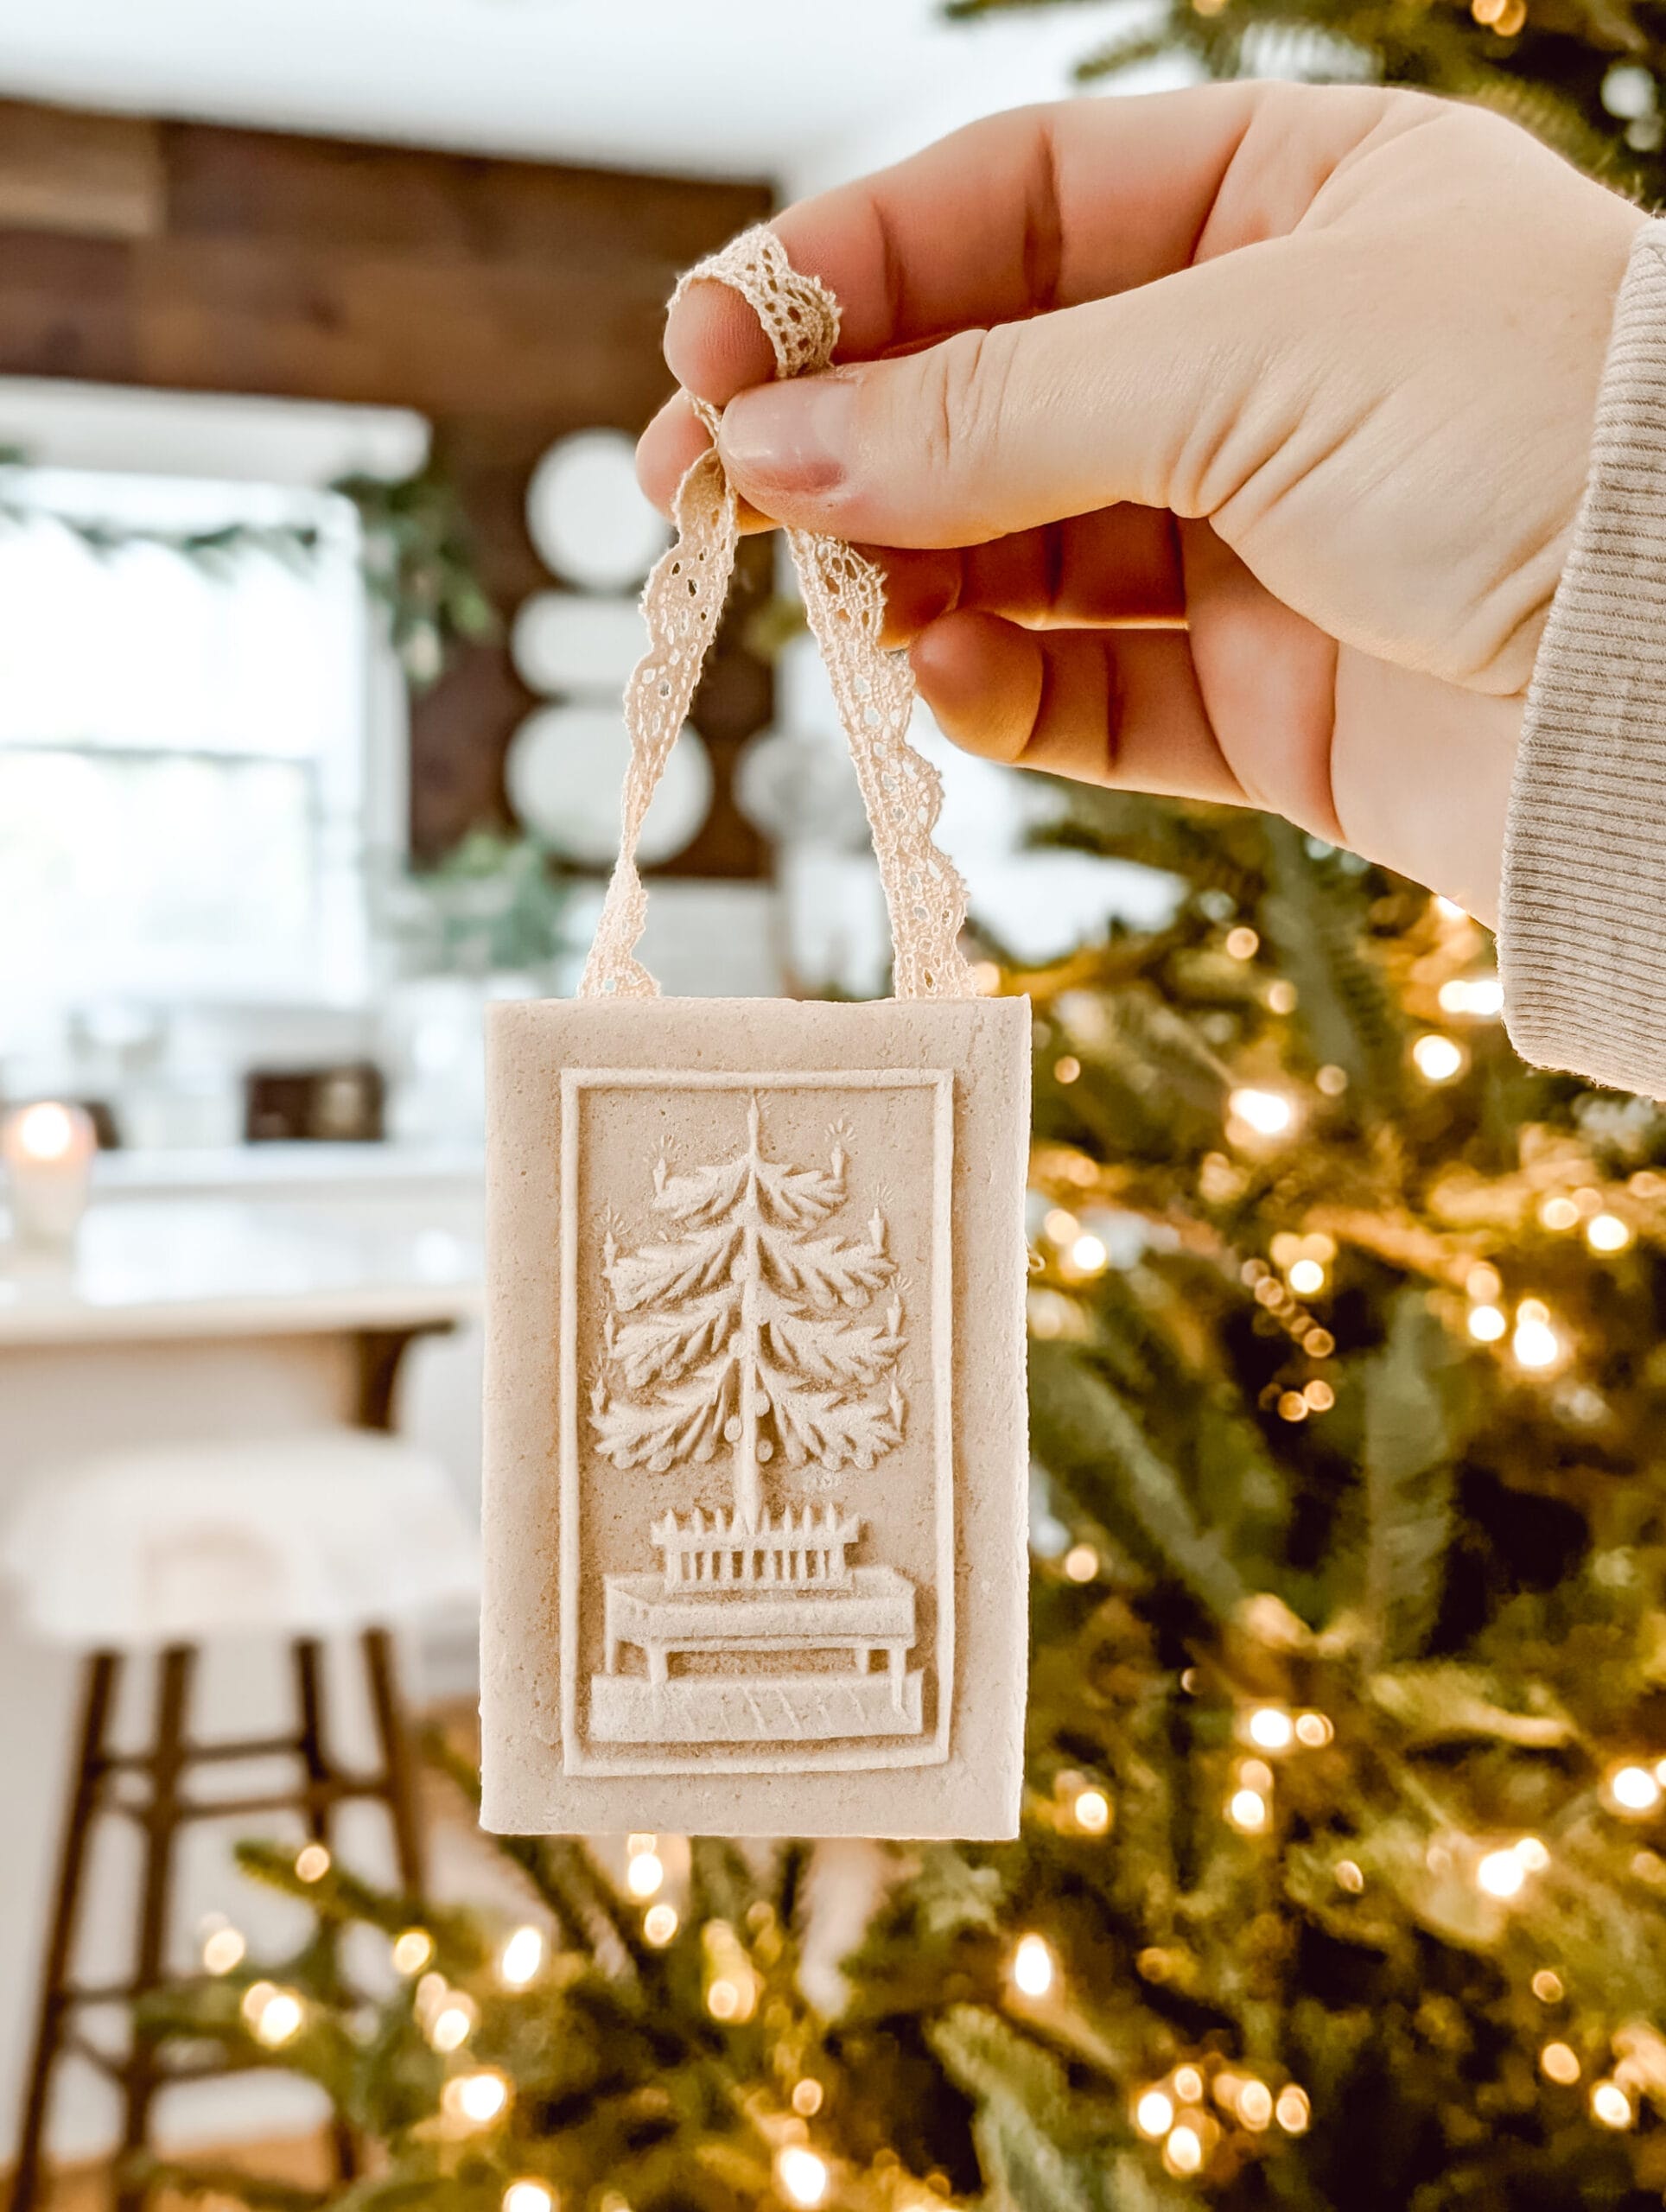
I used a bench scraper to cut the edges of our Christmas tree ornaments.

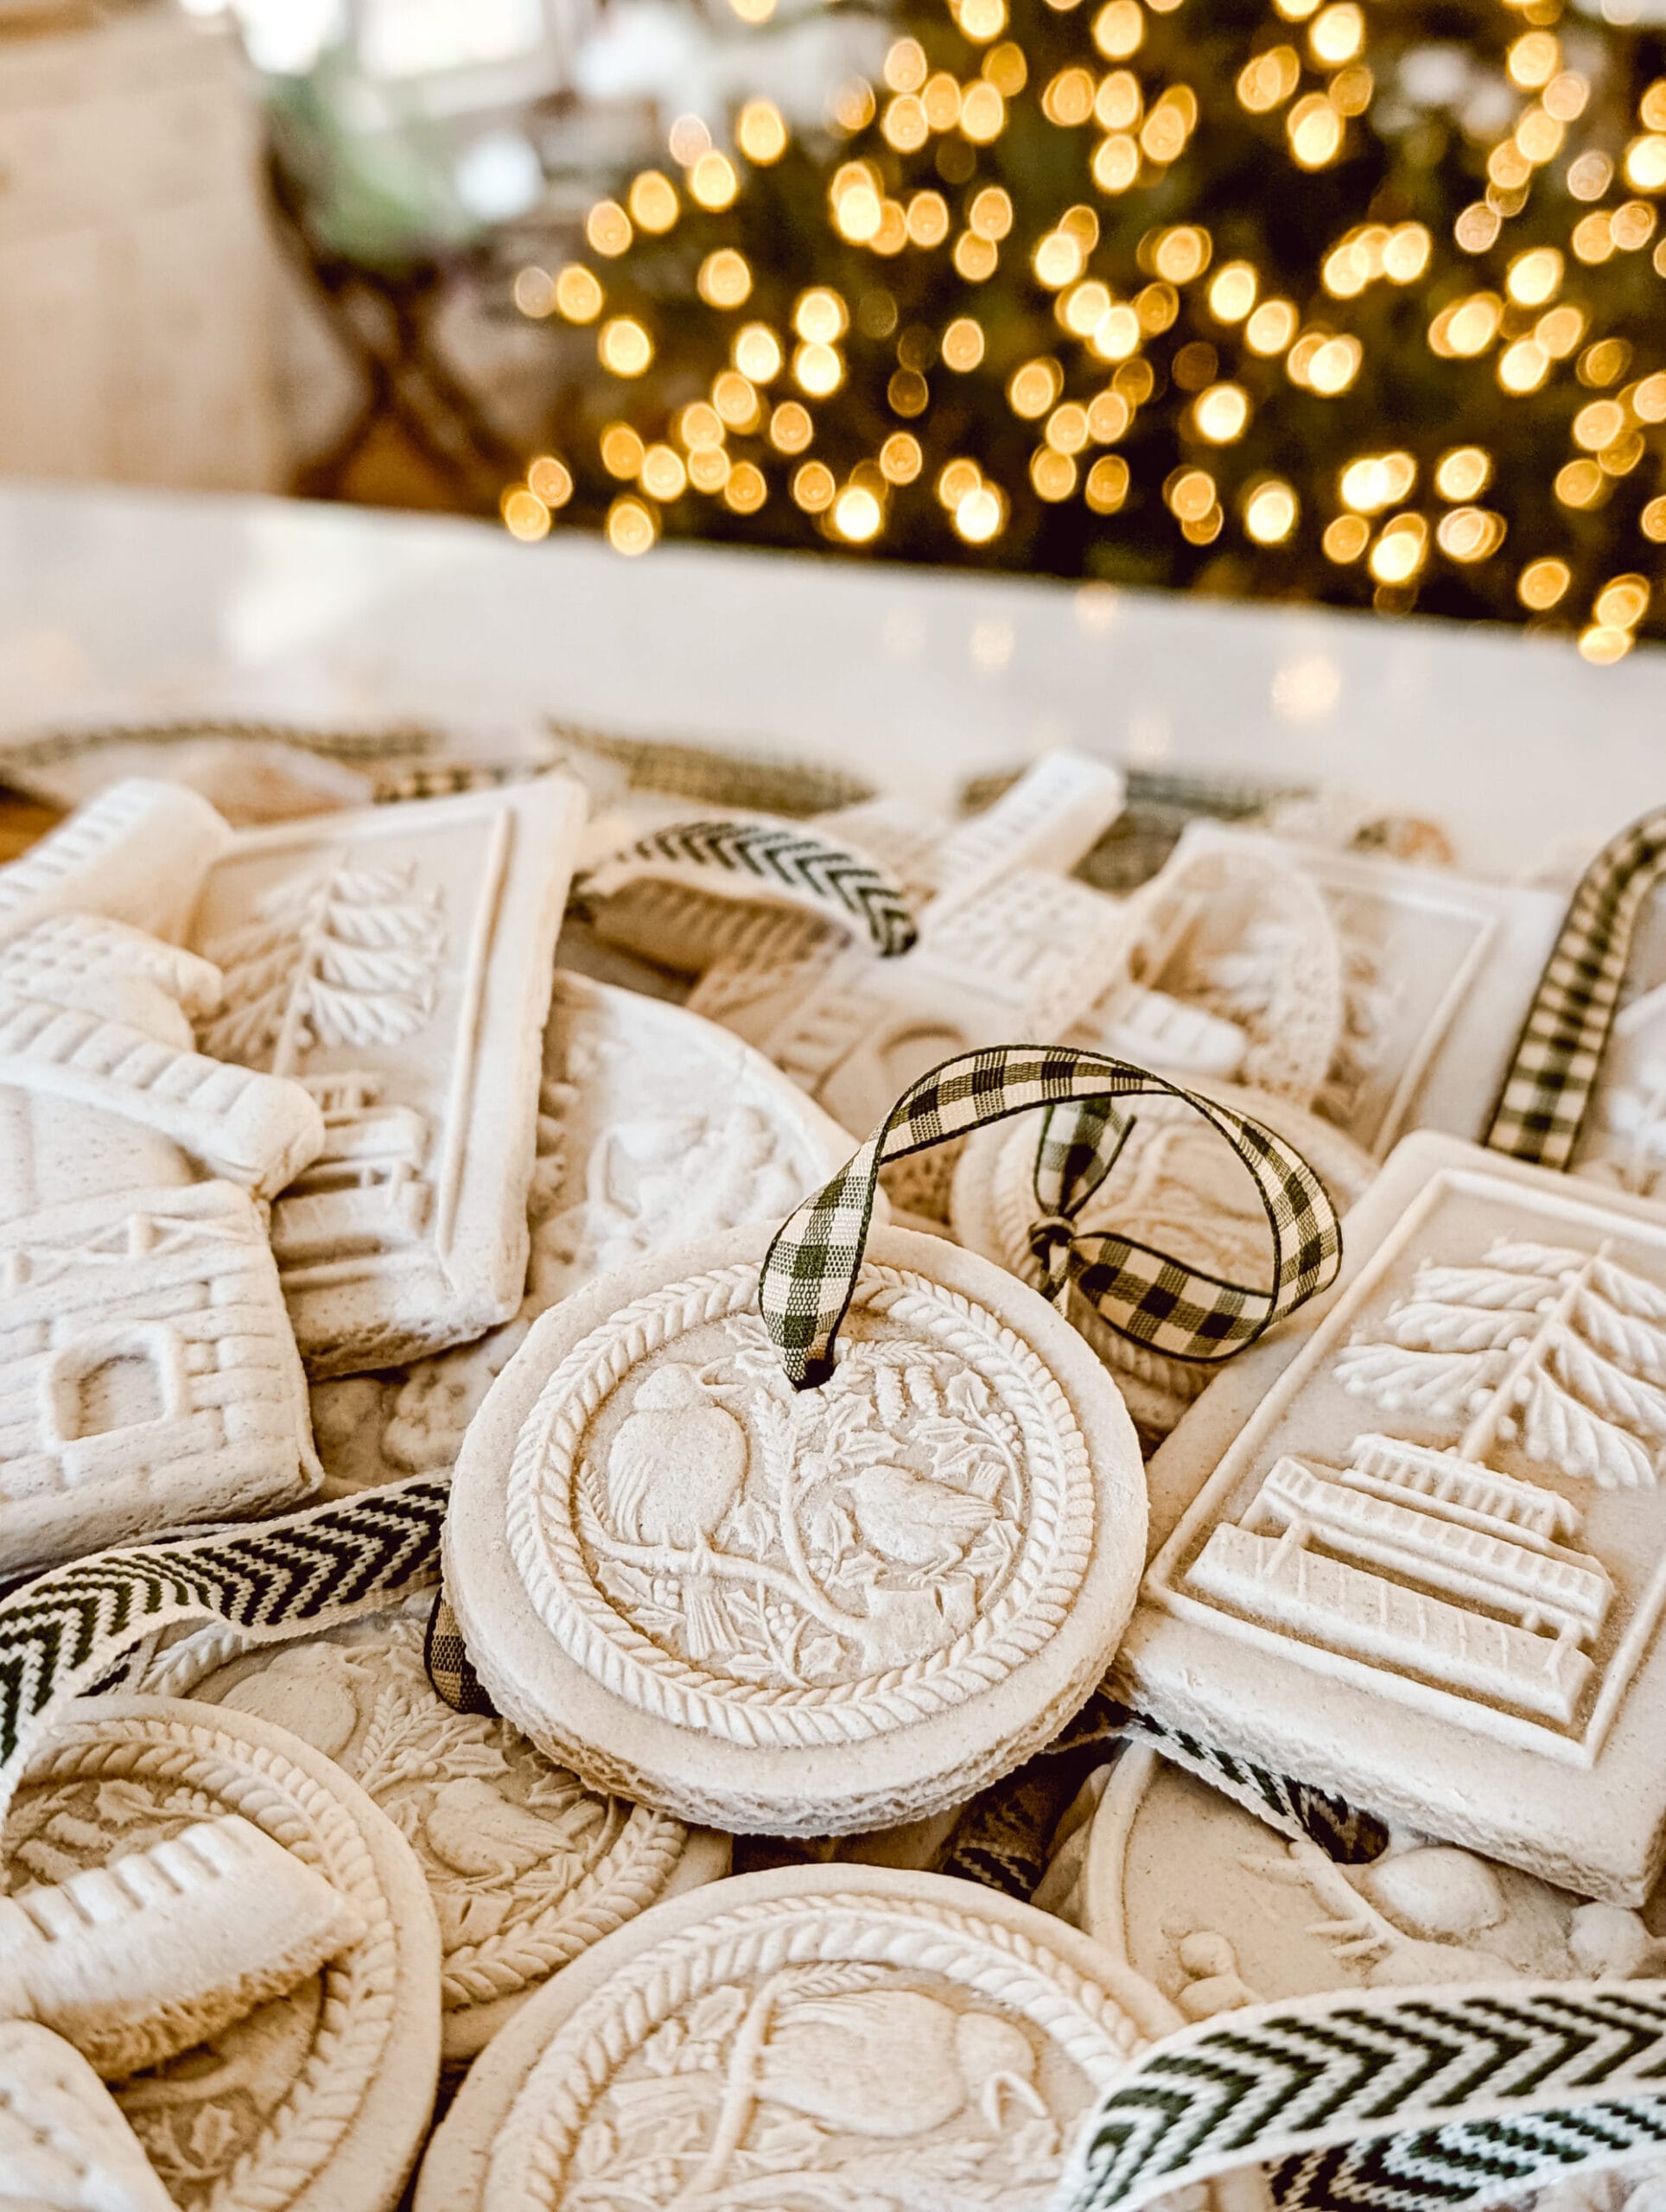
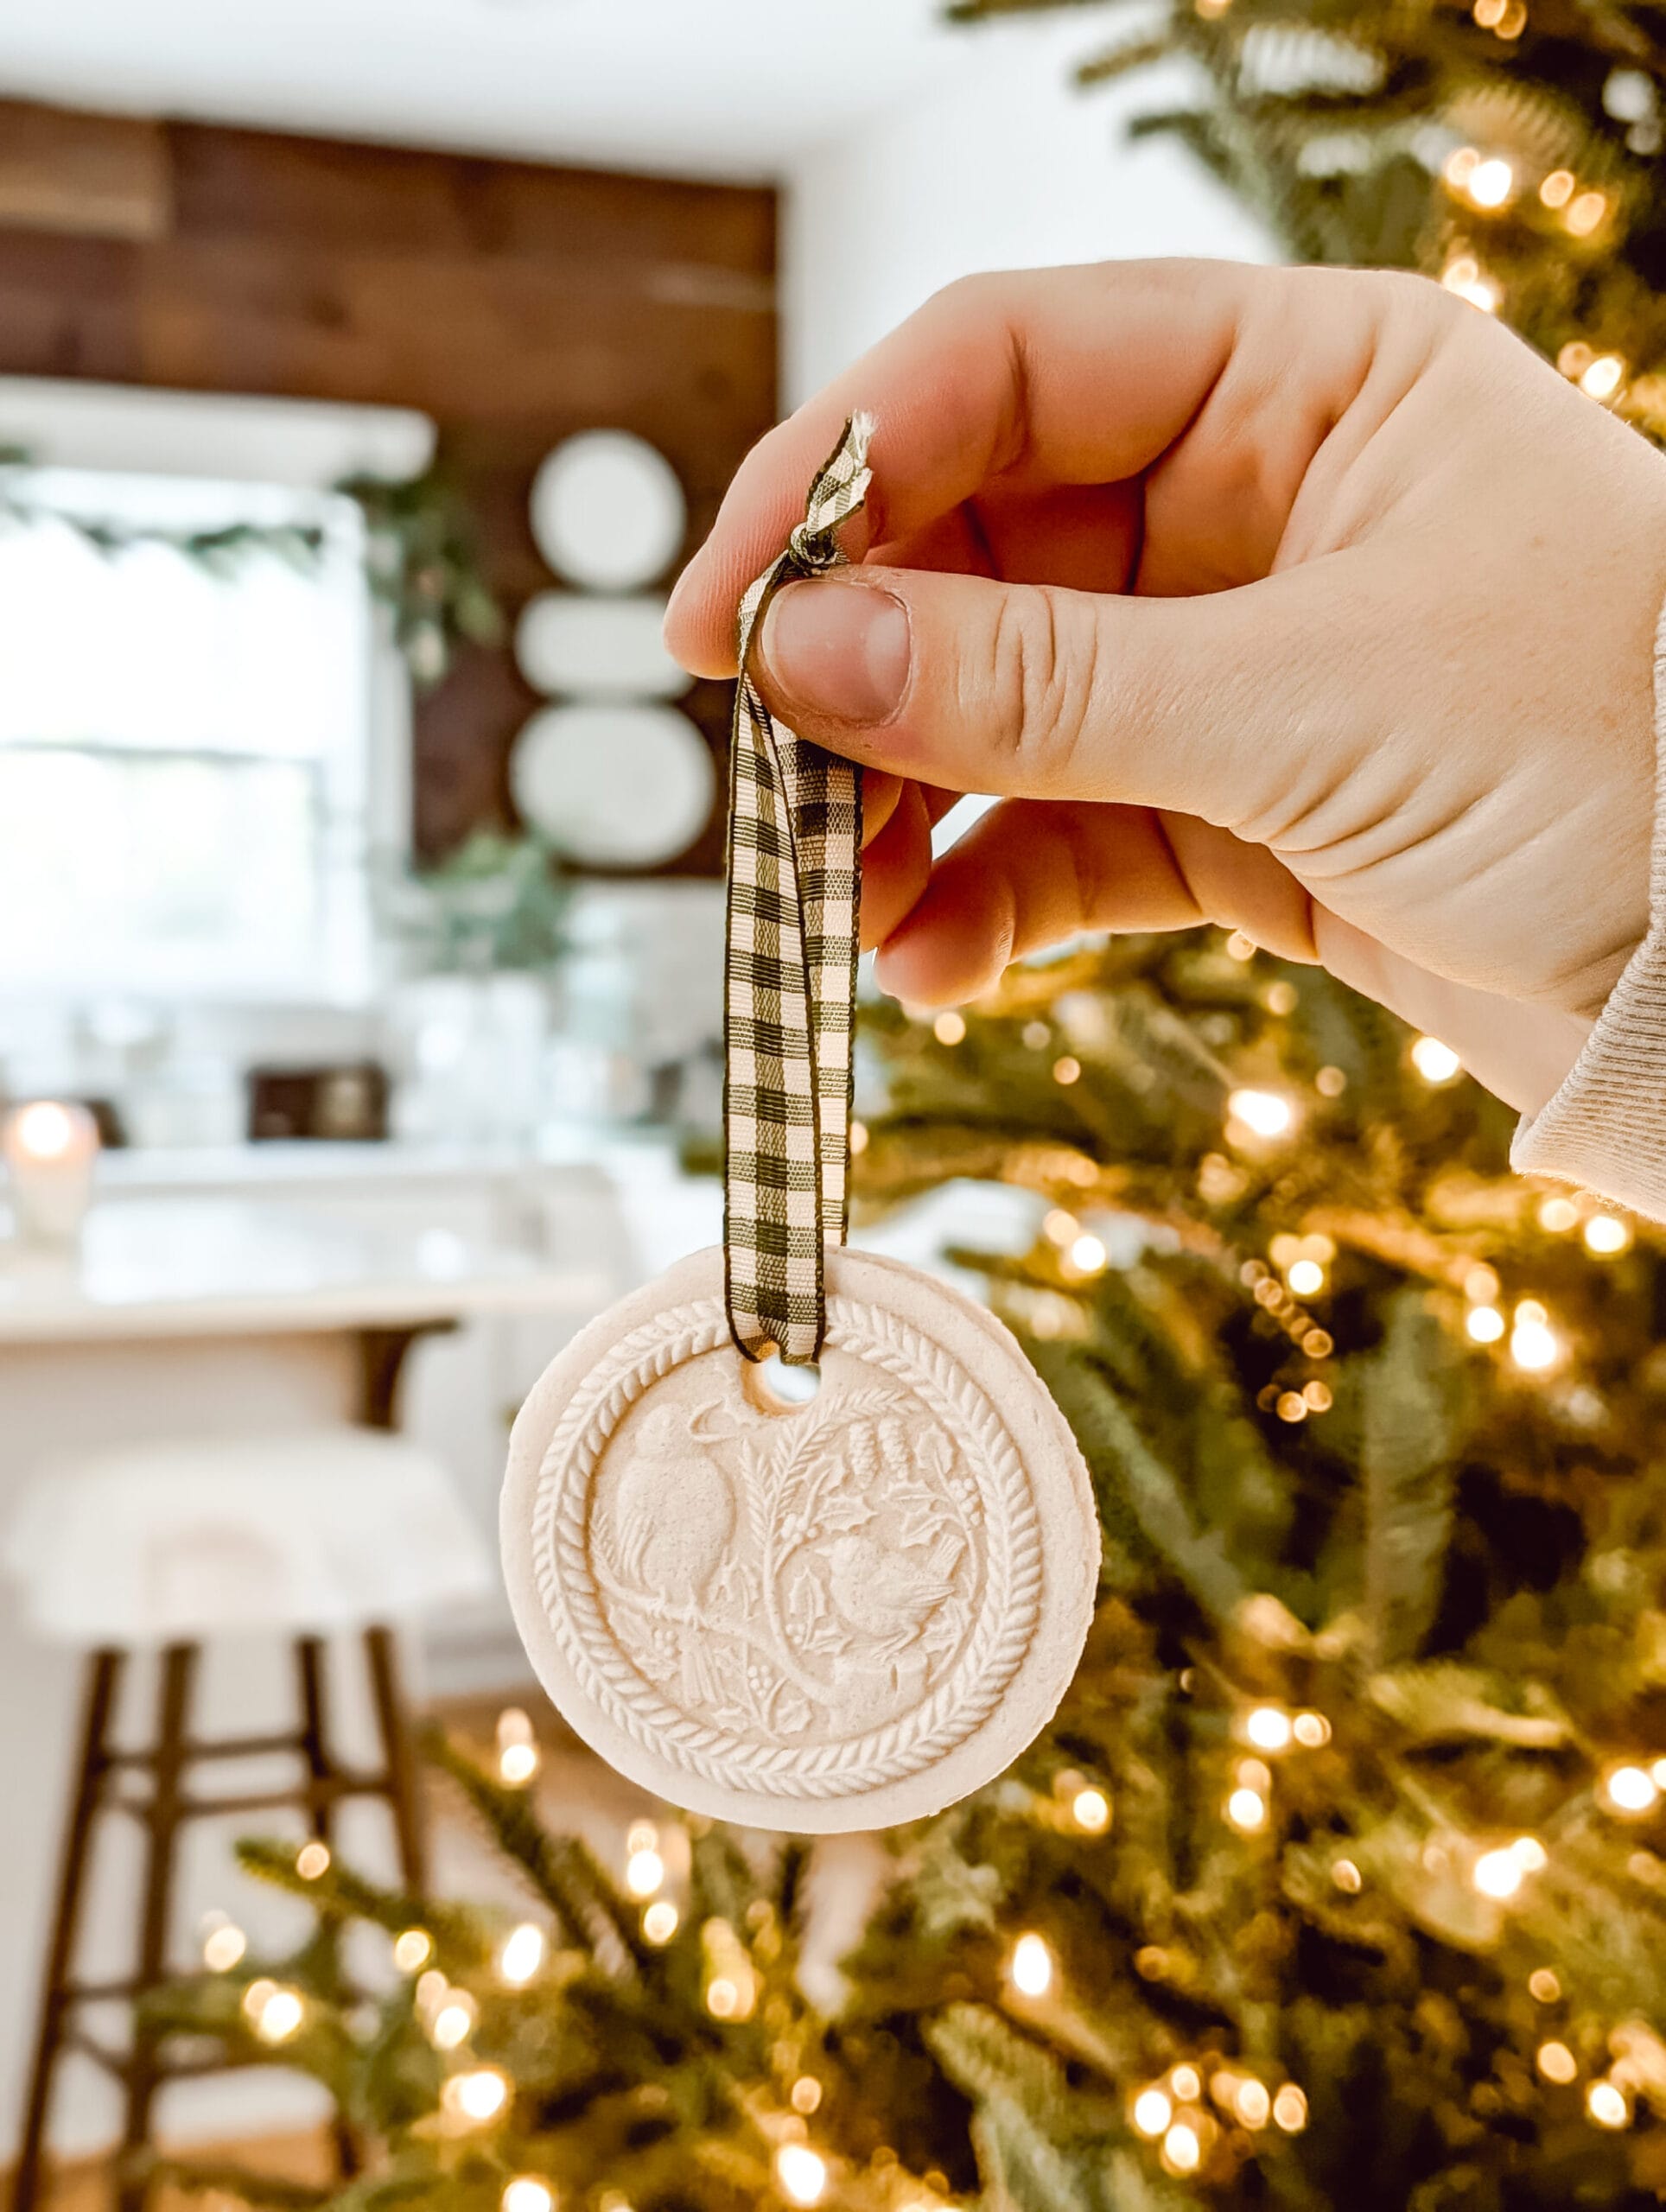
For the windmill and the oval shaped floral ornaments, I used a pairing knife. And then for the bird ornaments, I used a circle cookie cutter.
Step 5: make a hole for the ornament hanger
Once you have your ornaments cut, carefully transfer them to a baking sheet lined with parchment paper.

Then use a straw, or even a skewer to poke a hole in your ornament for the ribbon hanger.

Step 6: Bake the ornaments
You’ll want to bake these low and slow! Watch them closely so they don’t burn.
I baked my salt dough ornaments at 200 degrees Fahrenheit for about 2 hours. And I flipped them over halfway through to make sure they dried evenly.

These floral ornaments are much thicker than the birds and the Christmas trees. So those took a bit longer. I believe these took closer to 3 or 4 hours.
Now I wouldn’t recommend turning the heat any higher than 200 though!
I tried that on the first batch, and a couple of my ornaments puffed up. Low and slow is definitely the way to go!
Step 7: Add a Ribbon & hang your ornaments on the tree!
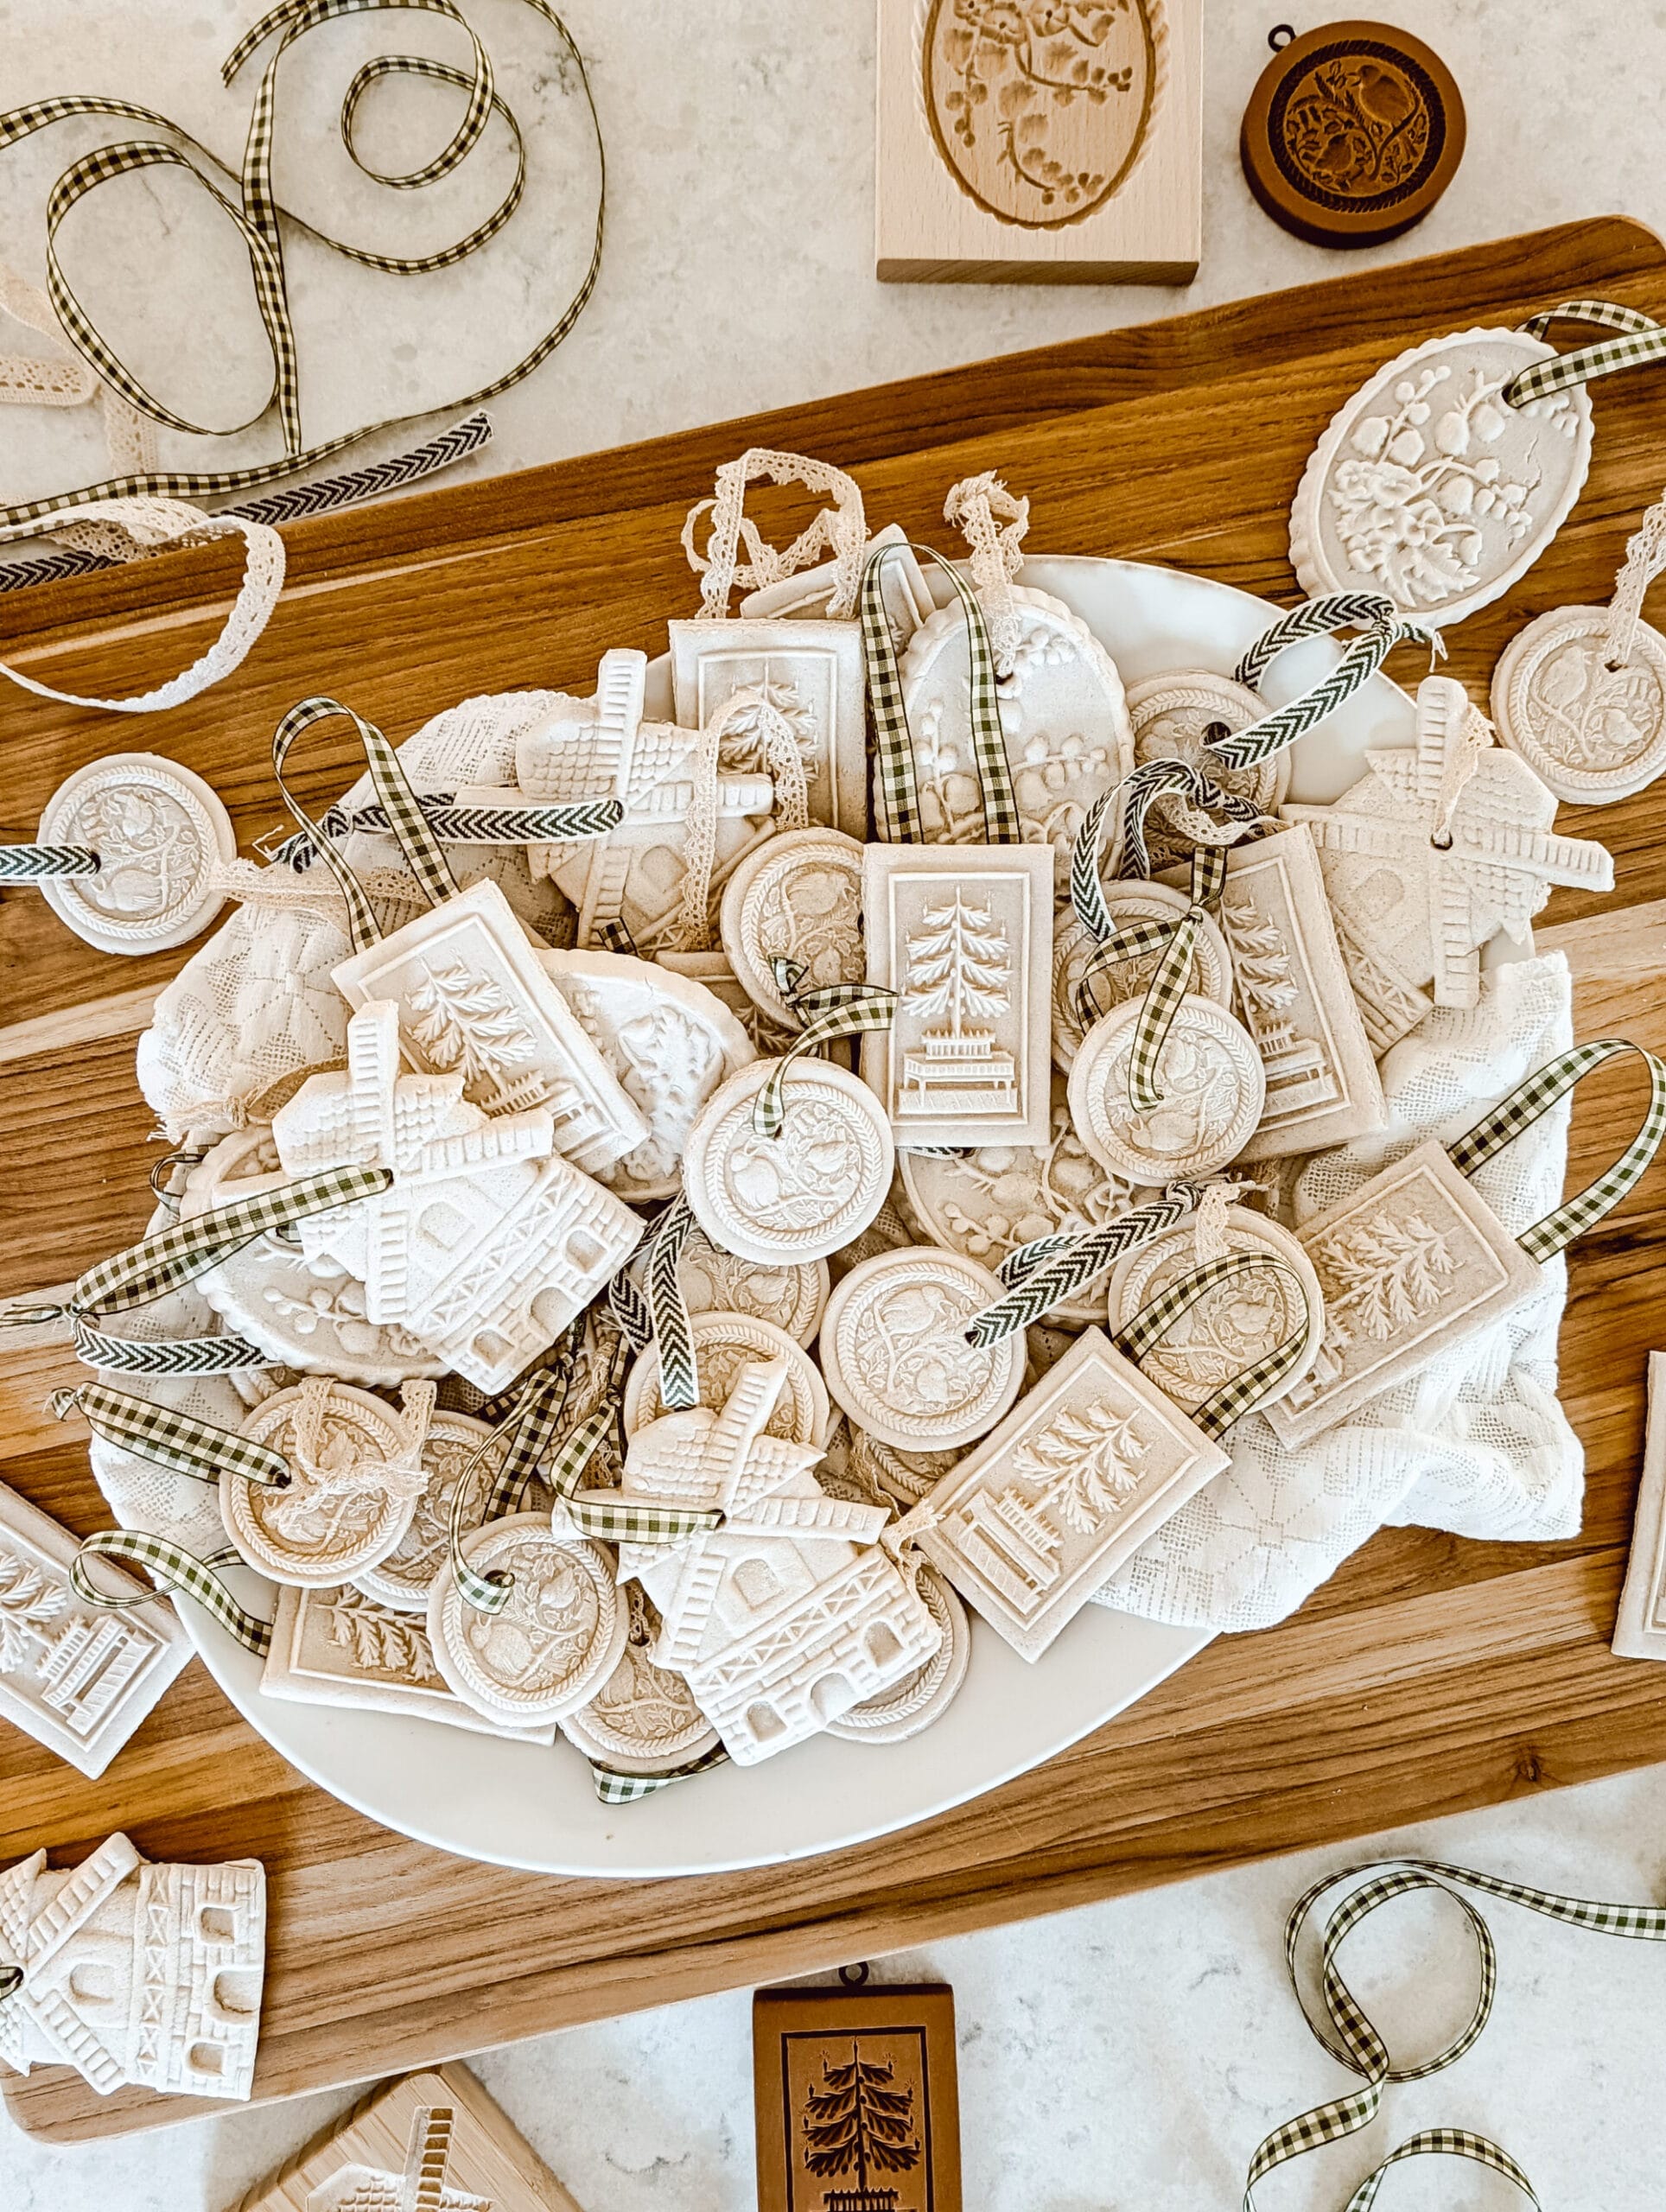
I used a couple different ribbons for our DIY salt dough ornaments because I found a few I loved at Hobby Lobby!
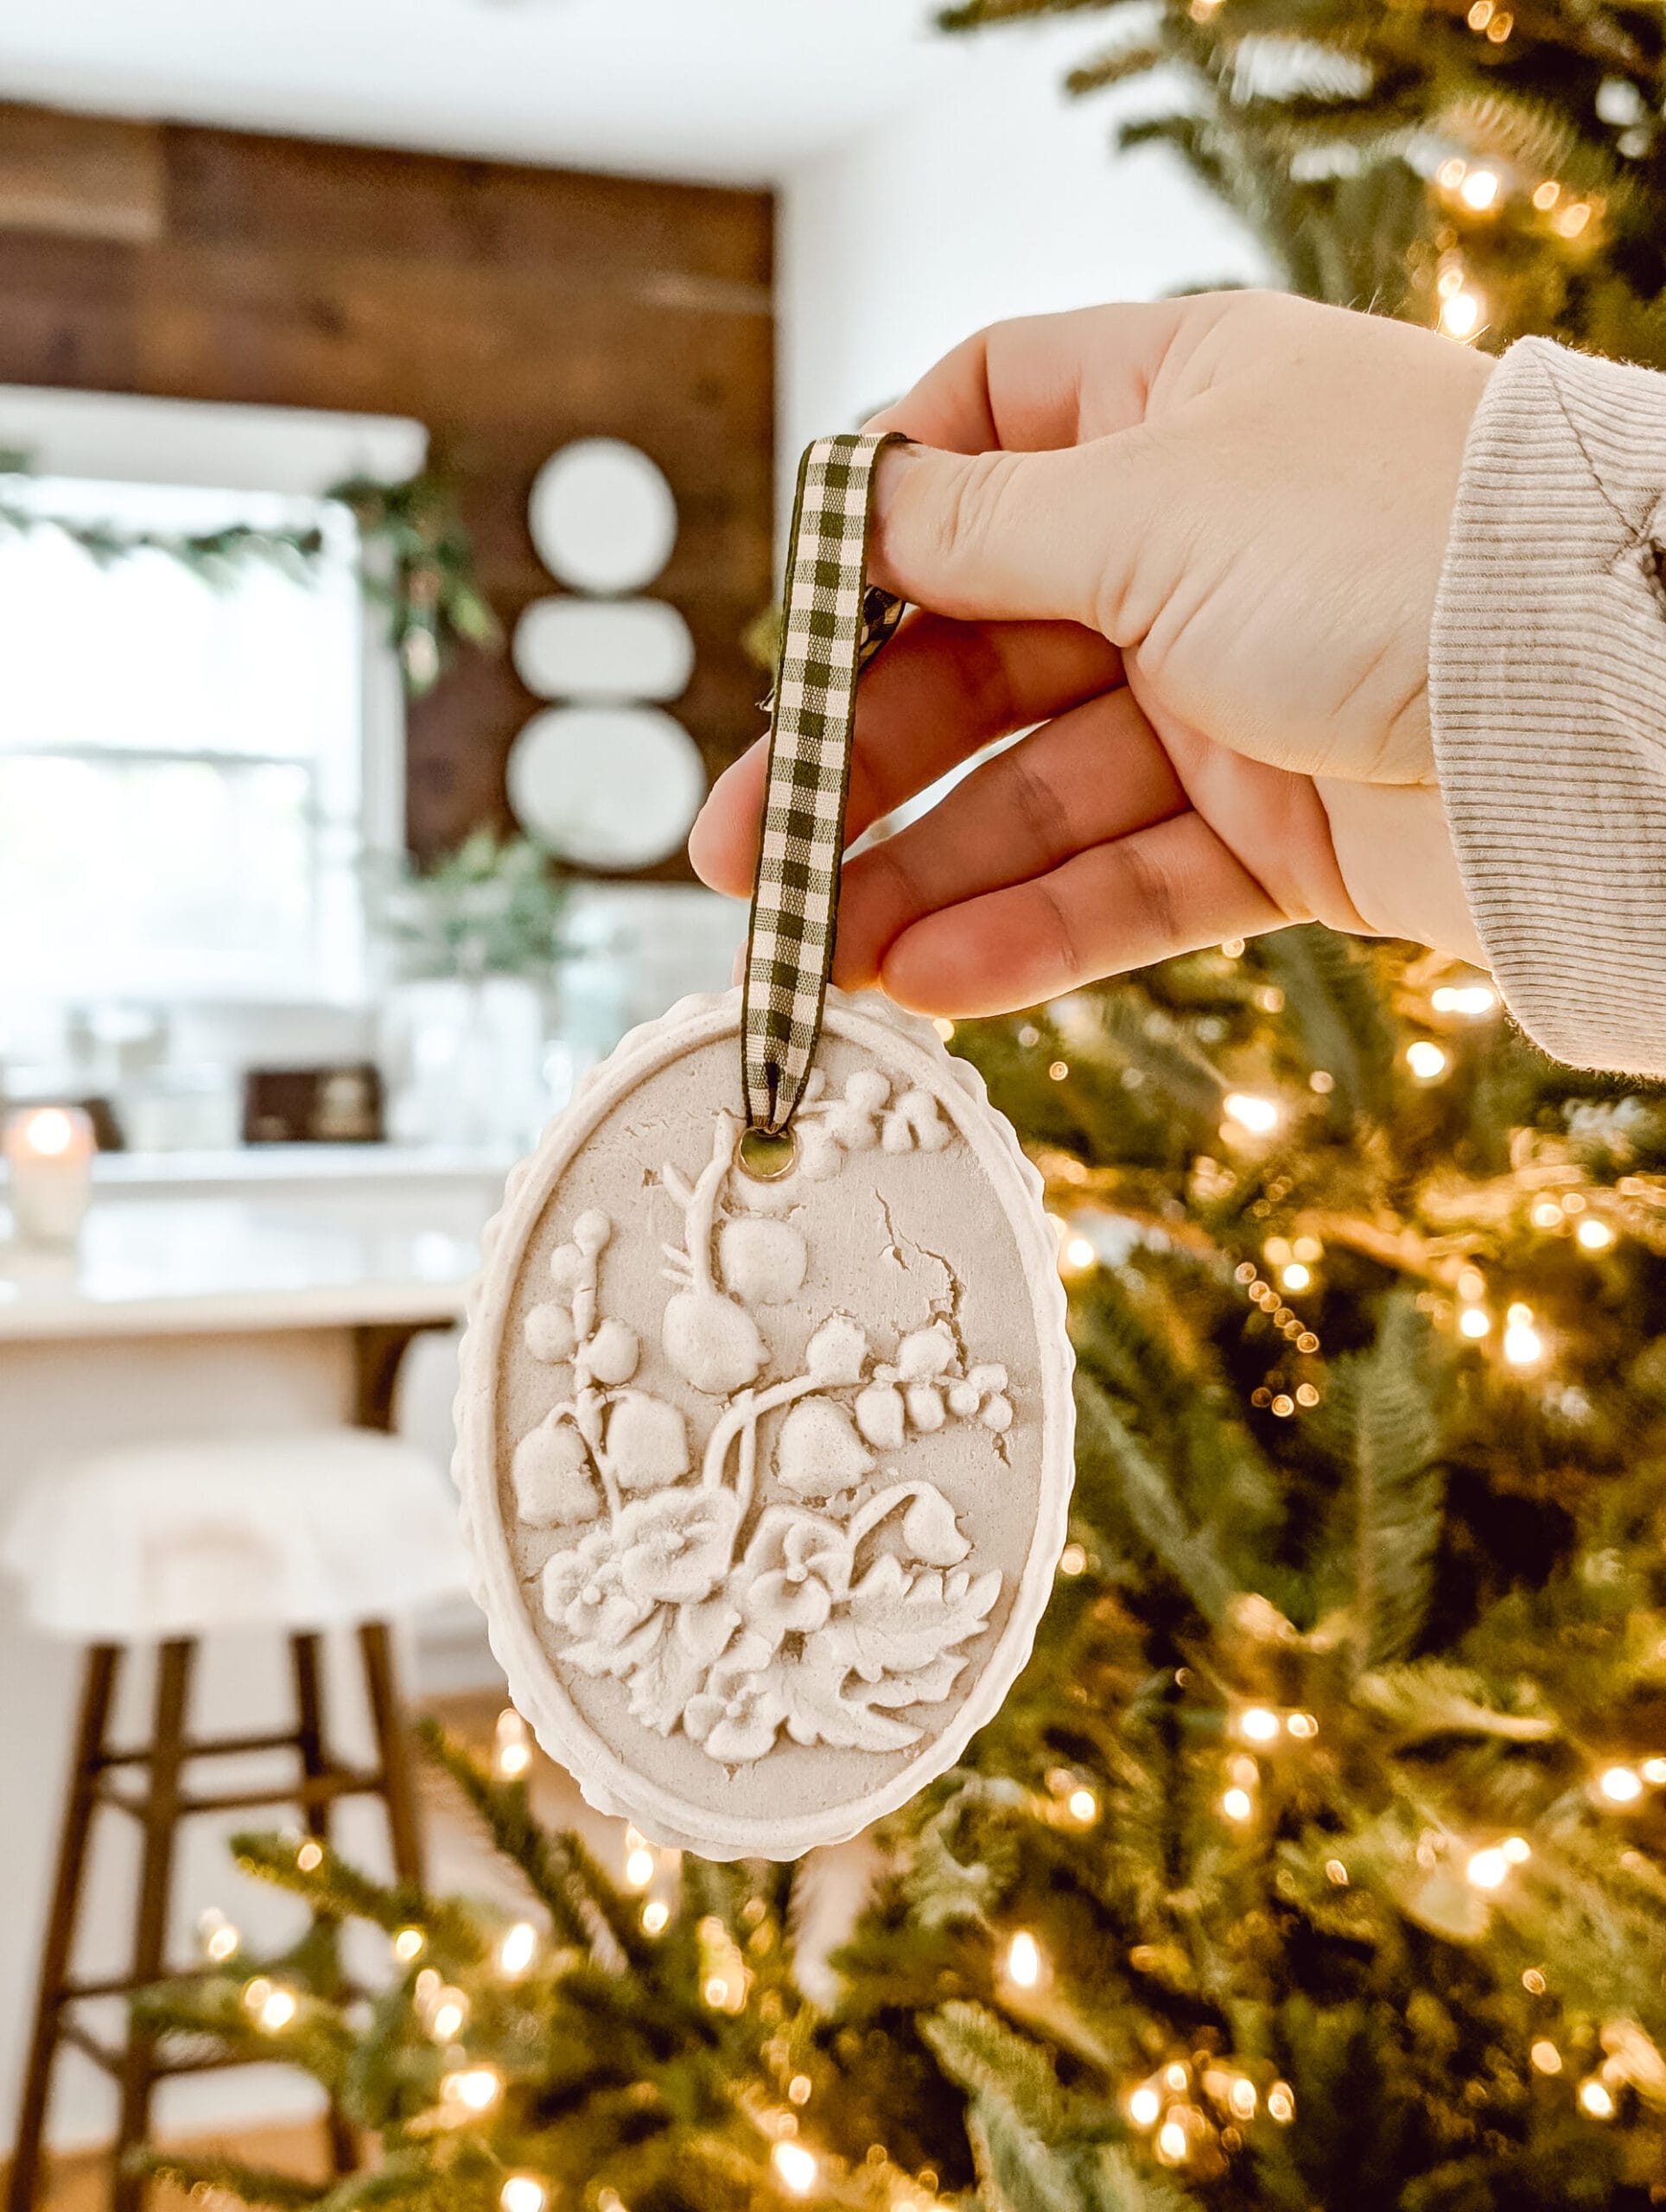
You can use any ribbon you like, but I found that the thinner ones worked best. Aim for ribbon around 3/8 of an inch wide.
For the Christmas tree salt dough ornaments, I ended up using hot glue to attach the ribbon to the back of the ornament. So far that’s held up really well!
I still can’t get over how cute these turned out!

The Best Cookie Molds for Making Fancy Salt Dough Ornaments
I linked all the cookie molds I used above, but there are so many other designs I found and loved. So I thought I’d share them too!

Which one is your favorite?
My Recipe for Home-made Salt Dough Ornaments
This recipe will make roughly 35 – 40 ornaments, give or take. The number will vary based on the size of your ornaments, and how thick you roll out your dough!
Don’t forget to pin this for later!
Ingredients
- 4 cups of flour
- 2 cup of salt
- 2 cup of water
Instructions
Mix all ingredients well. Then roll out the dough between 1/4 and 1/2 inch thick. Cut the dough into shapes or use cookie molds to create your own designs. Don’t forget to poke a hole in the top for your ribbon! Bake in the oven at 200 degree Fahrenheit for 2 – 4 hours depending on the thickness of your dough. Flip halfway through baking for best results.
These DIY fancy salt dough Christmas ornaments are going to be hung on our tree for many years to come. Salt dough ornaments store well, as long as they are completely dried out.
I’ll make sure I pack these carefully so they don’t get broken in storage!

I love that they truly look like heirloom ornaments!
And I said it earlier, but it’s worth saying again. This really was such an easy DIY! So if you’ve never made your own salt dough ornaments, this is your sign to try it out.

I will definitely be making more ornaments for our tree next year.
In fact, I’m already looking at ordering a new springerle cookie mold or two for next year’s DIY ornament making session! I just have to narrow down my options and pick which one’s I want to get.

I hope you enjoyed this post, and I hope it brought a little Christmas joy to your scroll today! Head to this post next to see more photos of this tree, and all three of this year’s Christmas trees!
If you make these DIY salt dough ornaments, I’d love to see em. Please share, send a pic or tag me on Instagram @whiteandwoodgrain so I can see!
Also, if you’re not already, I’d like to invite you to join my email list!
My email list is where I share behind the scenes content, projects I’m working on, and links to new blog posts like this one as soon as they go live.
Thanks for stopping by the blog today! Until next time…


These are so beautiful. I have some left over air dry clay, maybe I will ask the Grandchildren so make me some.
Oh air dry clay is a great idea!! Sounds like a fun time with the grandkids! 🙂