DIY Plant Markers for your Vegetable and Herb Garden
This post may contain affiliate links. For more information, you can read my full disclaimer here.
Today on the blog, I’m gonna show you how I made the prettiest DIY plant markers for our vegetable and herb garden this year!
They’re stamped metal plant markers and they were so fun to make, and such an easy DIY… I knew I had to share it with you here on the blog.
I’ll link all the tools and materials I used, and I’ll share a few tips I learned along the way too.
But first… I have to show you how pretty they turned out!
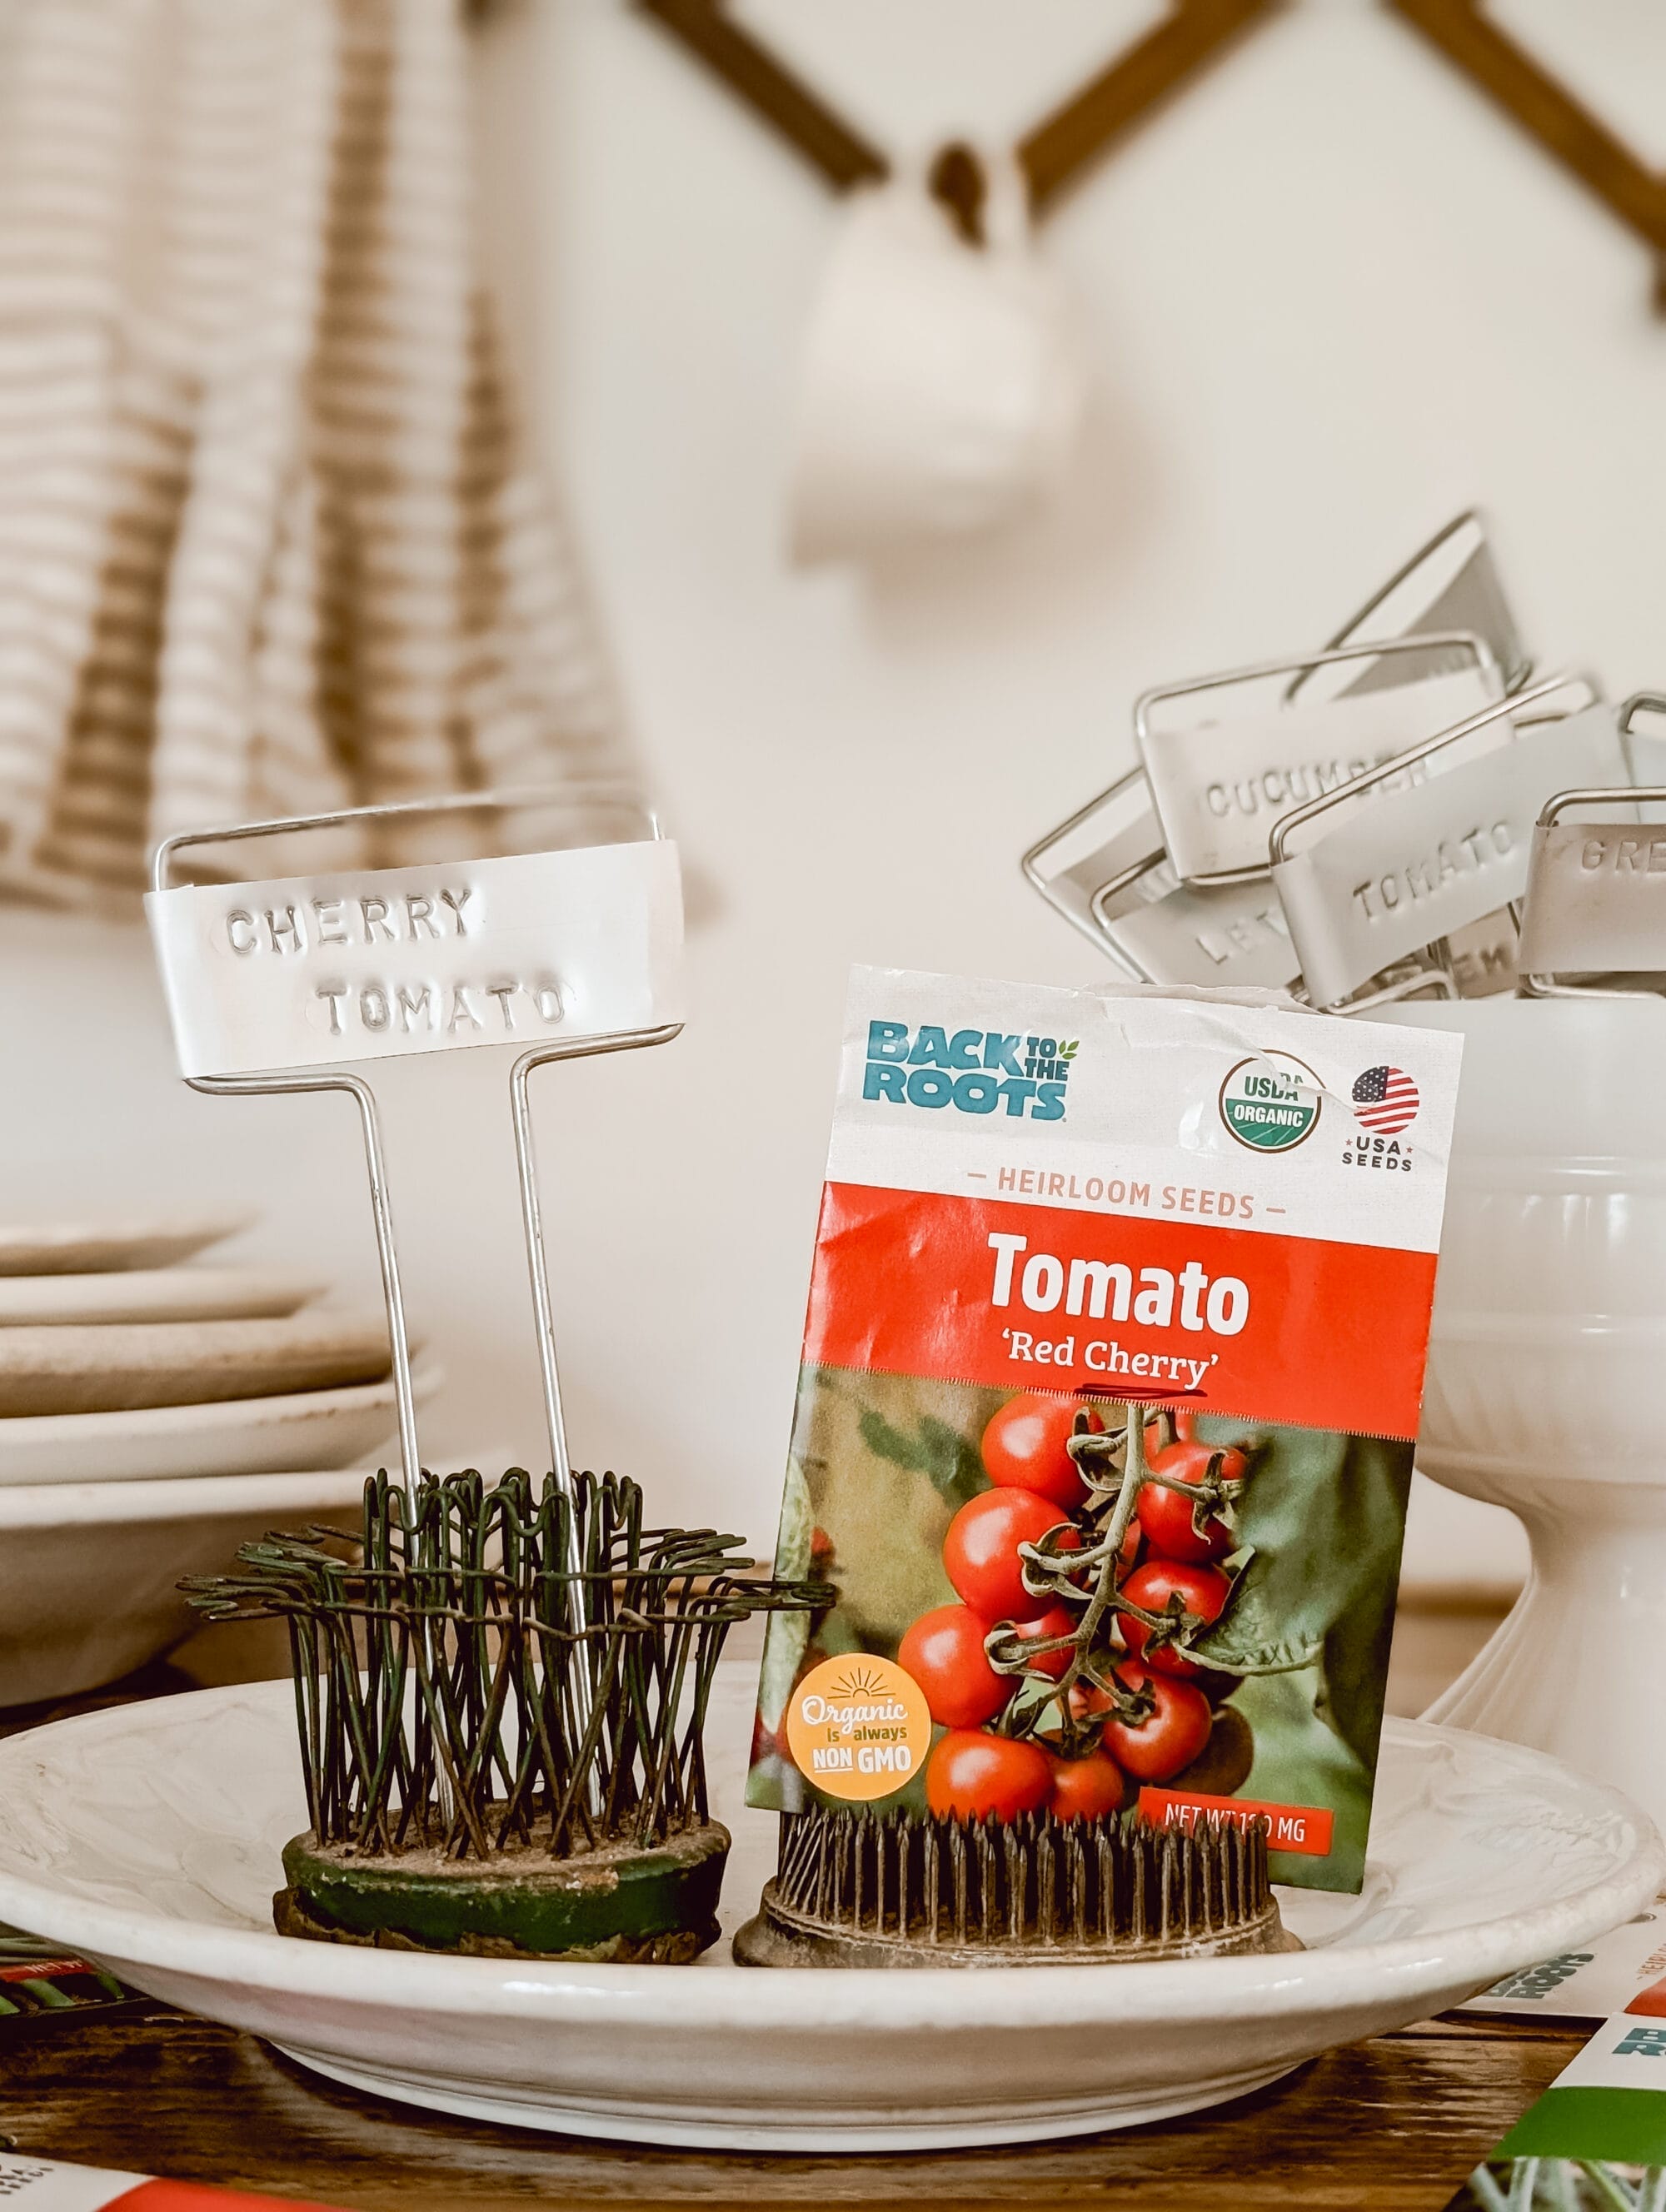
I just can’t get over them!
I’m so happy with this little DIY, and I love way my new garden plant markers look. It gets me so excited for garden season and all the things I want to plant this spring!!

One thing I love about these DIY stamped metal plant markers is that they look like they could be a vintage find!! (Well a vintage find minus the age and the patina, but that will come over time).

I’m telling you, these plant markers were so easy to make!
I can’t wait to show you how I did it, so let’s jump into the DIY together.
How to Make DIY Plant Markers for Your Garden
It won’t take long at all to make your own DIY stamped metal plant markers, as long as you have all the supplies and tools ready to go.
I think I spent, at most, a couple hours working on this project!
Supplies You’ll Need:
- these metal plant markers
- this letter stamping set
- some carboard (to protect your work area)
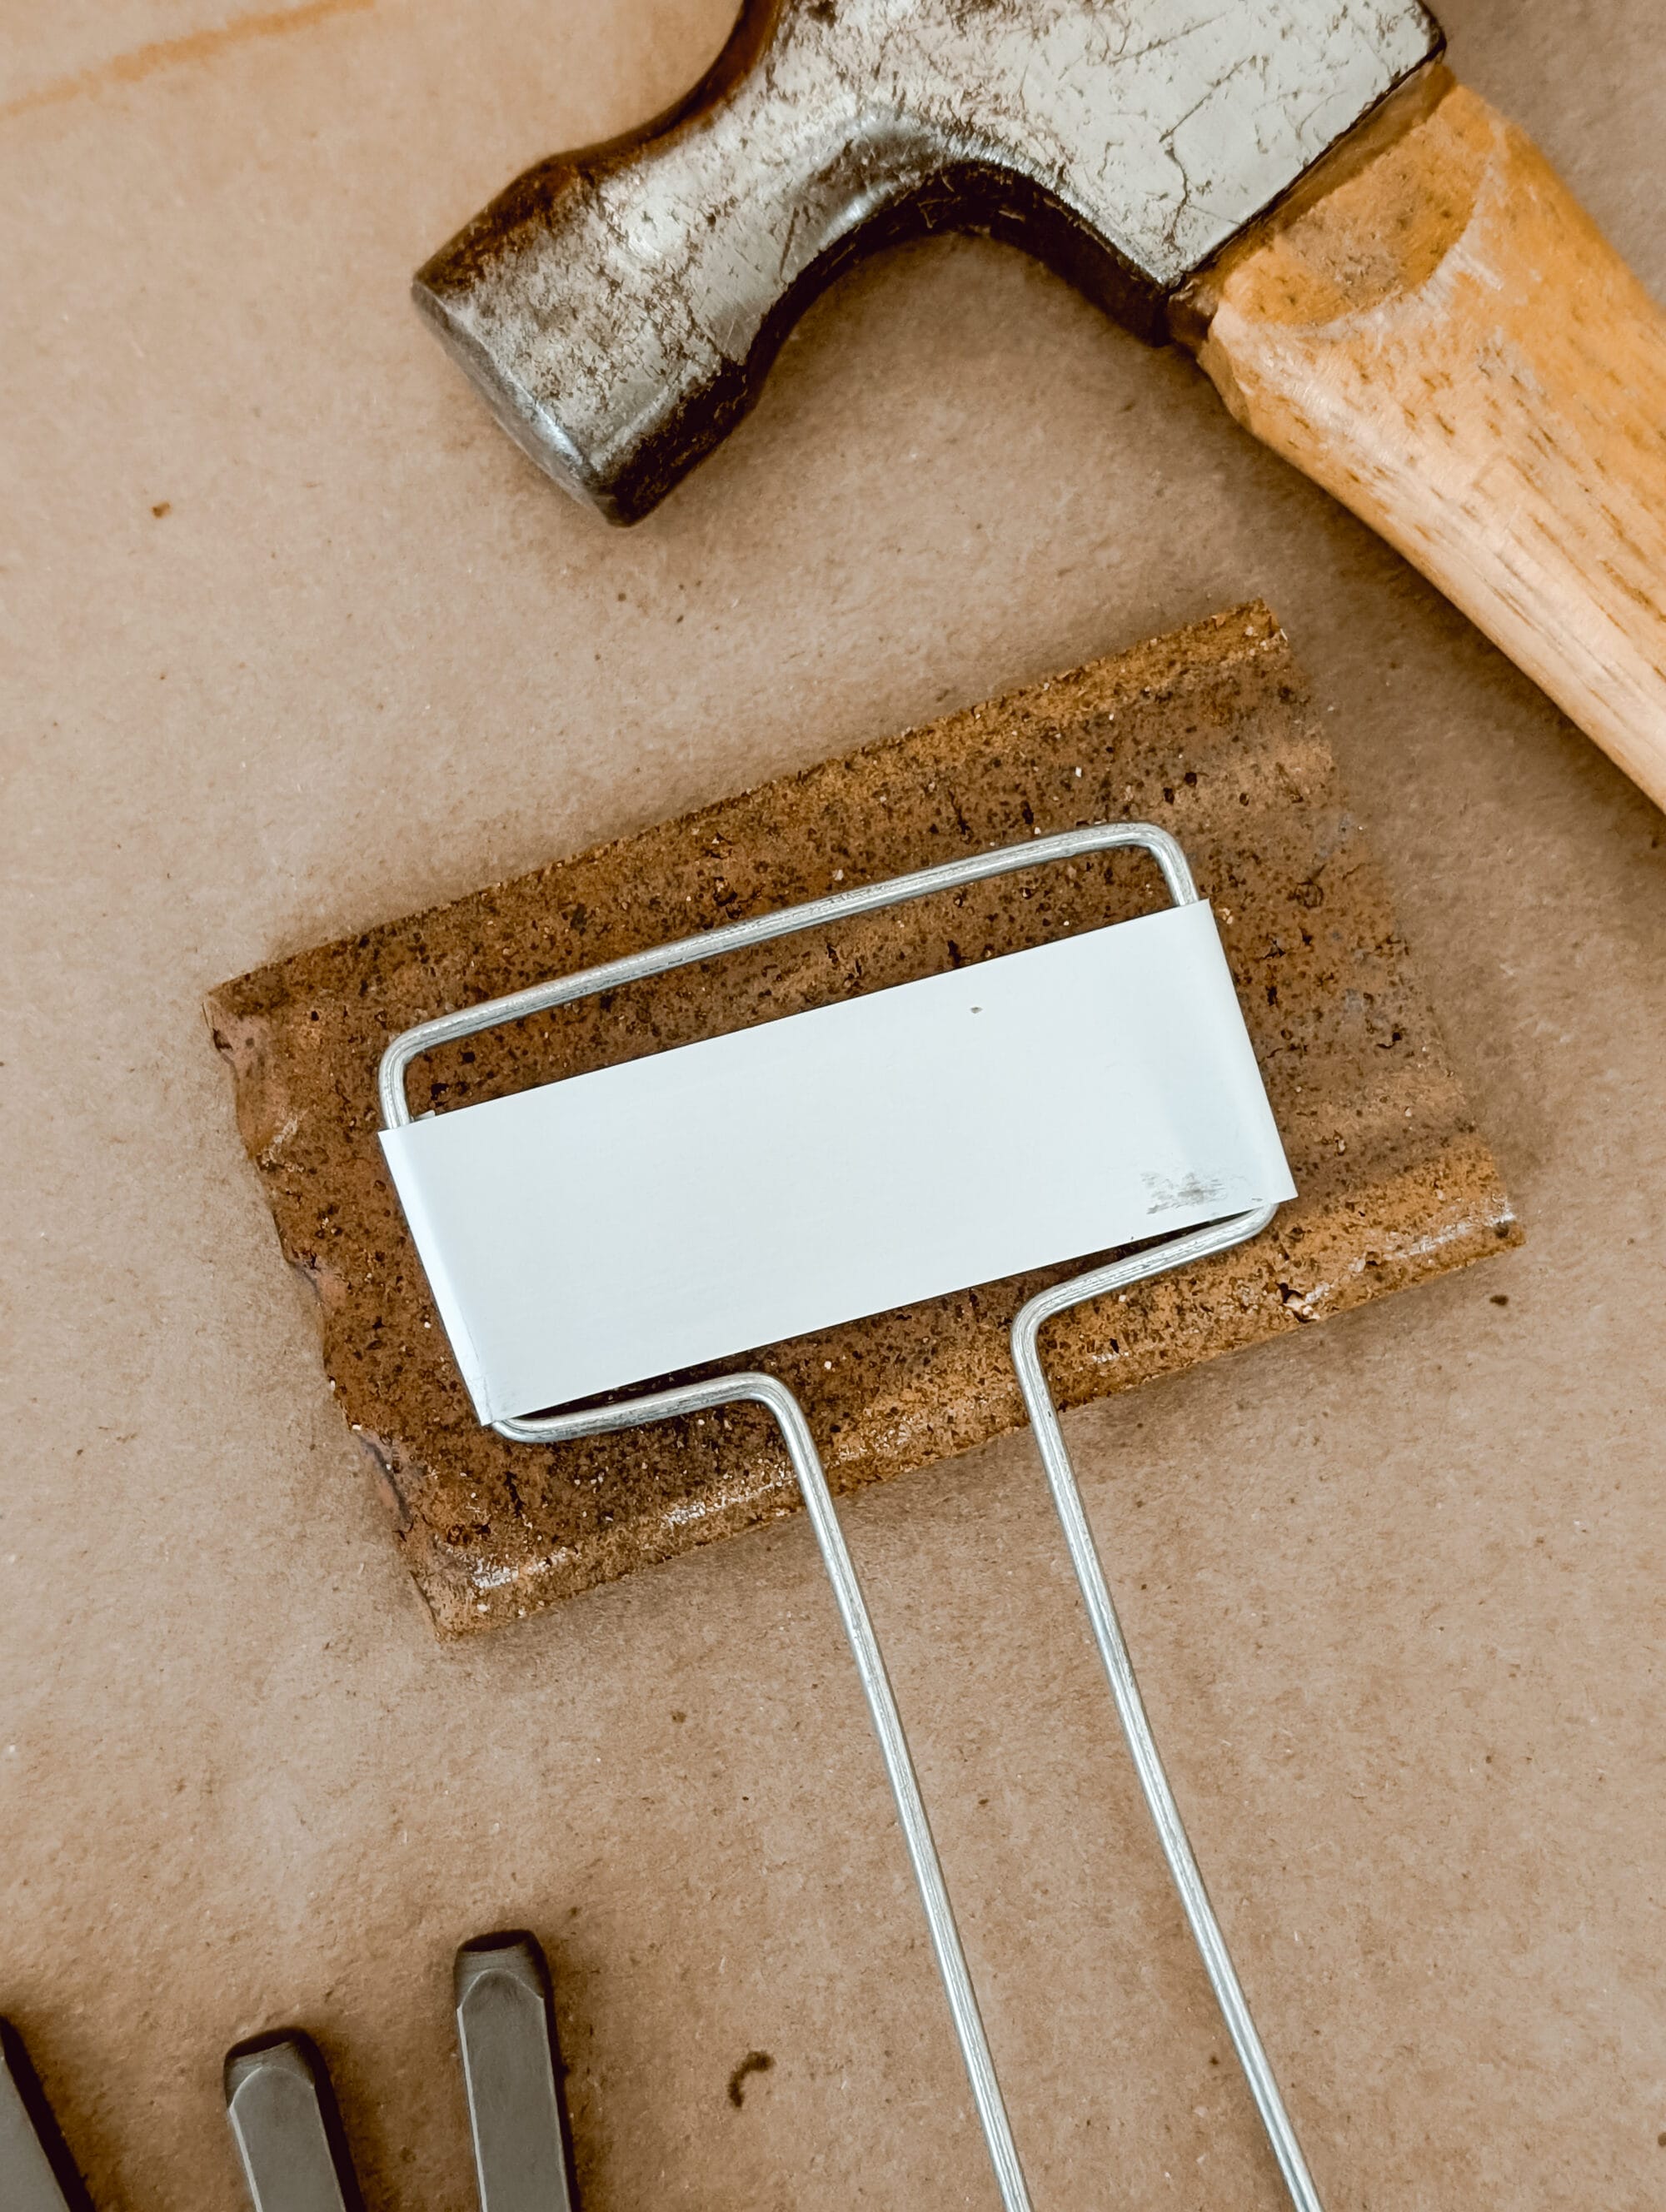
- a brick / a scrap piece of wood
- a hammer

Step 1 – Prep your space.
I worked on this project at our kitchen counter. So to protect the countertop from getting damaged, I put some cardboard down and that worked great!

However, I found that the cardboard alone was not a firm enough of a surface to allow me to stamp the letters into the metal without damaging the plant marker.
Because the cardboard was a softer surface, the metal label area bent inwards when I hammered the letter stamps onto it.
I tried adding thin brick underneath the metal plant marker, and stamping the letters with more of a hard surface underneath. And that worked better!
The brick was a much firmer surface, so it allowed me to hammer in the letter stamps hard enough to print the letters without bending and damaging the plant marker.
However, I found that the brick was so rough, it ended up scratching the back side of the metal.
So I ended up added a couple layers of masking tape to the face of the brick for the rest of the plant markers. And that seemed to work great!

Another workaround could be to use a scrap piece of wood. That might even work better than the brick because it would be less likely to scratch the metal plant markers!
Step 2 – Spell out the plant name with the letter stamps.
Before you start stamping… you’ll first want to spell out the name of the vegetable or herb.
This will help you double check your spelling so you don’t mess that up while stamping.
And it will also help you plan ahead for spacing the word(s) out so that all the letters fit inside the label.

Chives is a fairly short plant name.
But for longer words, or plants with 2 words in the name like green beans, you may have to make 2 rows of letters, or squeeze the letters closer together.
Spelling out the plant names first will help you visualize how much space you have to work with before you get started!
Step 4 – Stamp the letters into the metal plant markers with a hammer.
Now that you have your plant name spelled out, start stamping the letters into the metal label of your plant markers.
Hold the letter stamp in place with one hand, then lightly tap the end of the stamp with a hammer.
You want to tap each letter a few times. While you’re tapping your hammer, you can lean the letter stamp forward and backward, to the left and to the right (just slightly though). This will make sure you get all sides of the letter pushed down into the metal.

You can kindof see in the photo above where part of the letters are darker / stamped deeper into the metal, and other parts of the letter look fainter.
Leaning your letter stamp while you hammer will help you more evenly apply pressure to all parts of the letter as you hammer it into the label.
After you finish each letter, move onto the next letter tapping it into the label space until you’ve printed the entire word into the plant marker.

And that’s all there is to it! You’ve made your own DIY stamped metal plant markers!
I didn’t stress over my letters not being perfectly lined up and evenly spaced. I think imperfection is what gives them character and personality!
And I like that they look hand-made!
If you love this idea, but you’re not quite ready to make your own plant markers… Feel free to save this post to Pinterest so you can easily find it later!
Don’t forget to pin this for later!

Our Spring Garden Plans
So far we’ve started a few seeds indoors and I can’t wait to get them in the ground soon! Our last frost date is April 8th so it won’t be too much longer…
Then I can show you our DIY plant markers in use!

Vegetables We’re Growing
We chose to grow a few vegetables our family likes to eat, and ones we already use and cook with on a regular basis.

- slicing tomatoes
- roma tomatoes
- cherry tomatoes
- bell peppers
- carrots
- green beans
- lettuce
- zucchini
- cucumbers
- sweet onions
- green onions

Things like cucumbers and tomatoes have done well for us in previous years… and I’ll be excited to see how the other veggies do in our garden!
Herbs We’re Growing
I used the same thought process when deciding which herbs to grow in our garden. I chose herbs we cook with, or ones I like to boil in my spring simmer pots.

- chives
- cilantro
- parsley
- mint
- basil
- rosemary
- lavender

Lavender will be a new herb in our garden this year, and one I’m excited to grow because I love the scent of it.
I’m sure we’ll come up with some fun ways to use it in our home if it does well in the garden!
DIY Raised Beds Coming Soon…
The past couple years we’ve gardened in containers. This year we’re building our own raised garden beds. I can’t wait to have more space for all my little plant babies.
And I can’t wait to use my new DIY plant markers in the garden!!

If you enjoyed this post, you might want to check out this post where I shared my simplified approach to composting!
And if you’re not already a part of my email community, consider this your personal invitation!
Sign up below to get more DIY’s for your home and garden delivered to your inbox each week. I’ll be sending out my DIY raised garden bed blog post soon and you won’t want to miss that one…
Thanks for stopping by the blog today! Until next time…