
How to Make DIY Silhouette Art from a Photo
This post may contain affiliate links. For more information, you can read my full disclaimer here.
I made the sweetest, vintage looking DIY silhouette art using photos of my kids, and I can’t wait to show you how I did it!
Creating your own silhouette art is such an easy DIY – and a project you could totally do in an afternoon.

It’s also a super unique way to capture your child’s features and likeness. To freeze time for a moment and create a piece of art that is deeply sentimental, and one you and your family will treasure for years to come!
The Easiest Way to Create Silhouette Art from a Photo
I’ve seen a handful of other tutorials for this project, and they often make what should be an easy DIY craft project much more complicated than it needs to be.
Some of them involve holding a sheet of paper up to the computer screen and tracing the silhouette with a pencil. Others involve printing the photo & cutting the outline of the silhouette.
But I promise you – making your own framed silhouette art doesn’t have to be that tedious! So if you’re looking for an easier way… keep reading. I got ya friend!
In this post, I’m gonna show you the easy way to create your own DIY framed silhouette art! No tracing, no cutting.
I also want to mention that for safety reasons, I try not to post photos showing my kids’ faces online very often. So for the “how to” parts of this post, you’ll get to see a photo of our fur-baby Ford.
Supplies You’ll Need for this DIY:
- your phone / camera
- access to Canva’s website – (You can use the free version for this DIY!)
- cardstock (If you’re printing at home – or you can also print at Walmart / CVS / etc.)
- a picture frame
Step by Step Instructions for DIY Silhouette Art
Step 1 – Take a photo from the side profile.
To create your own DIY silhouette art, you want to start by taking a photo of your subject from the side profile.
I find that I get the best results when I take these type of photos in front of a blank wall, near a window if possible. That way you can really see all the details, the features, the hair, etc.

You’ll want to take your photo at eye level with the subject. Your camera should be pointing straight at their face.
Not from below with the camera angled up, and not from above pointed down at their face. These angles will change the features and shapes of your subject’s face.
Once you’re happy with your photo, you can move onto step 2.
Step 2 – Remove the background of your image.
To turn your photo into a silhouette, you’ll use a program called Canva to edit the image.
You can use use Canva’s mobile app and edit directly on your phone, or you can access Canva’s website on the computer.
But first, if you’re new to Canva, or maybe you’ve used Canva before but you have the free version… you’ll want to remove the background of your photo before you upload it to Canva.
Removing the background of a photo is a paid feature in Canva.
So if you don’t have the paid version, Canva Pro, you can use a free background removal tool.
I’ve been really happy with remove.bg in the past, so that’s one I would recommend! You just upload your image and it does the rest for you.
If you have the paid version of Canva, Canva Pro – you can use their BG Remover tool as seen below.
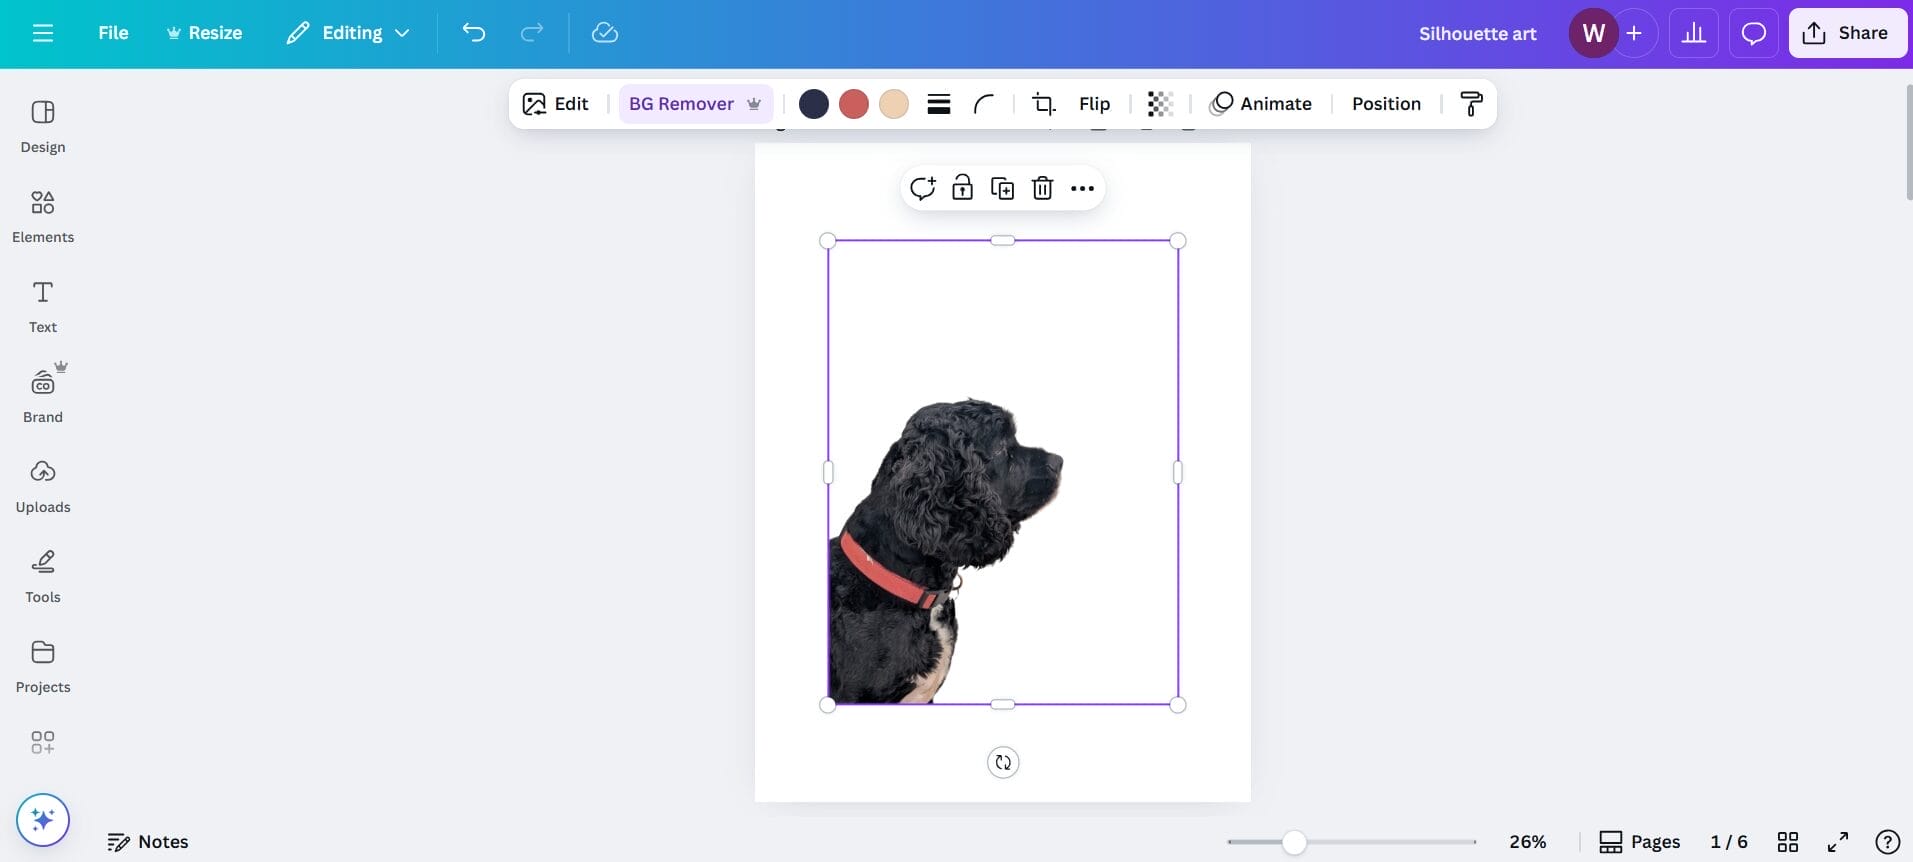
Step 4 – Turn your photo into a silhouette with Canva’s Duotone Effect.
Now that you’ve removed the background, you’re photo is ready to transform into a silhouette!
If you used the free remove.bg website, you’ll want to import the image into Canva after you have removed the background.
The free version of Canva will work for the remainder of this project.
Next you’ll want to click on the image. Then click on “Edit” in the menu above your photo.

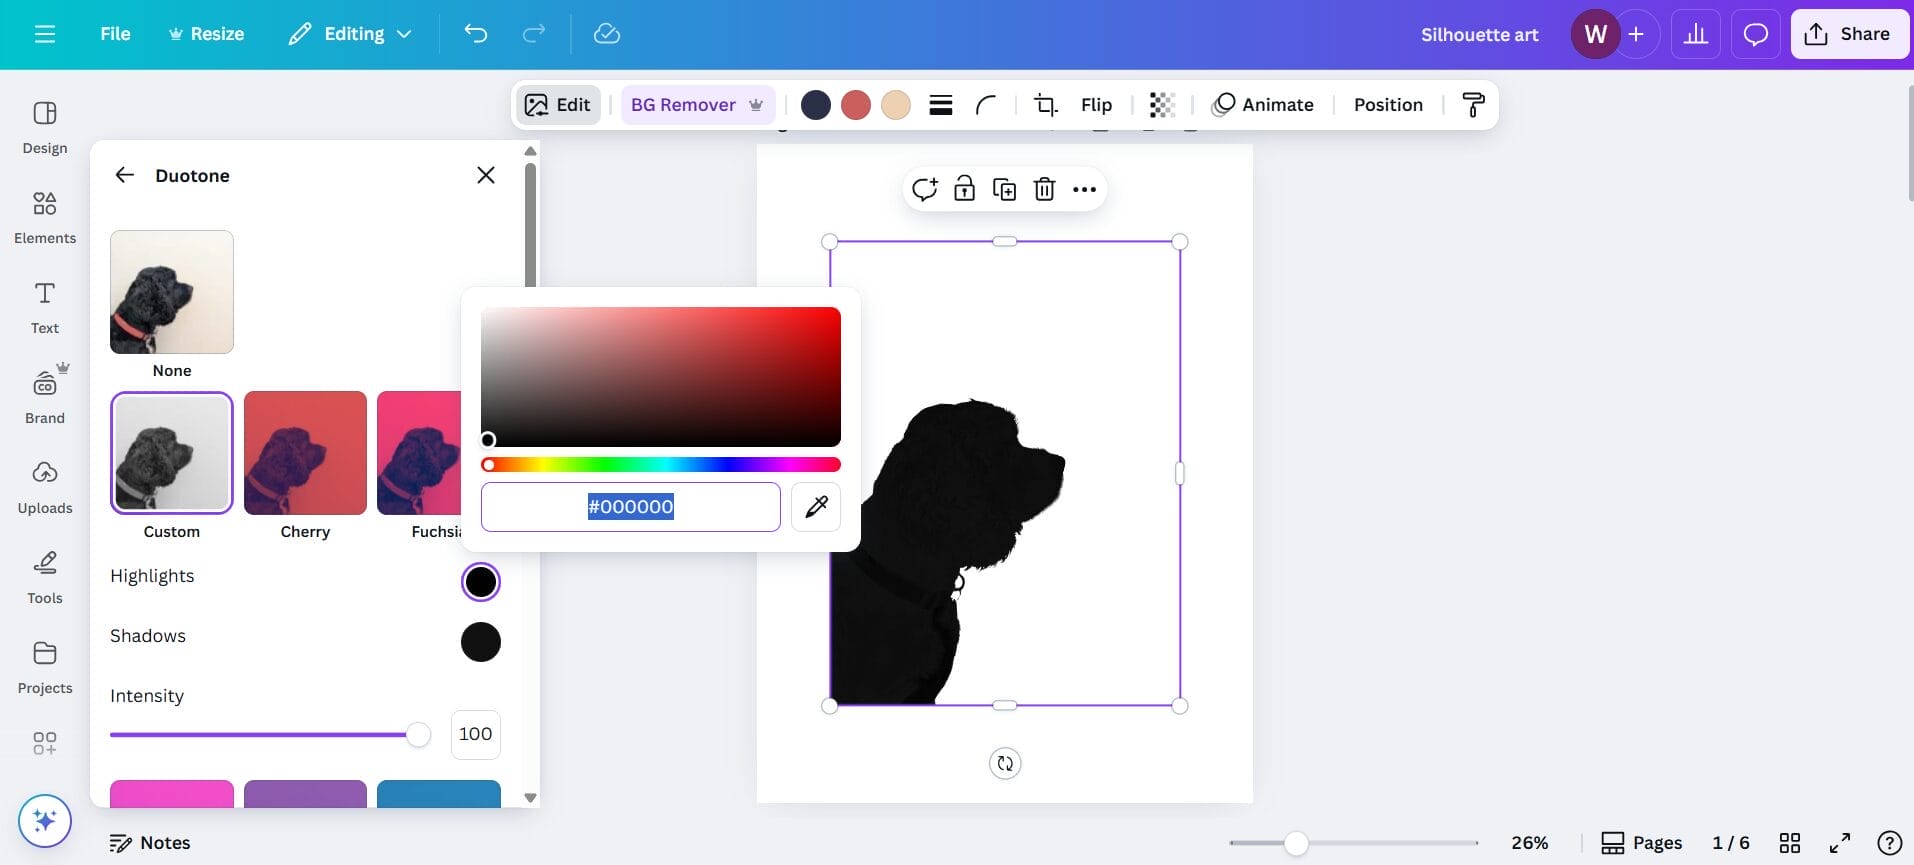
Look under “Effects” and select the “Duotone” effect.
Now, after you select “Duotone”, you’ll want to make some custom edits.
First click on “Custom”.

Then change both the highlights and the shadows all the way to black.
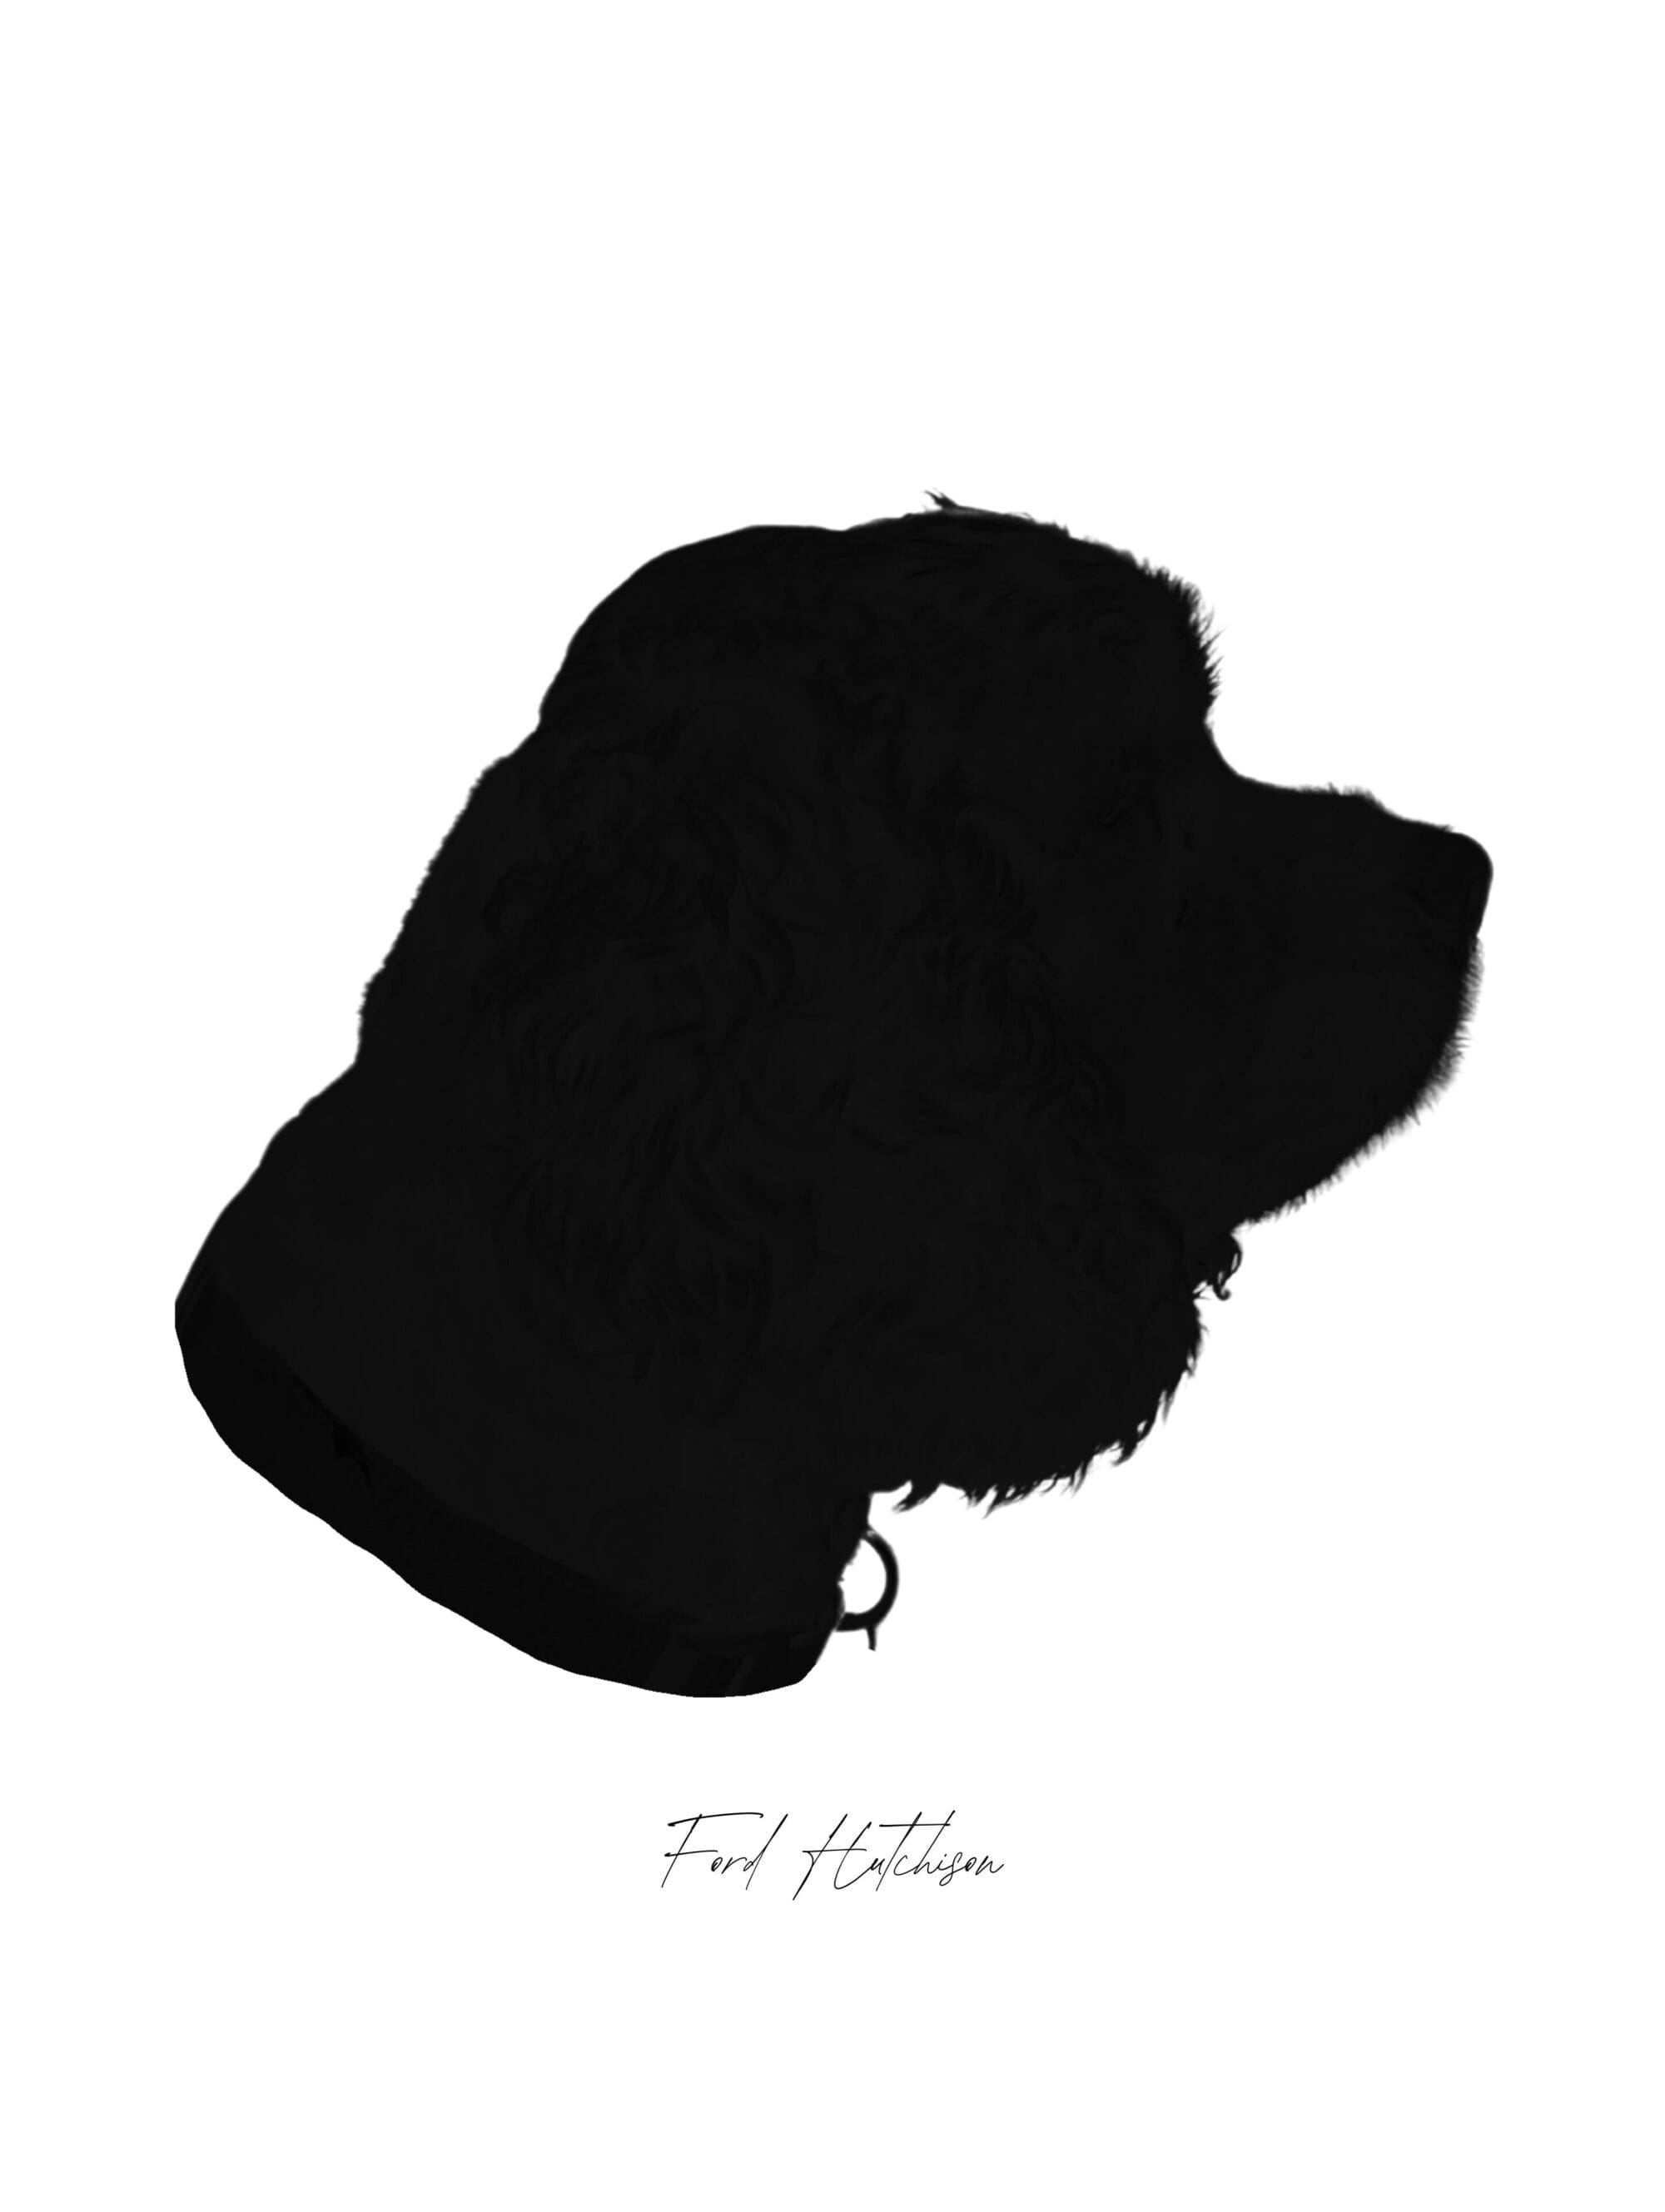
And ta-da… you have a silhouette!
It already looks so good! But we’re not quite done yet… See how I gave this silhouette a more finished look in step 5.
Step 5 – add the Finishing details
Now one thing I’ve noticed is that authentic silhouette art, like the antique versions, often have a finished looking edge around the neck / shoulder area. Especially the ones that are a close up of the person’s face.
They often have a little swoopy, curvy line just under the subjects neck.
You can add something similar to the bottom of your silhouette to make it look more finished!
In Canva, click on the word “Elements” in the far left menu. Search for “blob” or “curvy shape”.
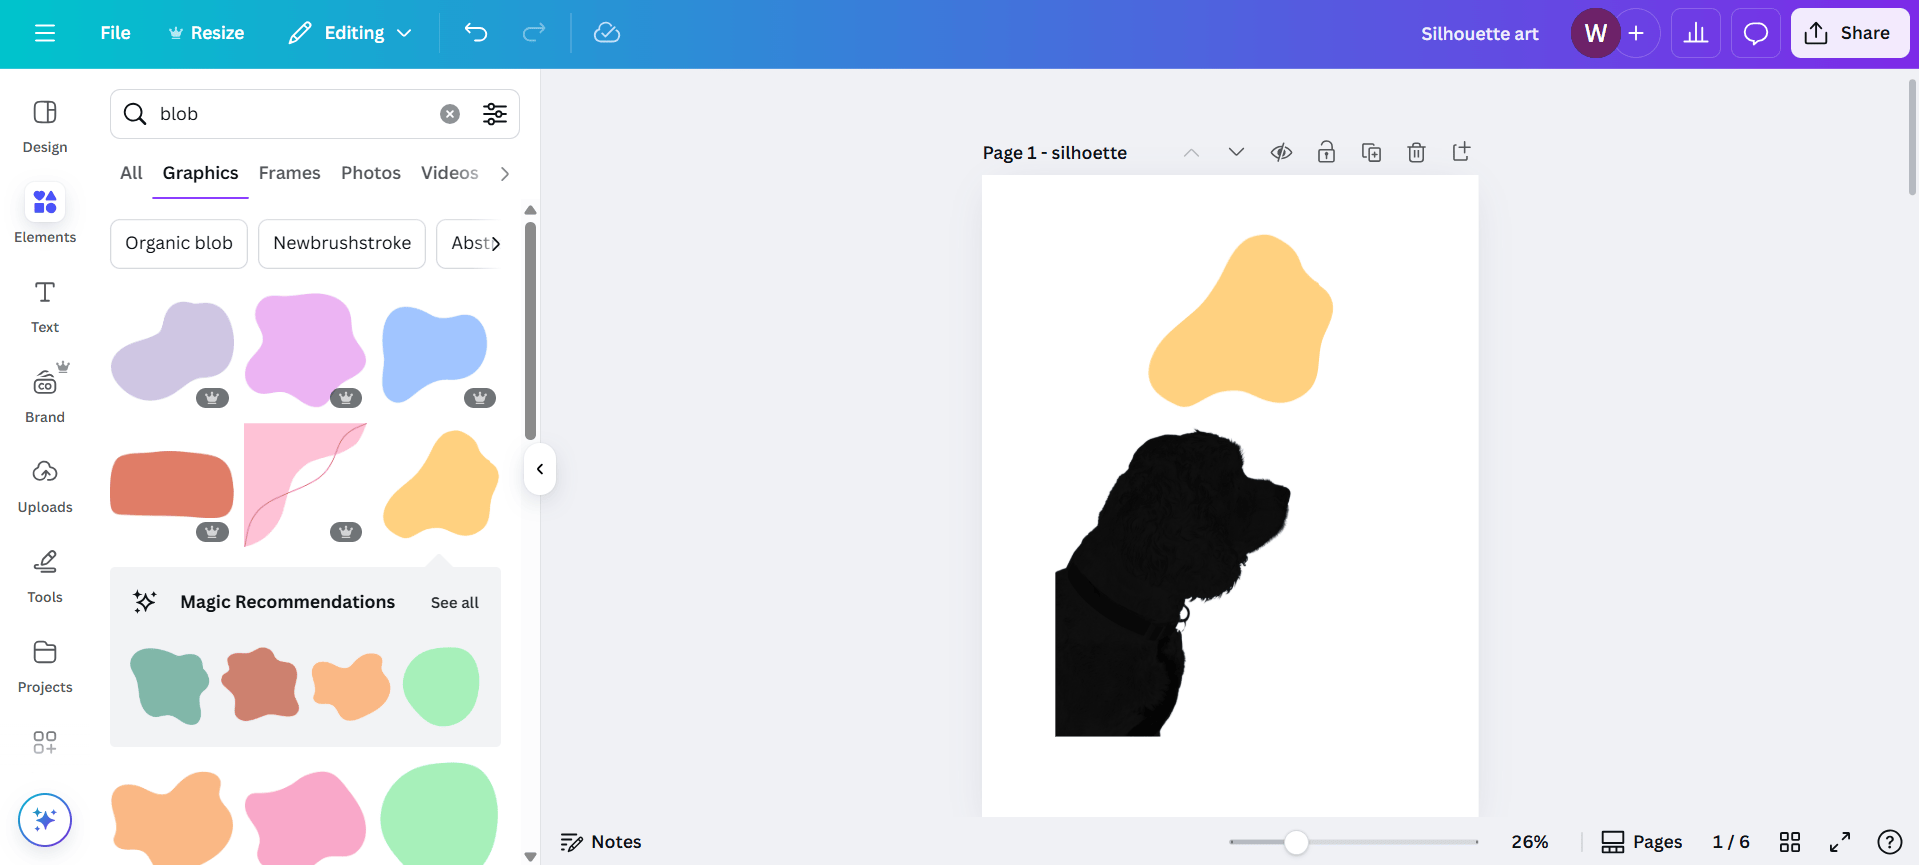
You’ll want to look around and experiment to find a curvy shape that looks natural on your photo.
I found this yellow blob shape to try. After rotating it and making it slightly larger, I tested it out at the bottom of Ford’s neck. Right about where his collar would normally rest.

Not too bad! Now to make it dissappear so all we are left with is the silhouette of Ford’s face.
To hide the yellow curvy blob shape, you’ll want to change the color to white.

See how much better that looks? It just finishes the edge so nicely!
If you like, you can add a textbox and type in the name, the date, or any other details you’d like to go with your portrait!
I added Ford’s name in a pretty font just below his image.
Once you’re happy with how everything looks, download your image and move on to step 5.
Step 6 – Print and frame!
After downloading the file from Canva, I opted to print my photo on cardstock for a more matte look.
If you don’t have a printer at home, you can always print your silhouette art at Walmart, CVS, Walgreens, etc. They usually give you the option to print on matte or glossy paper, so you can choose whichever you prefer.
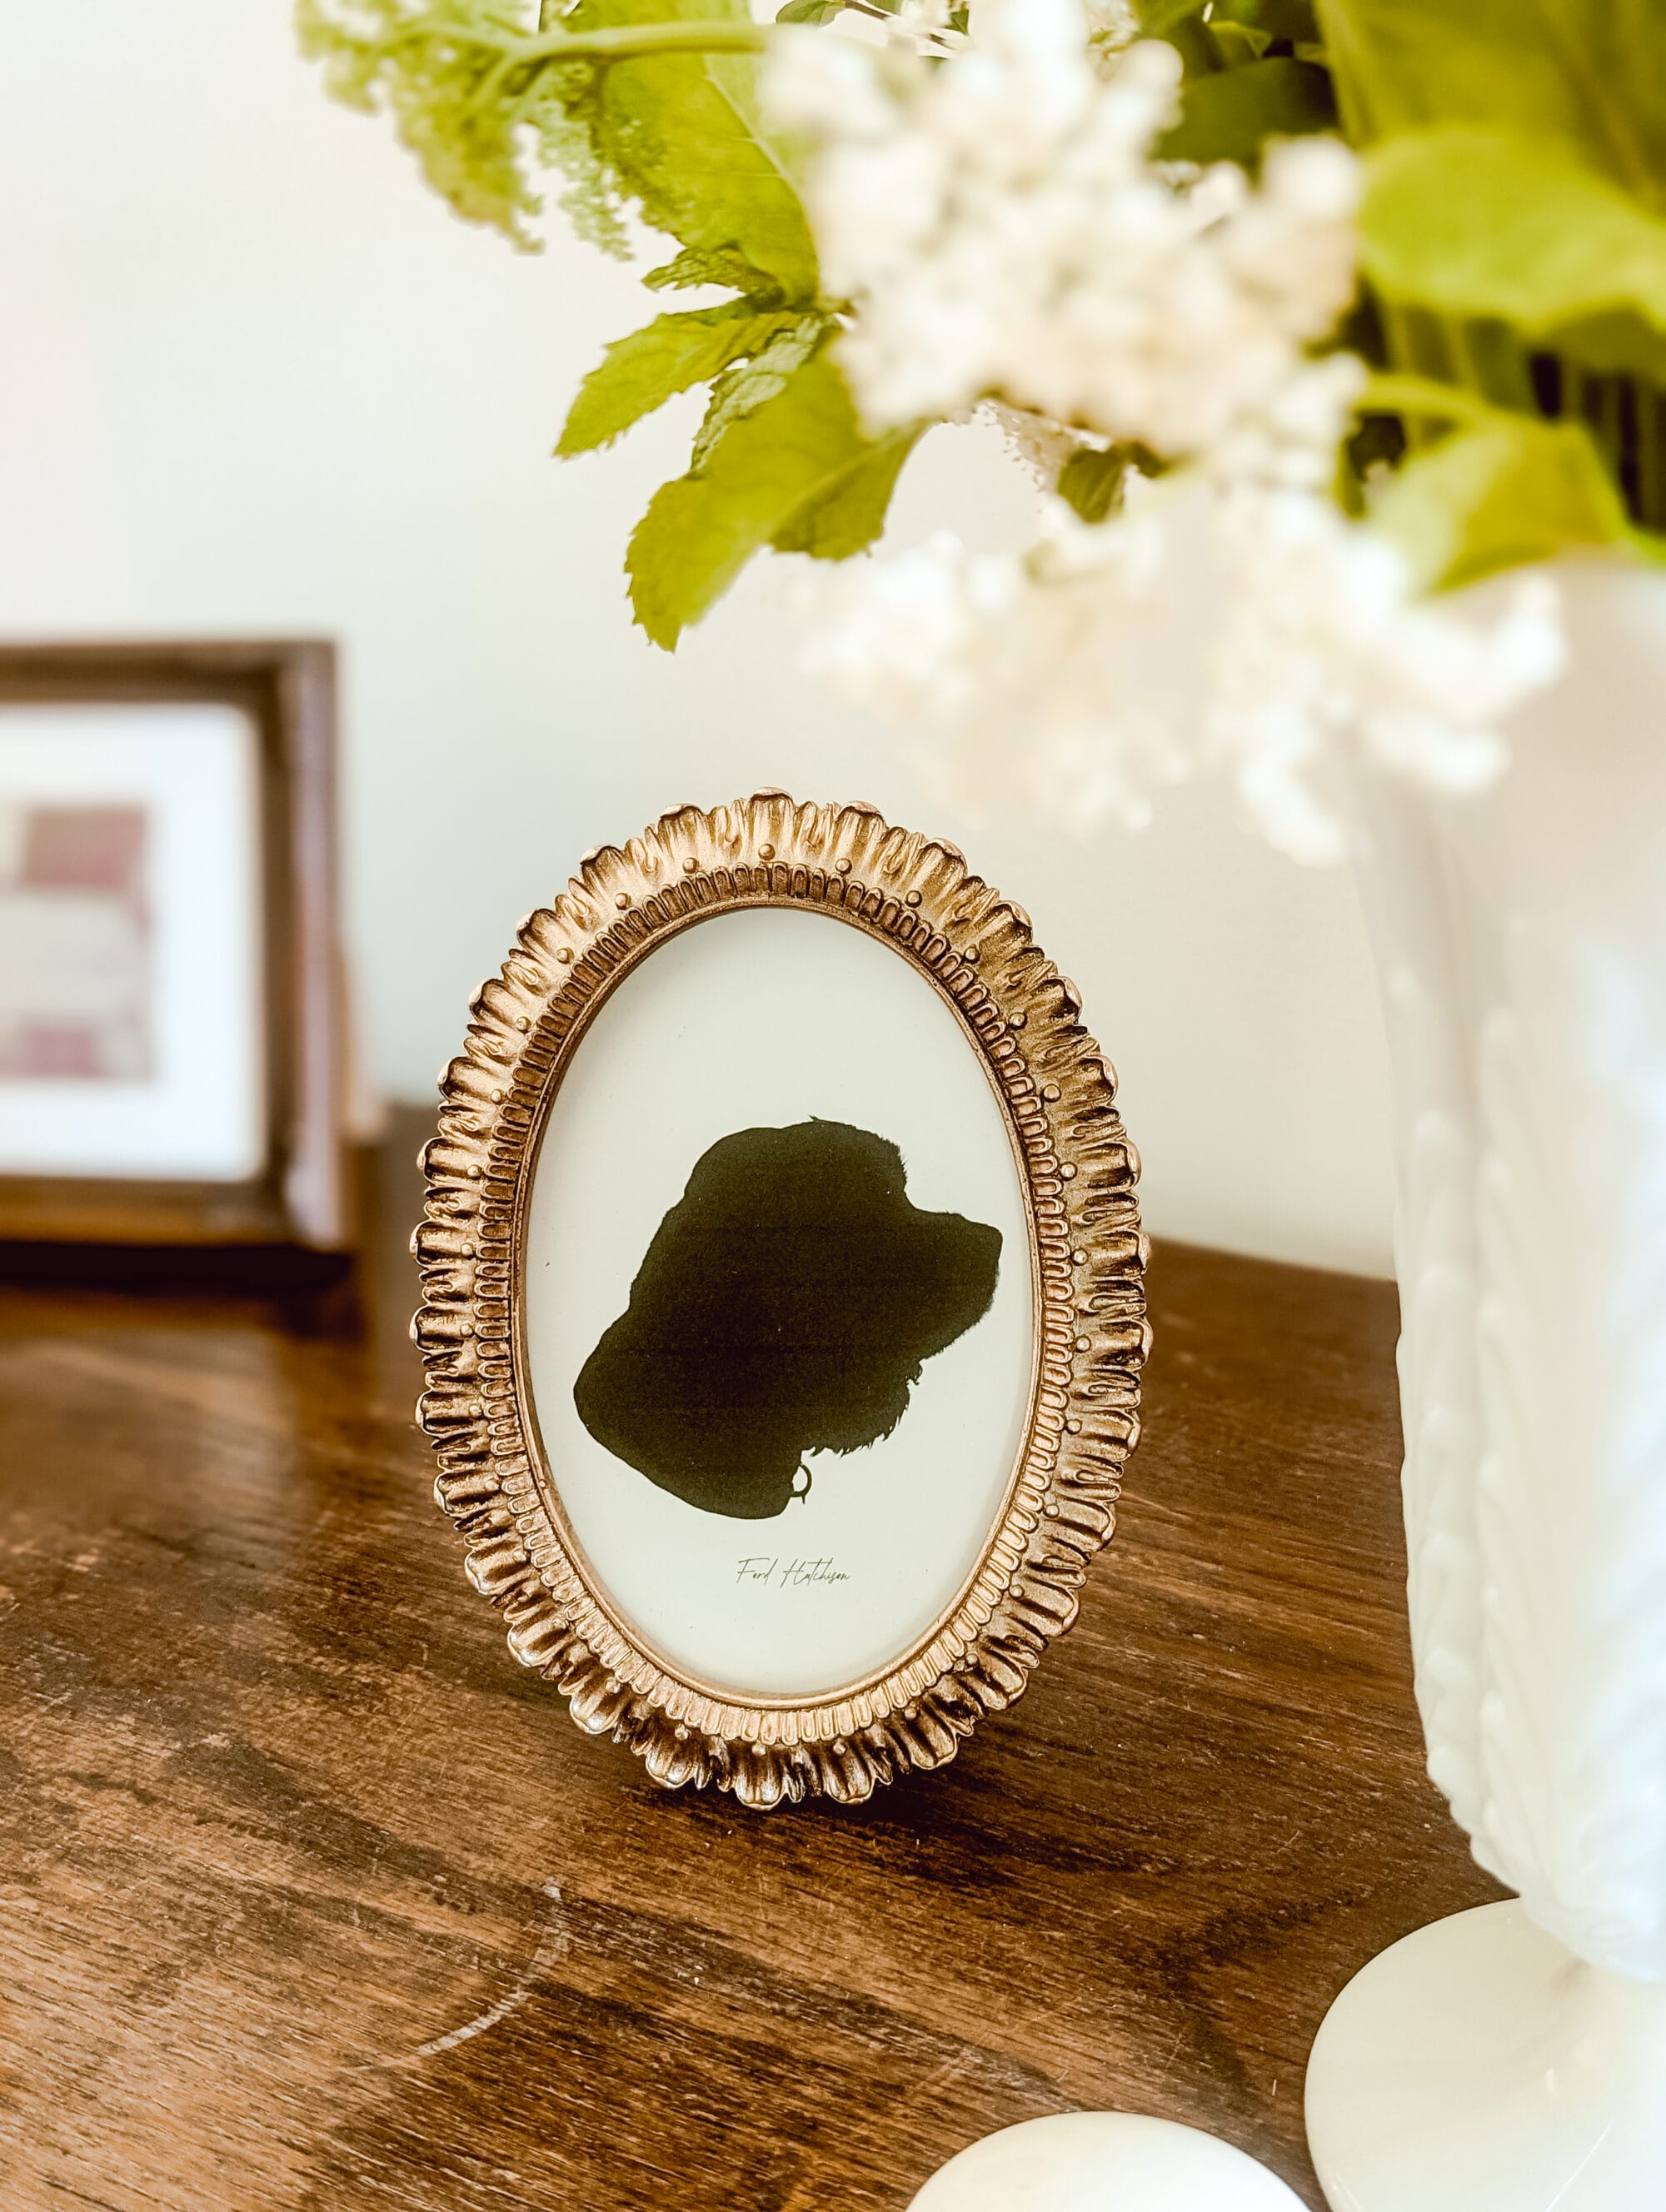
Now add your photo to a frame and you’re done!
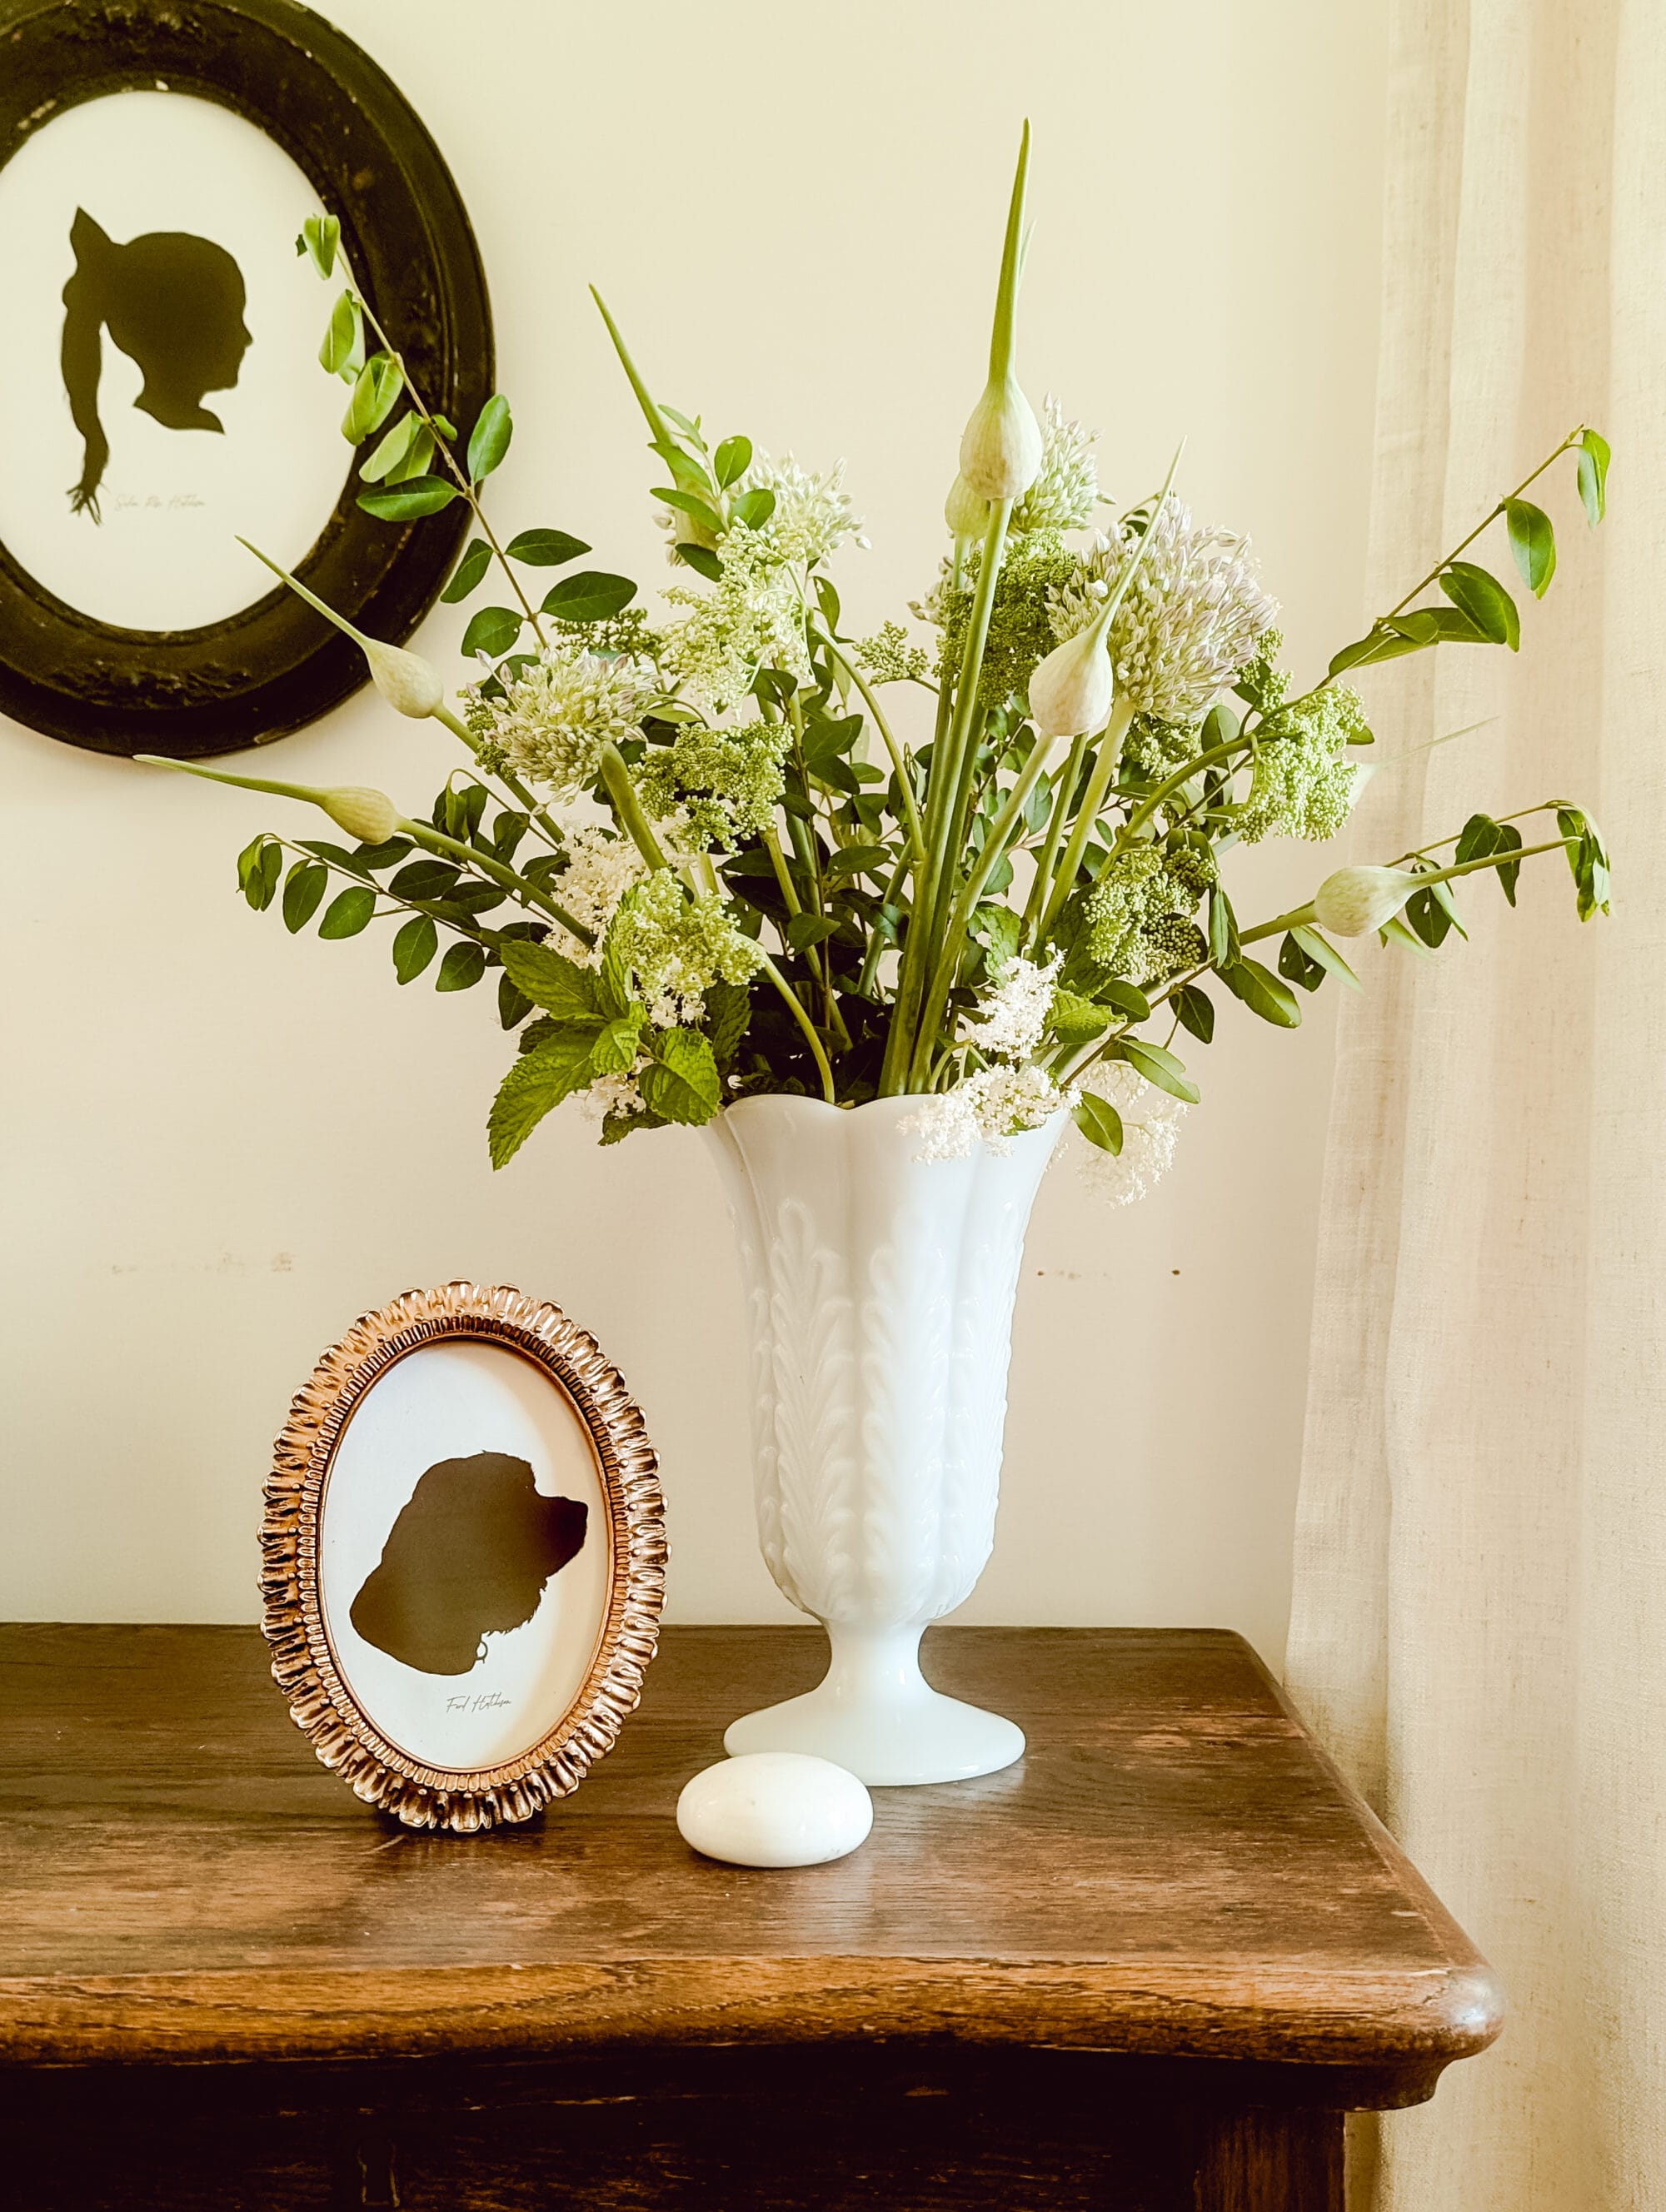
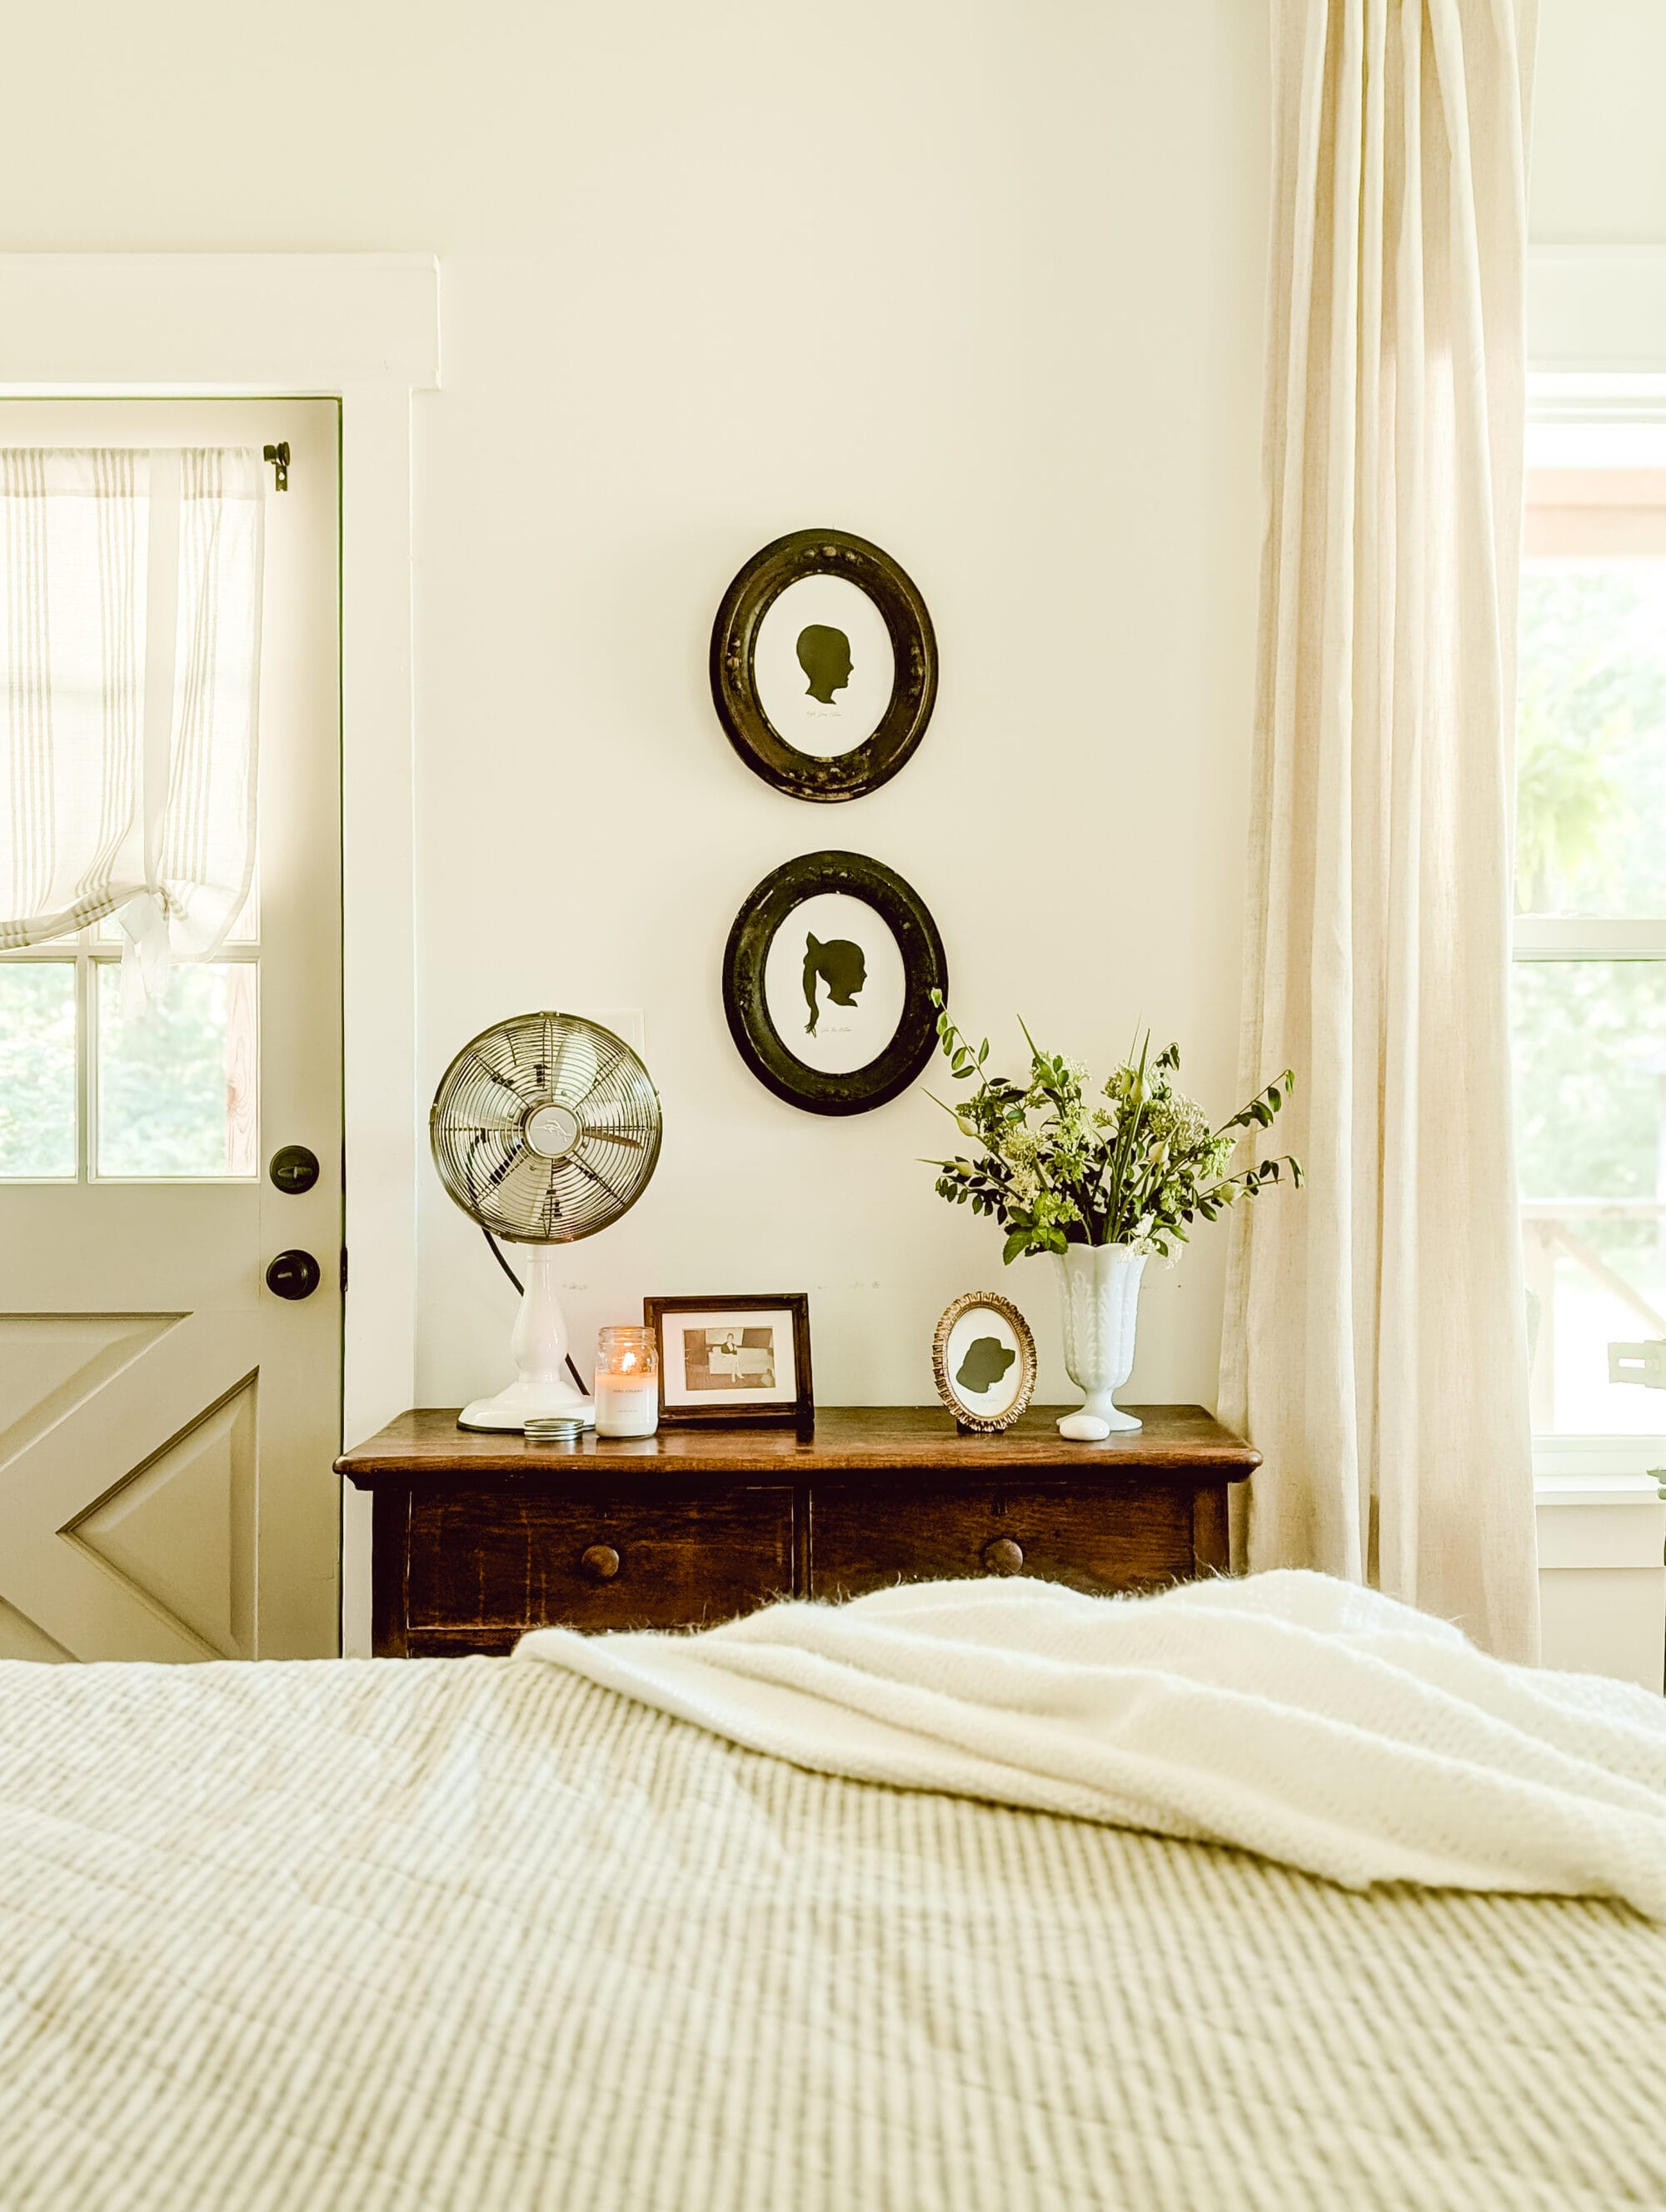
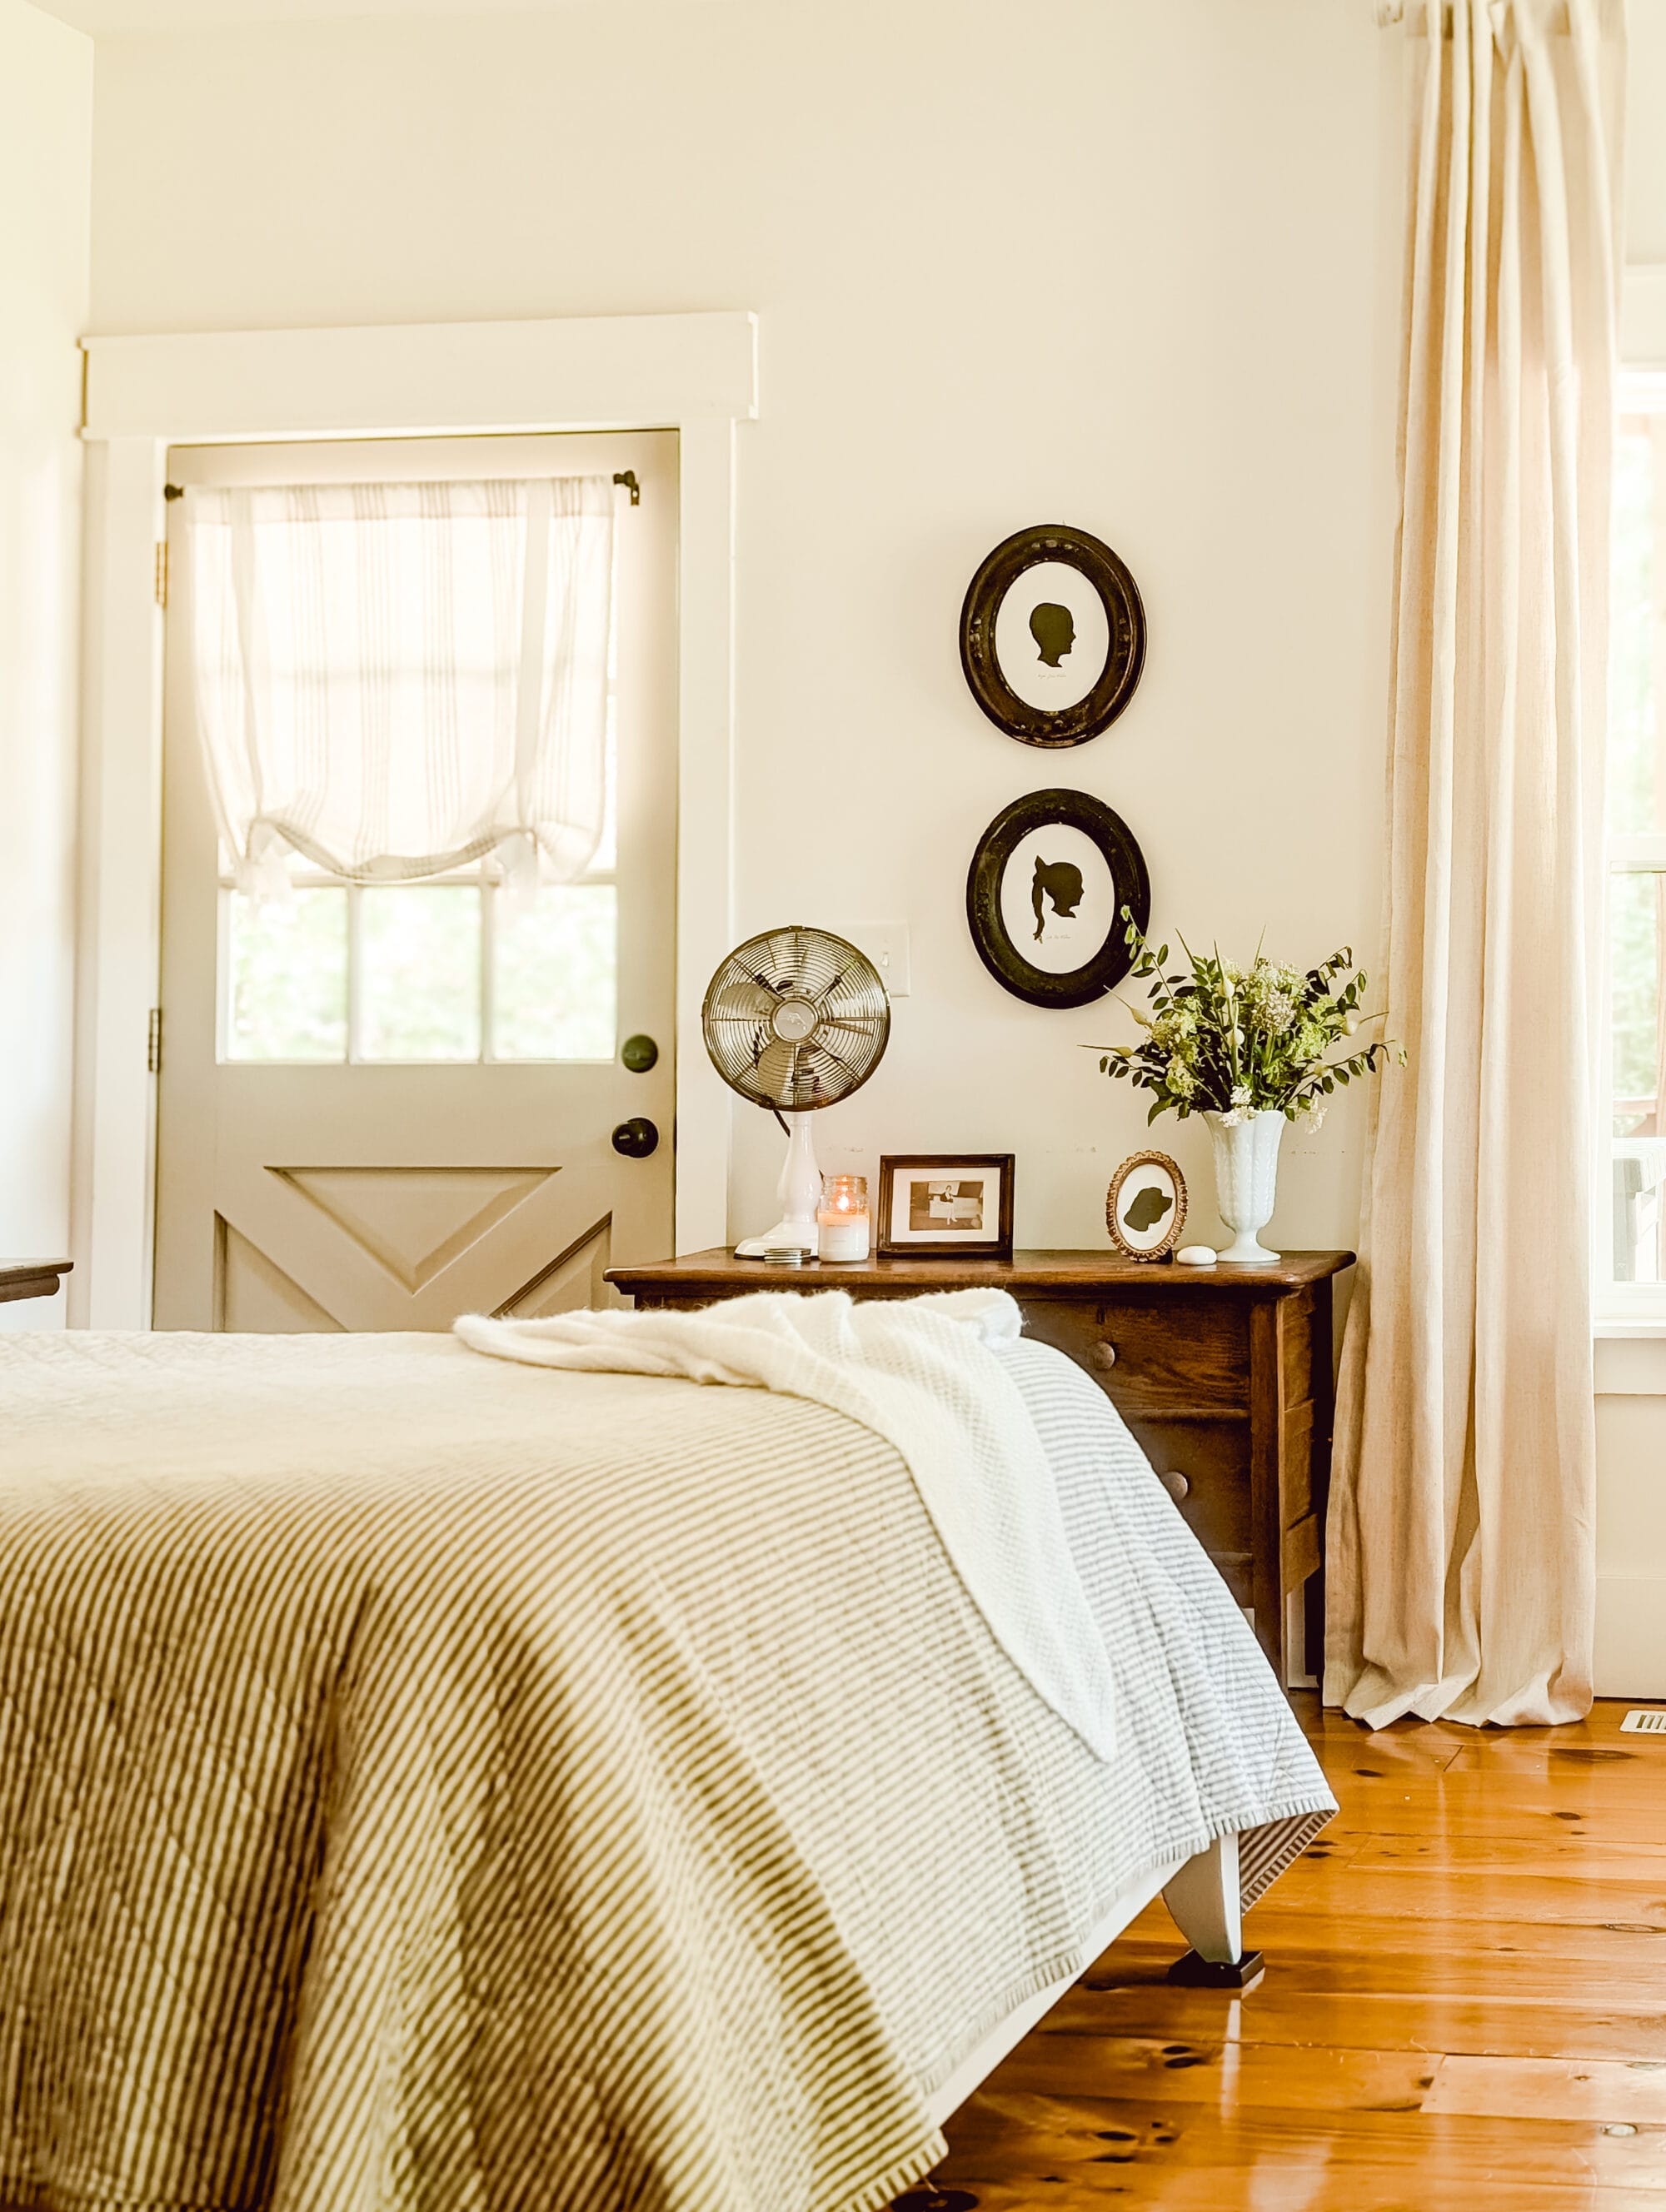
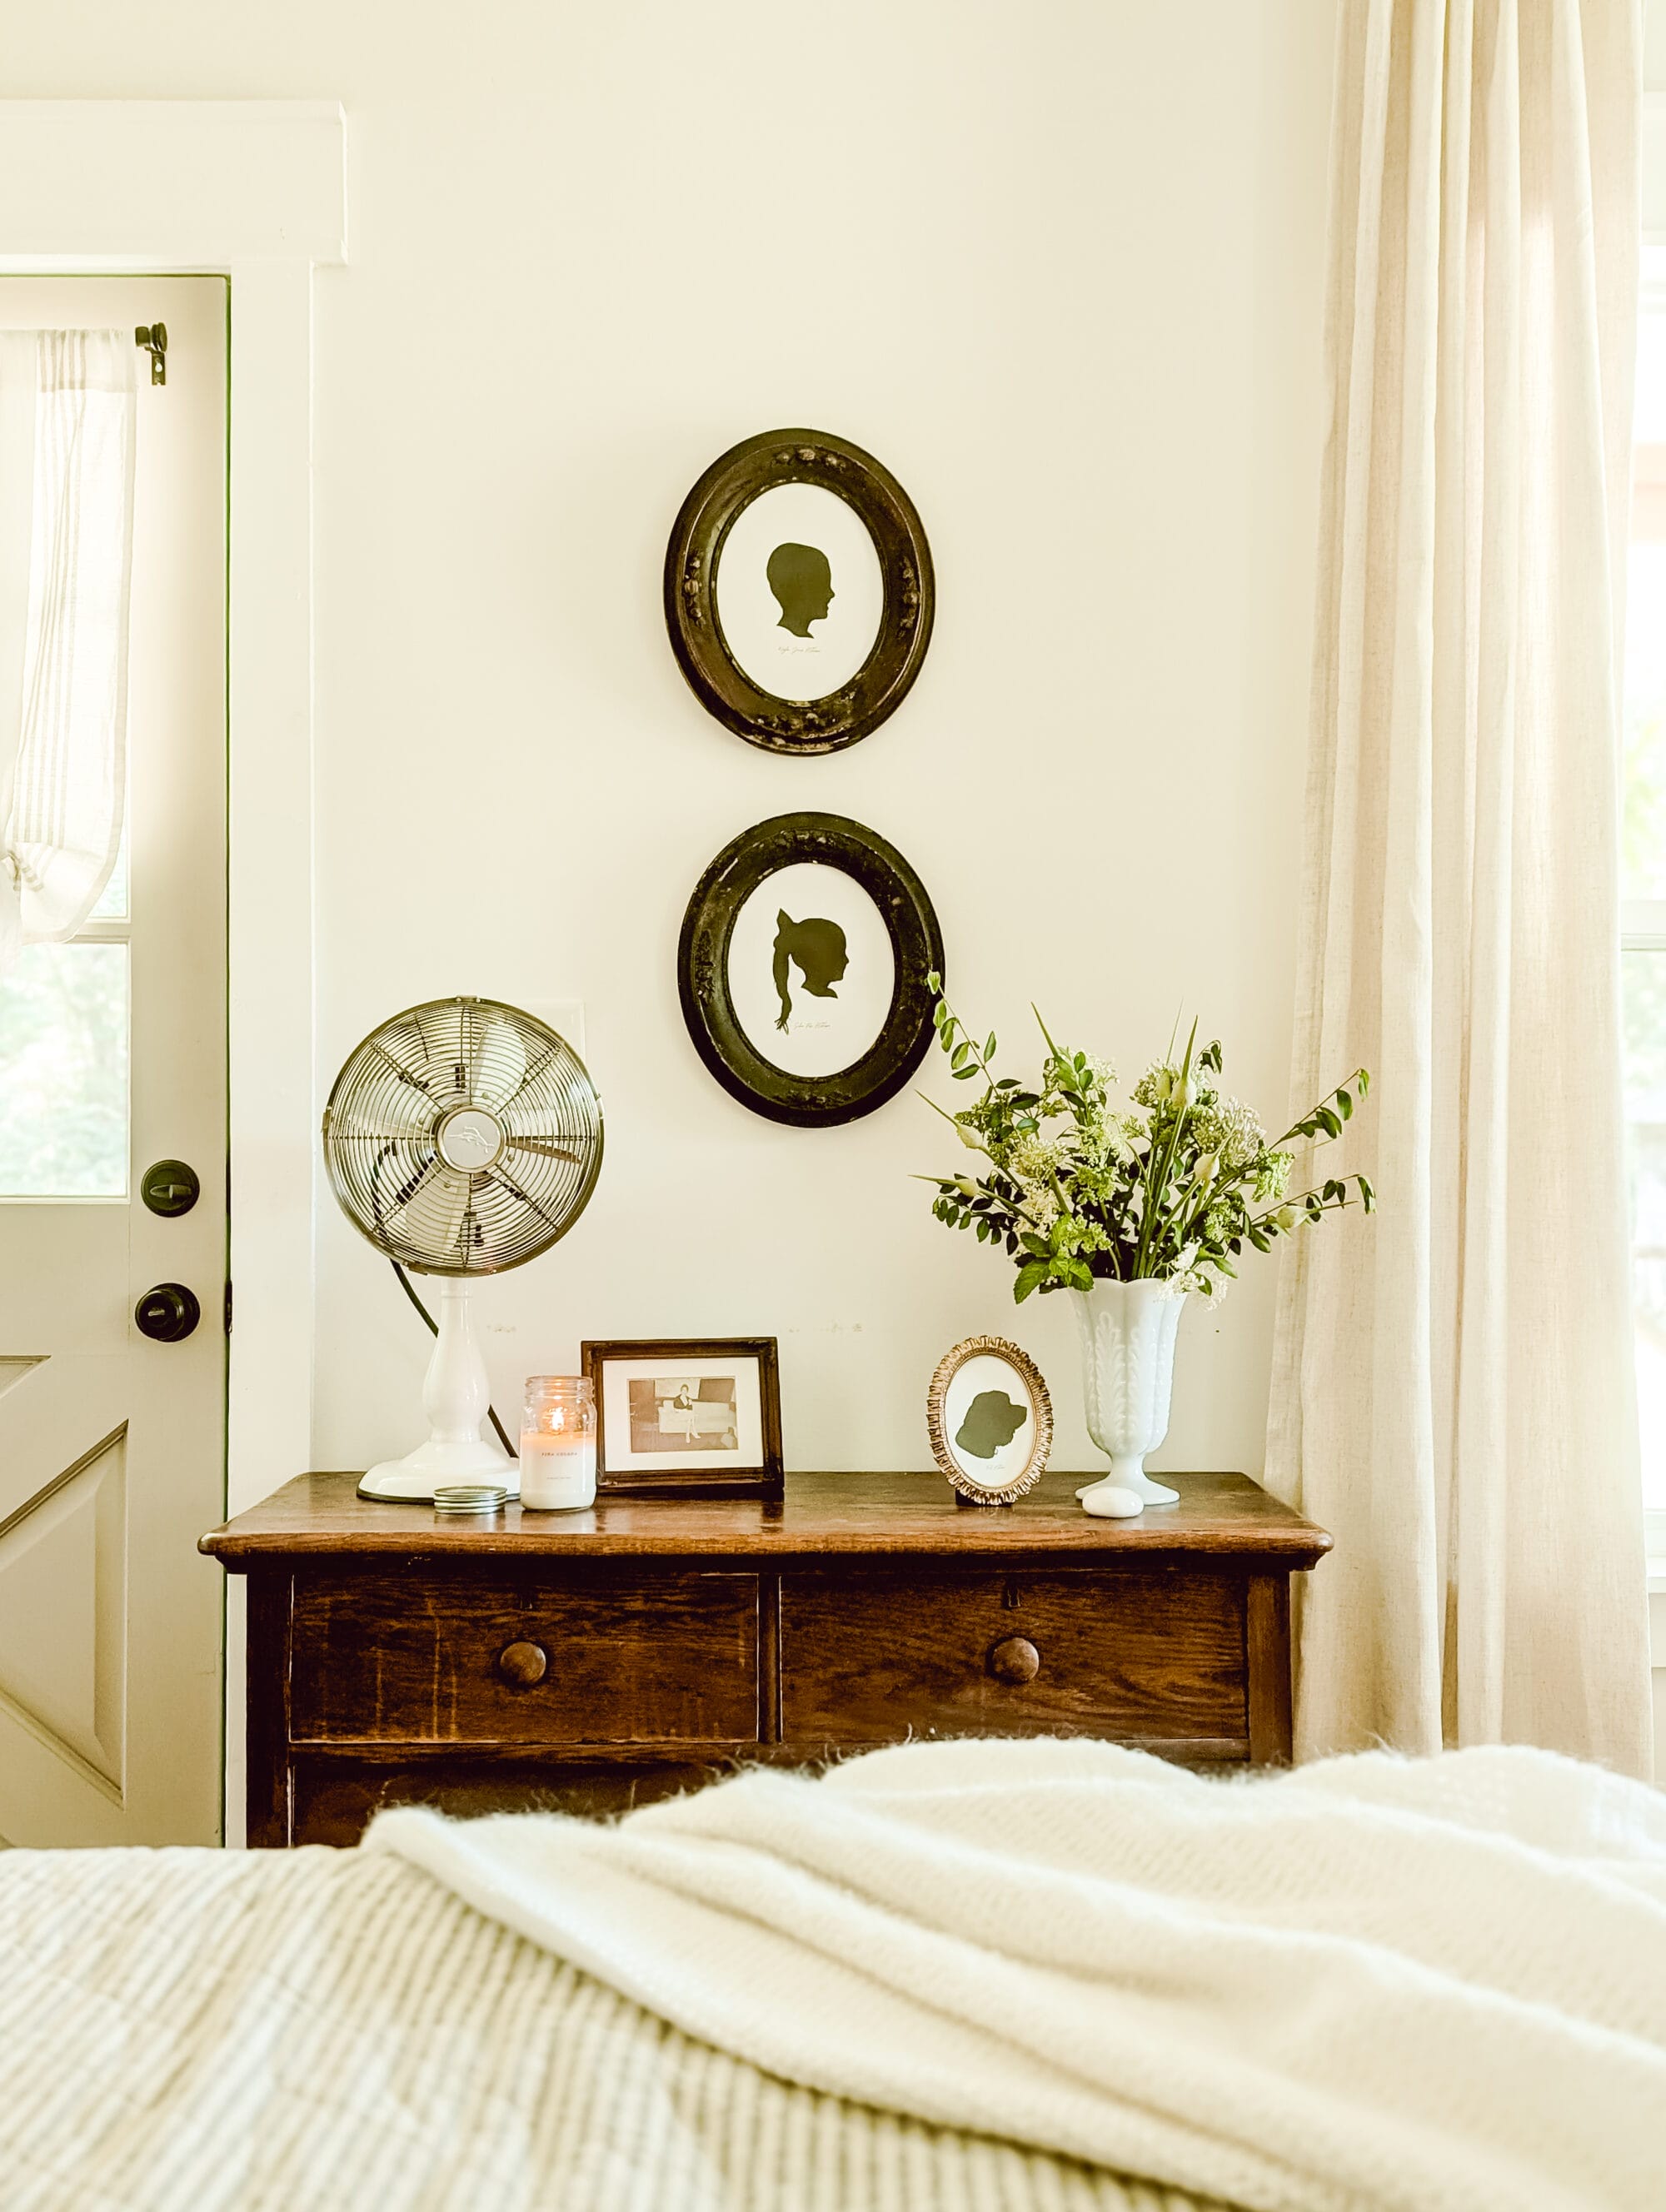
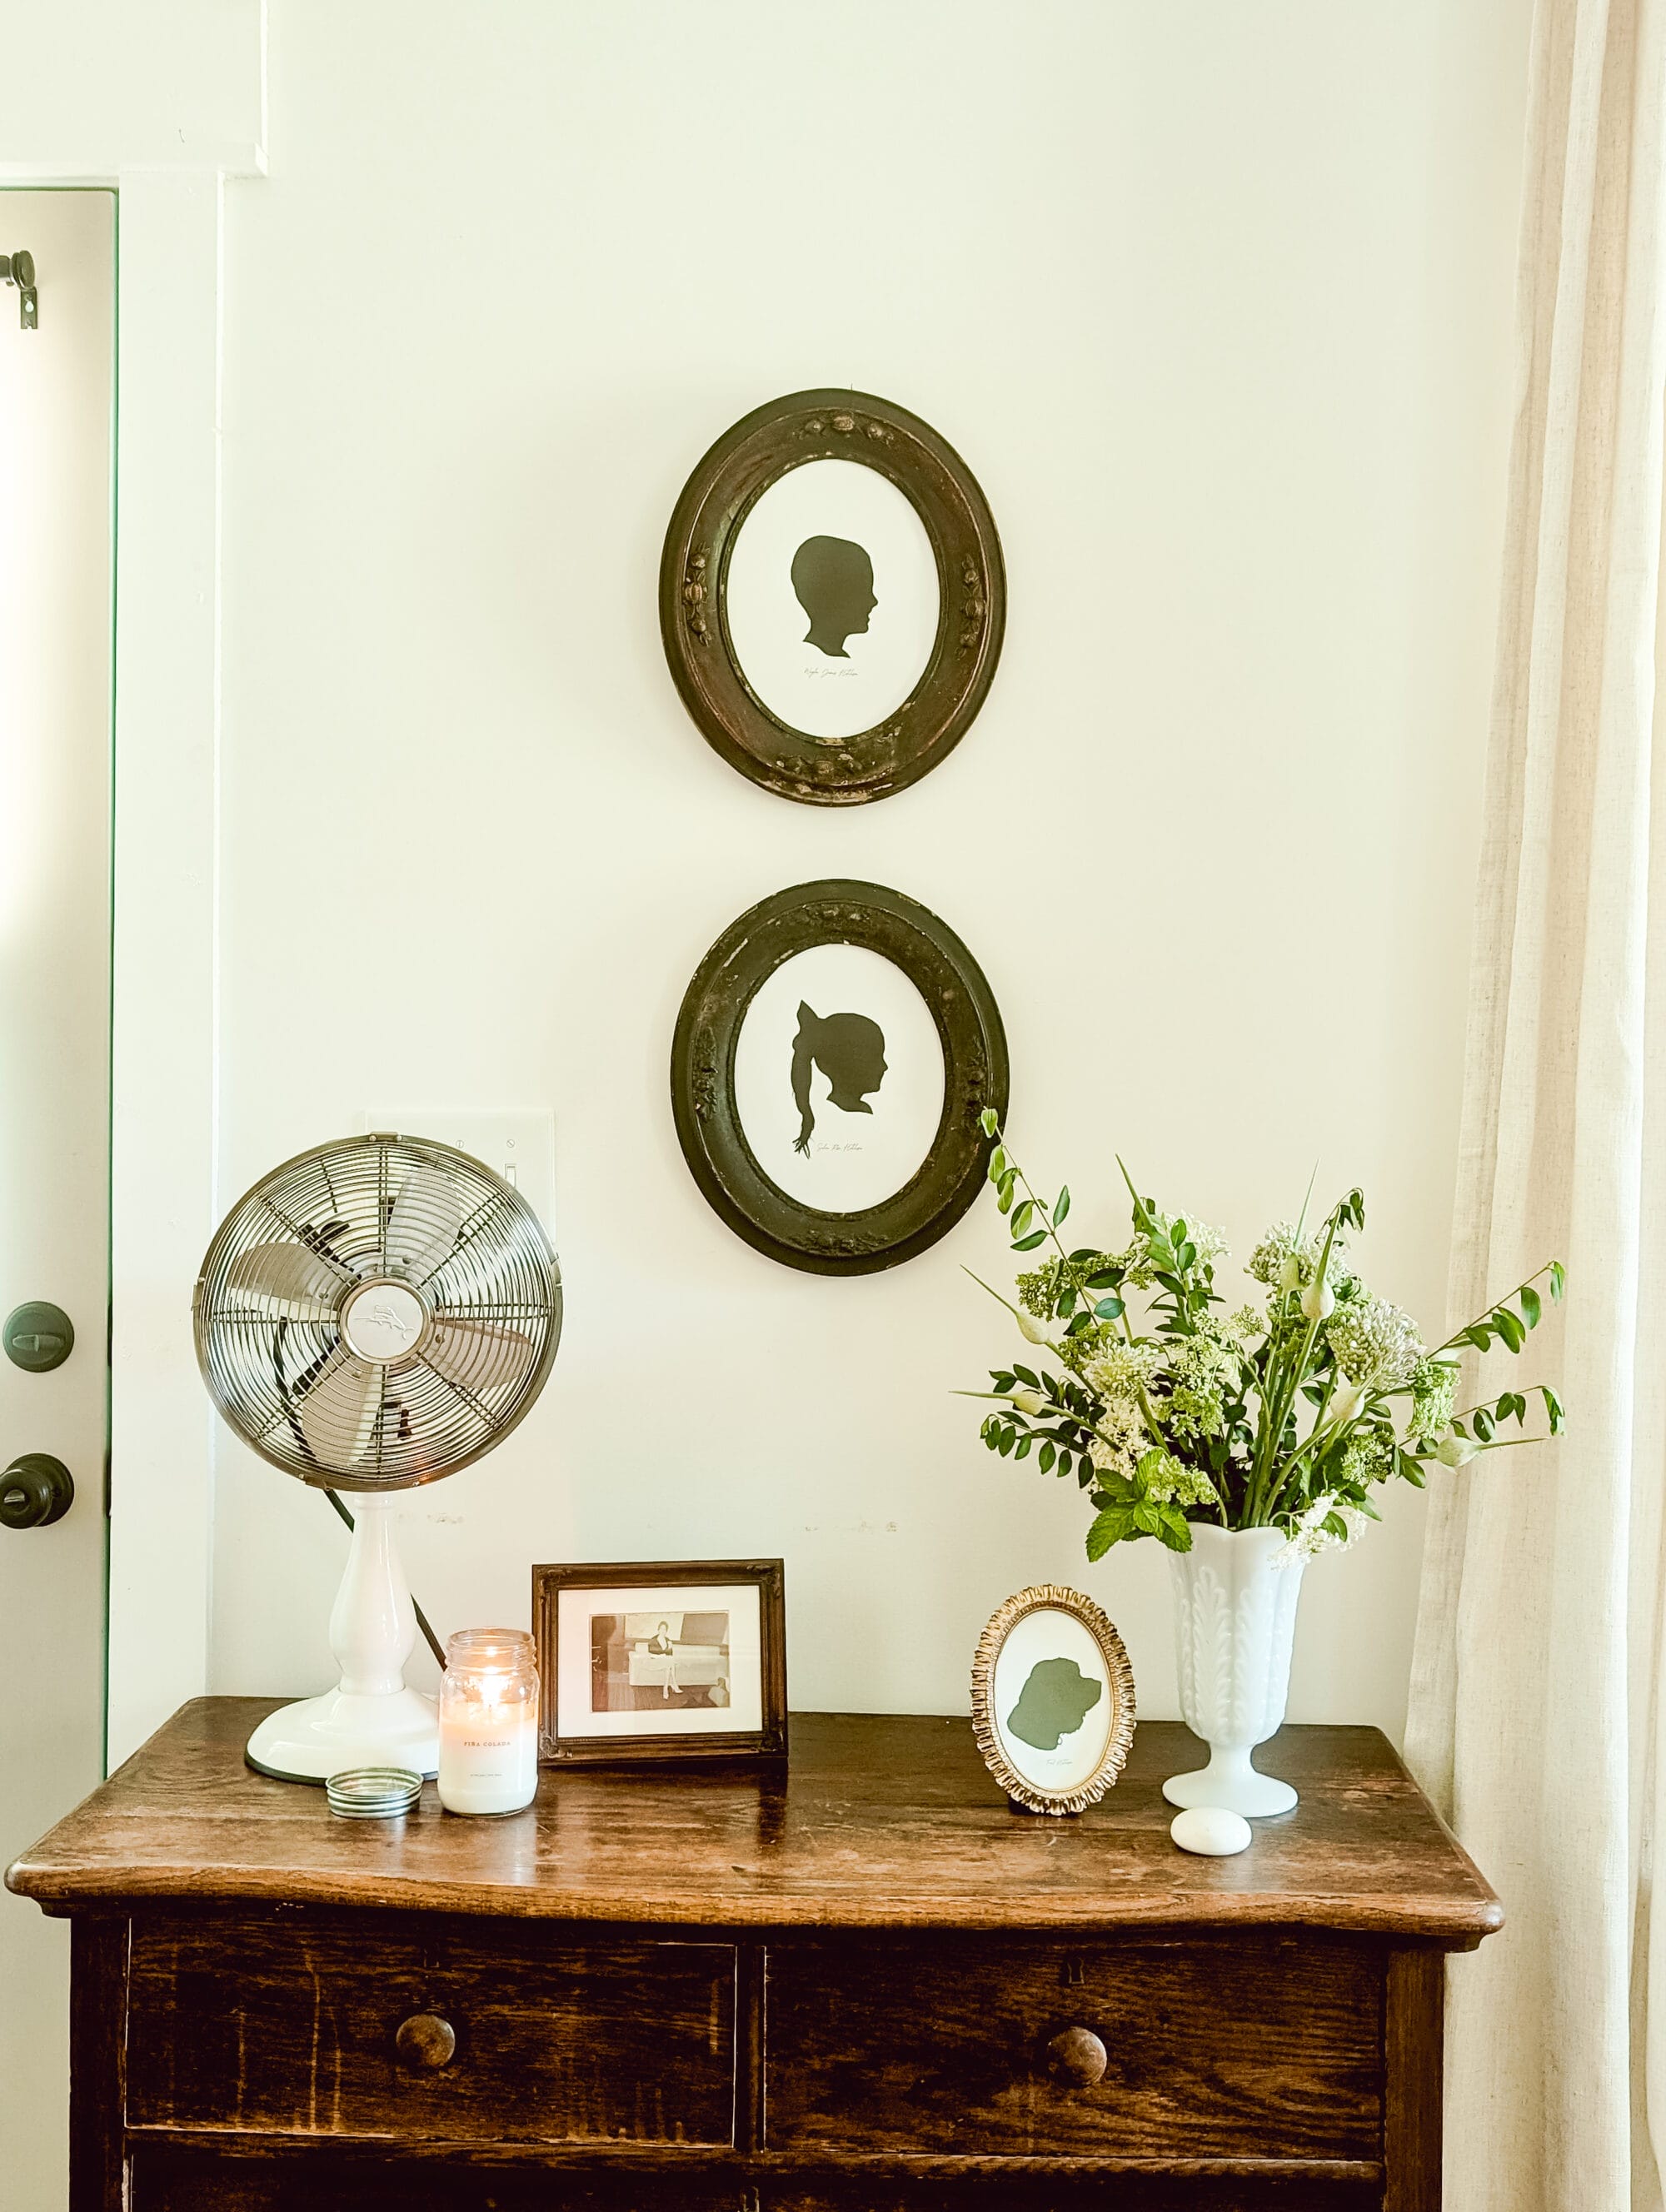
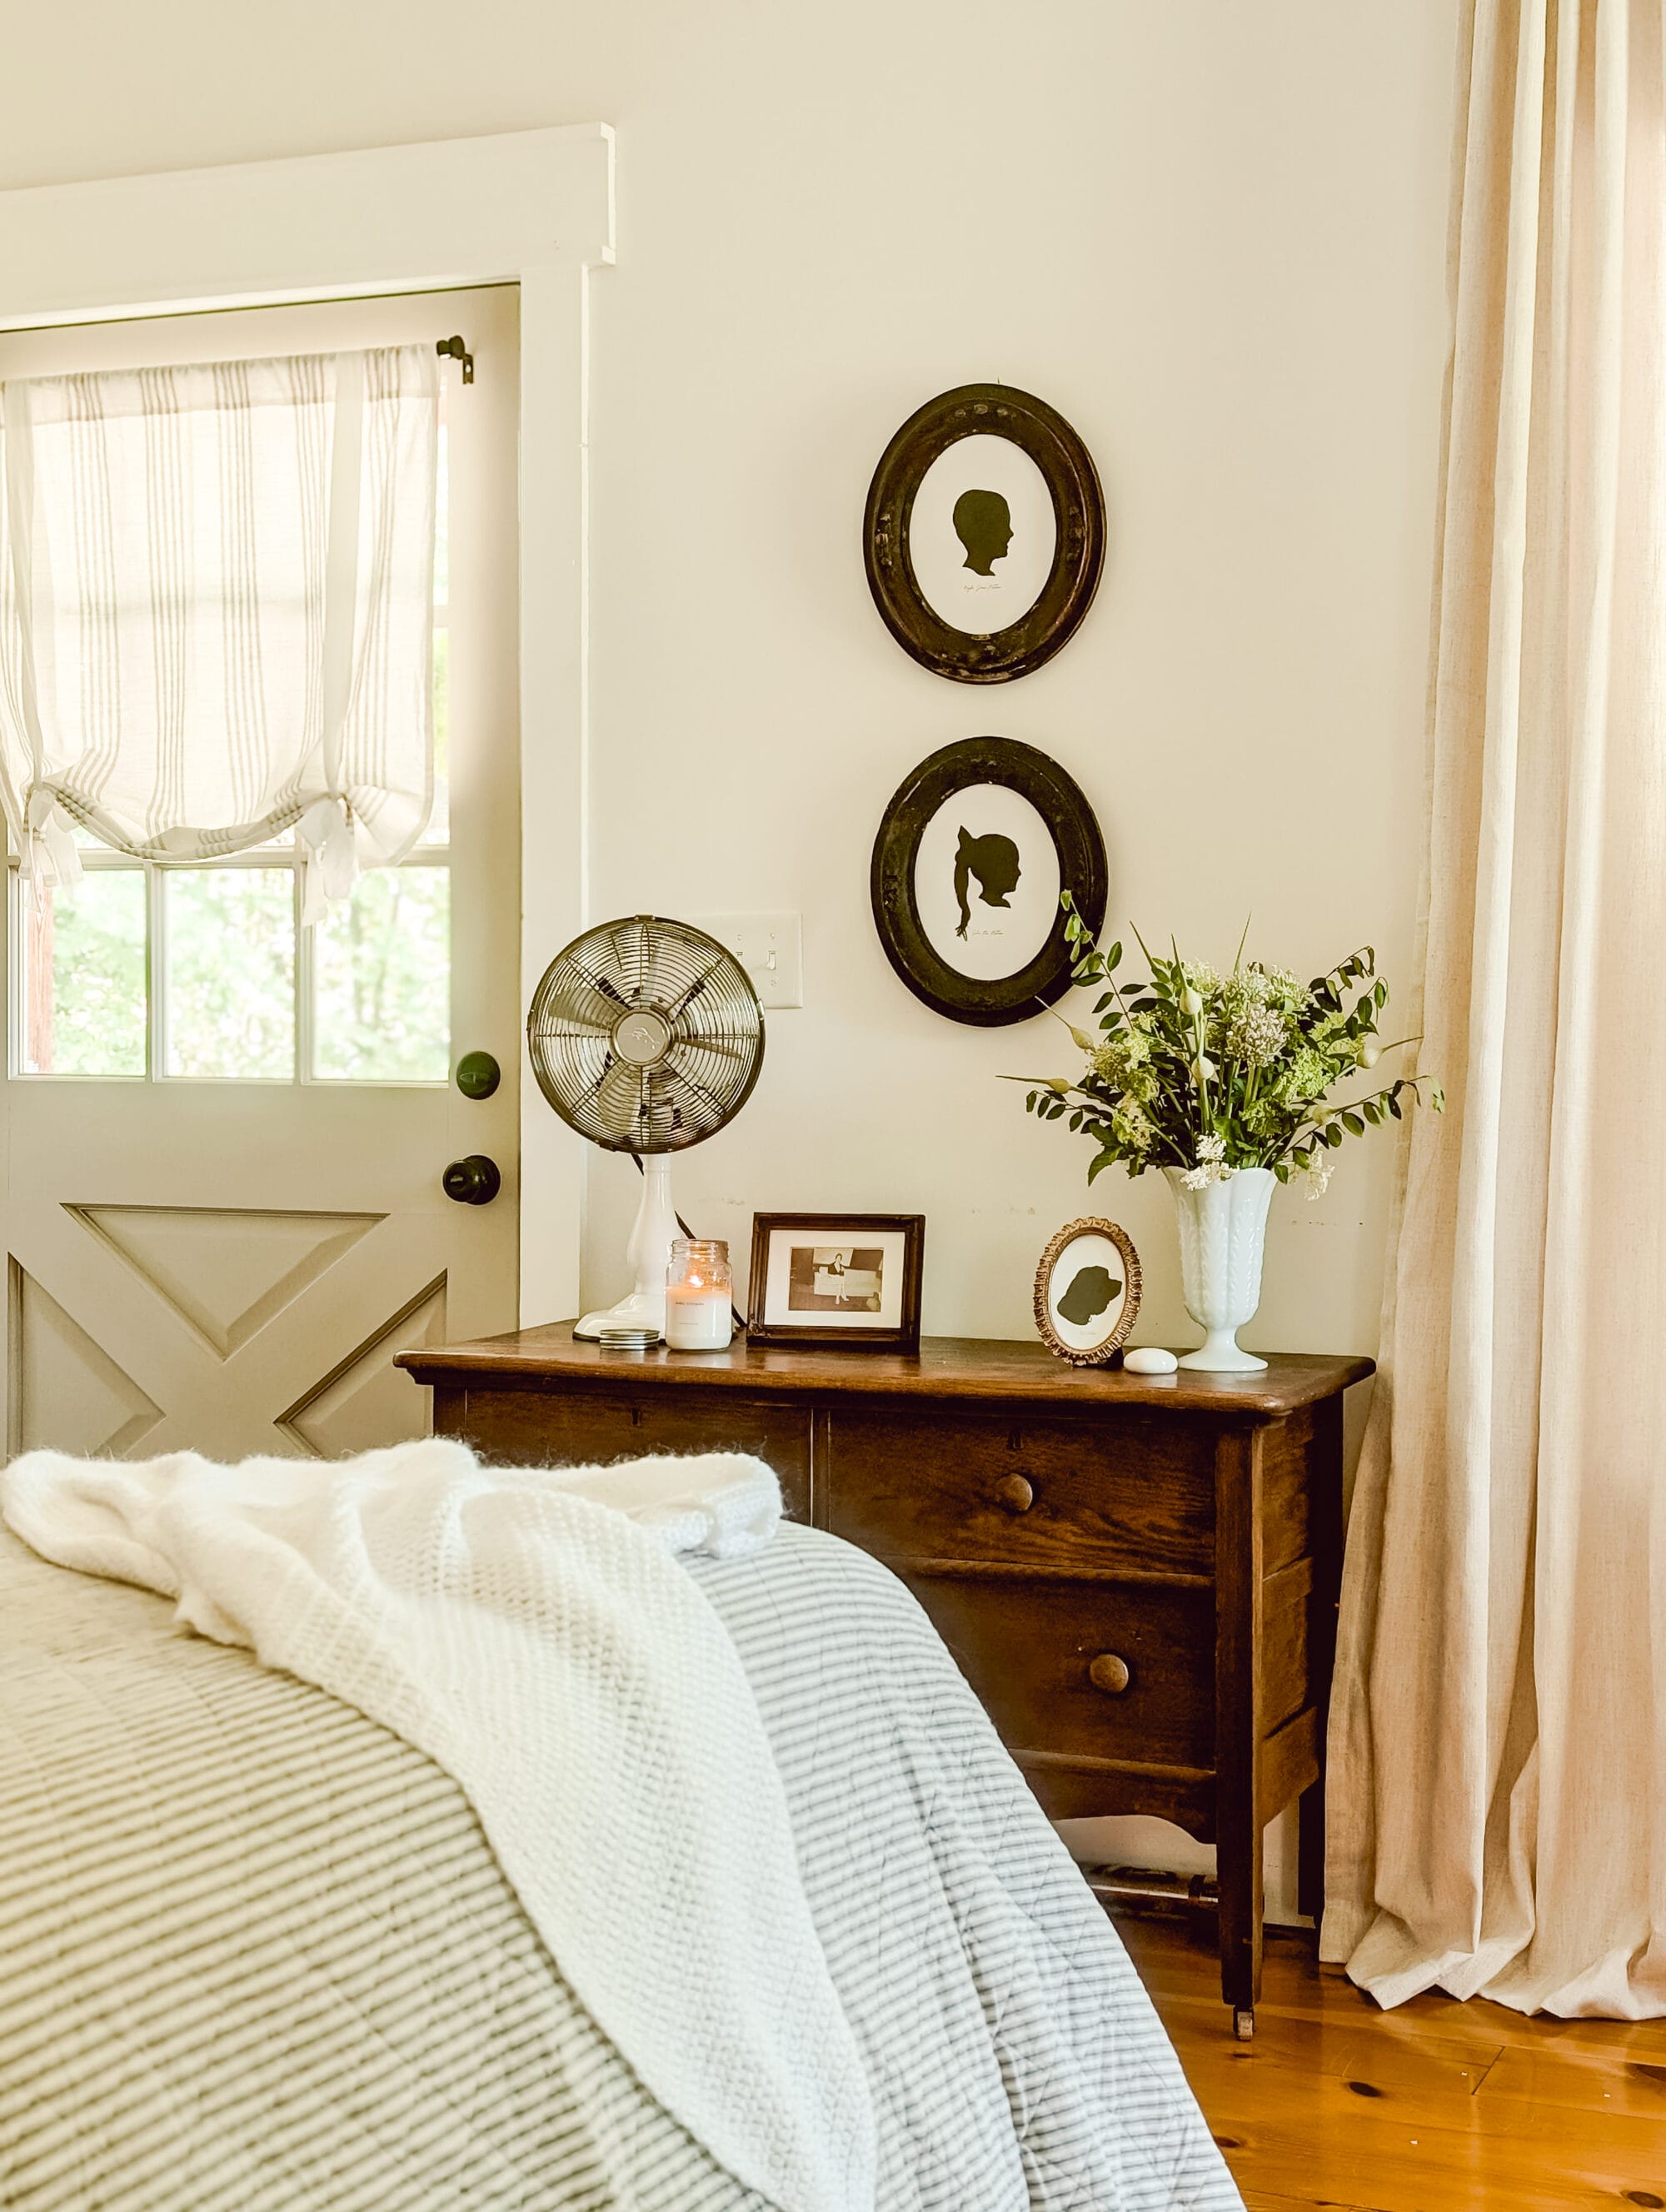
I found this gold oval frame at Home Goods, and I thought it would be the perfect shape and size to frame our fur-baby Ford’s silhouette art!
The other two frames I used for this project are antique finds.
I love the color and the detailed carvings on these old wood frames. And I think they made the perfect picture frames for my children’s silhouettes!
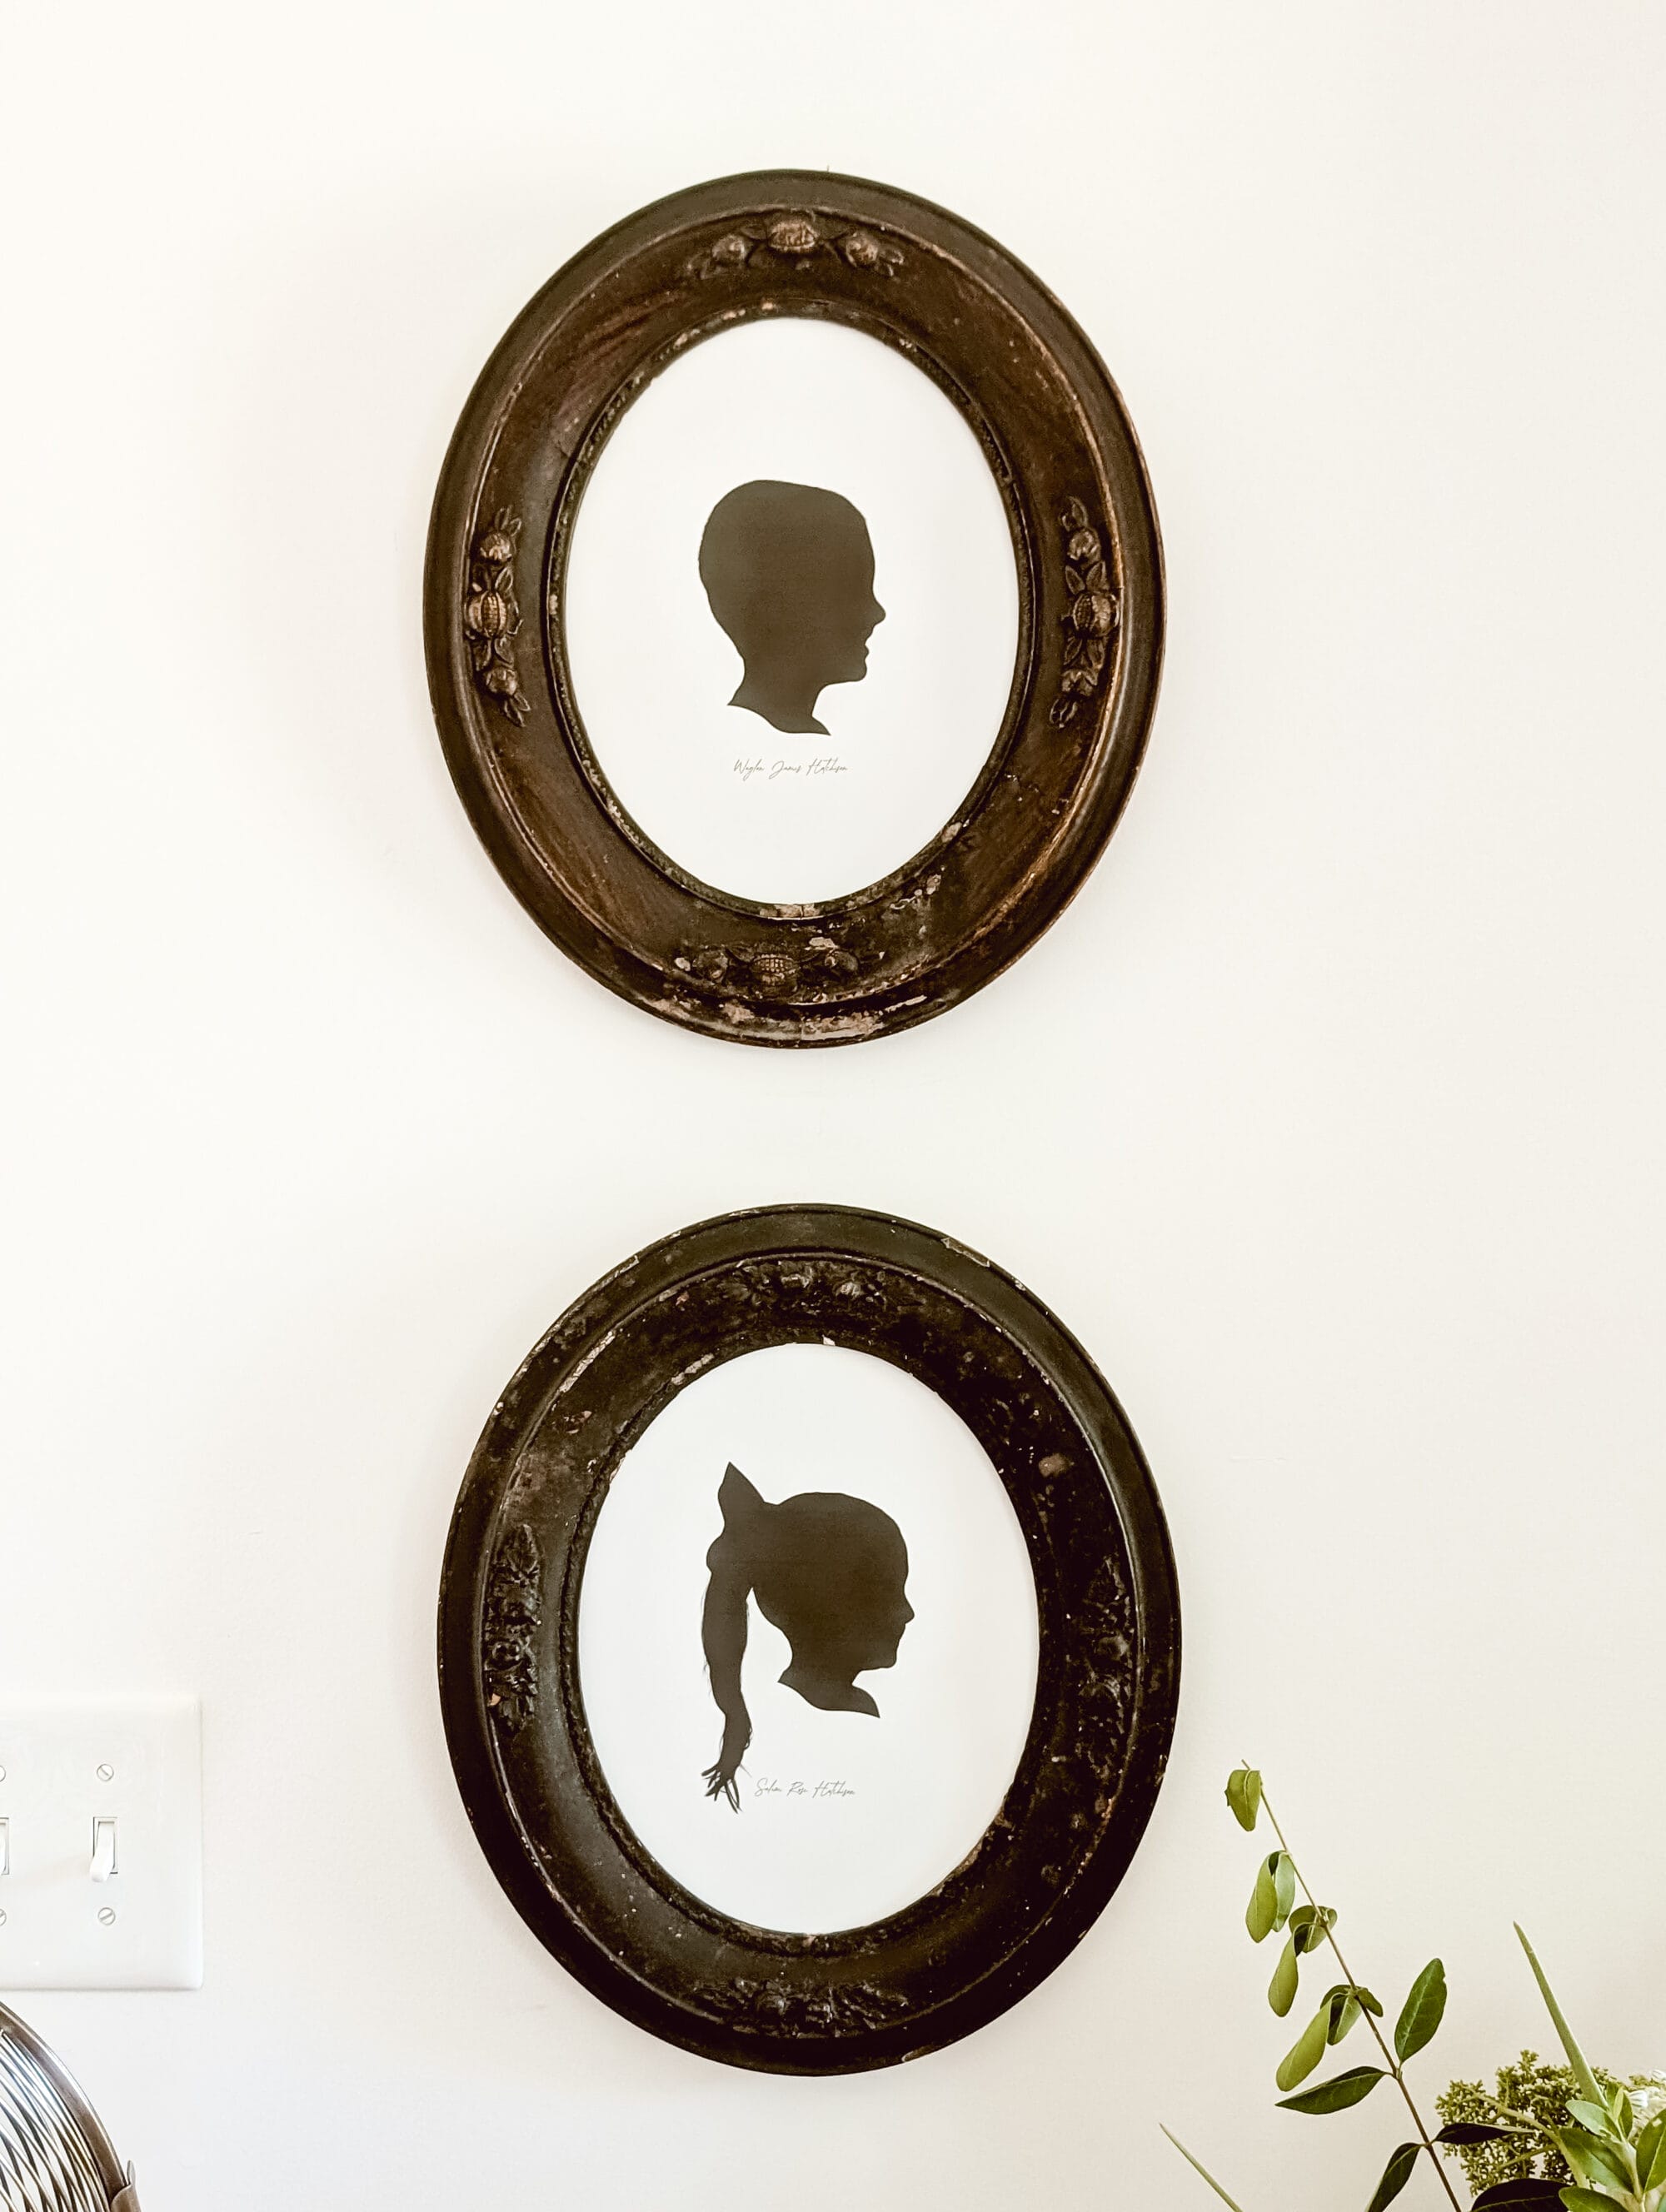
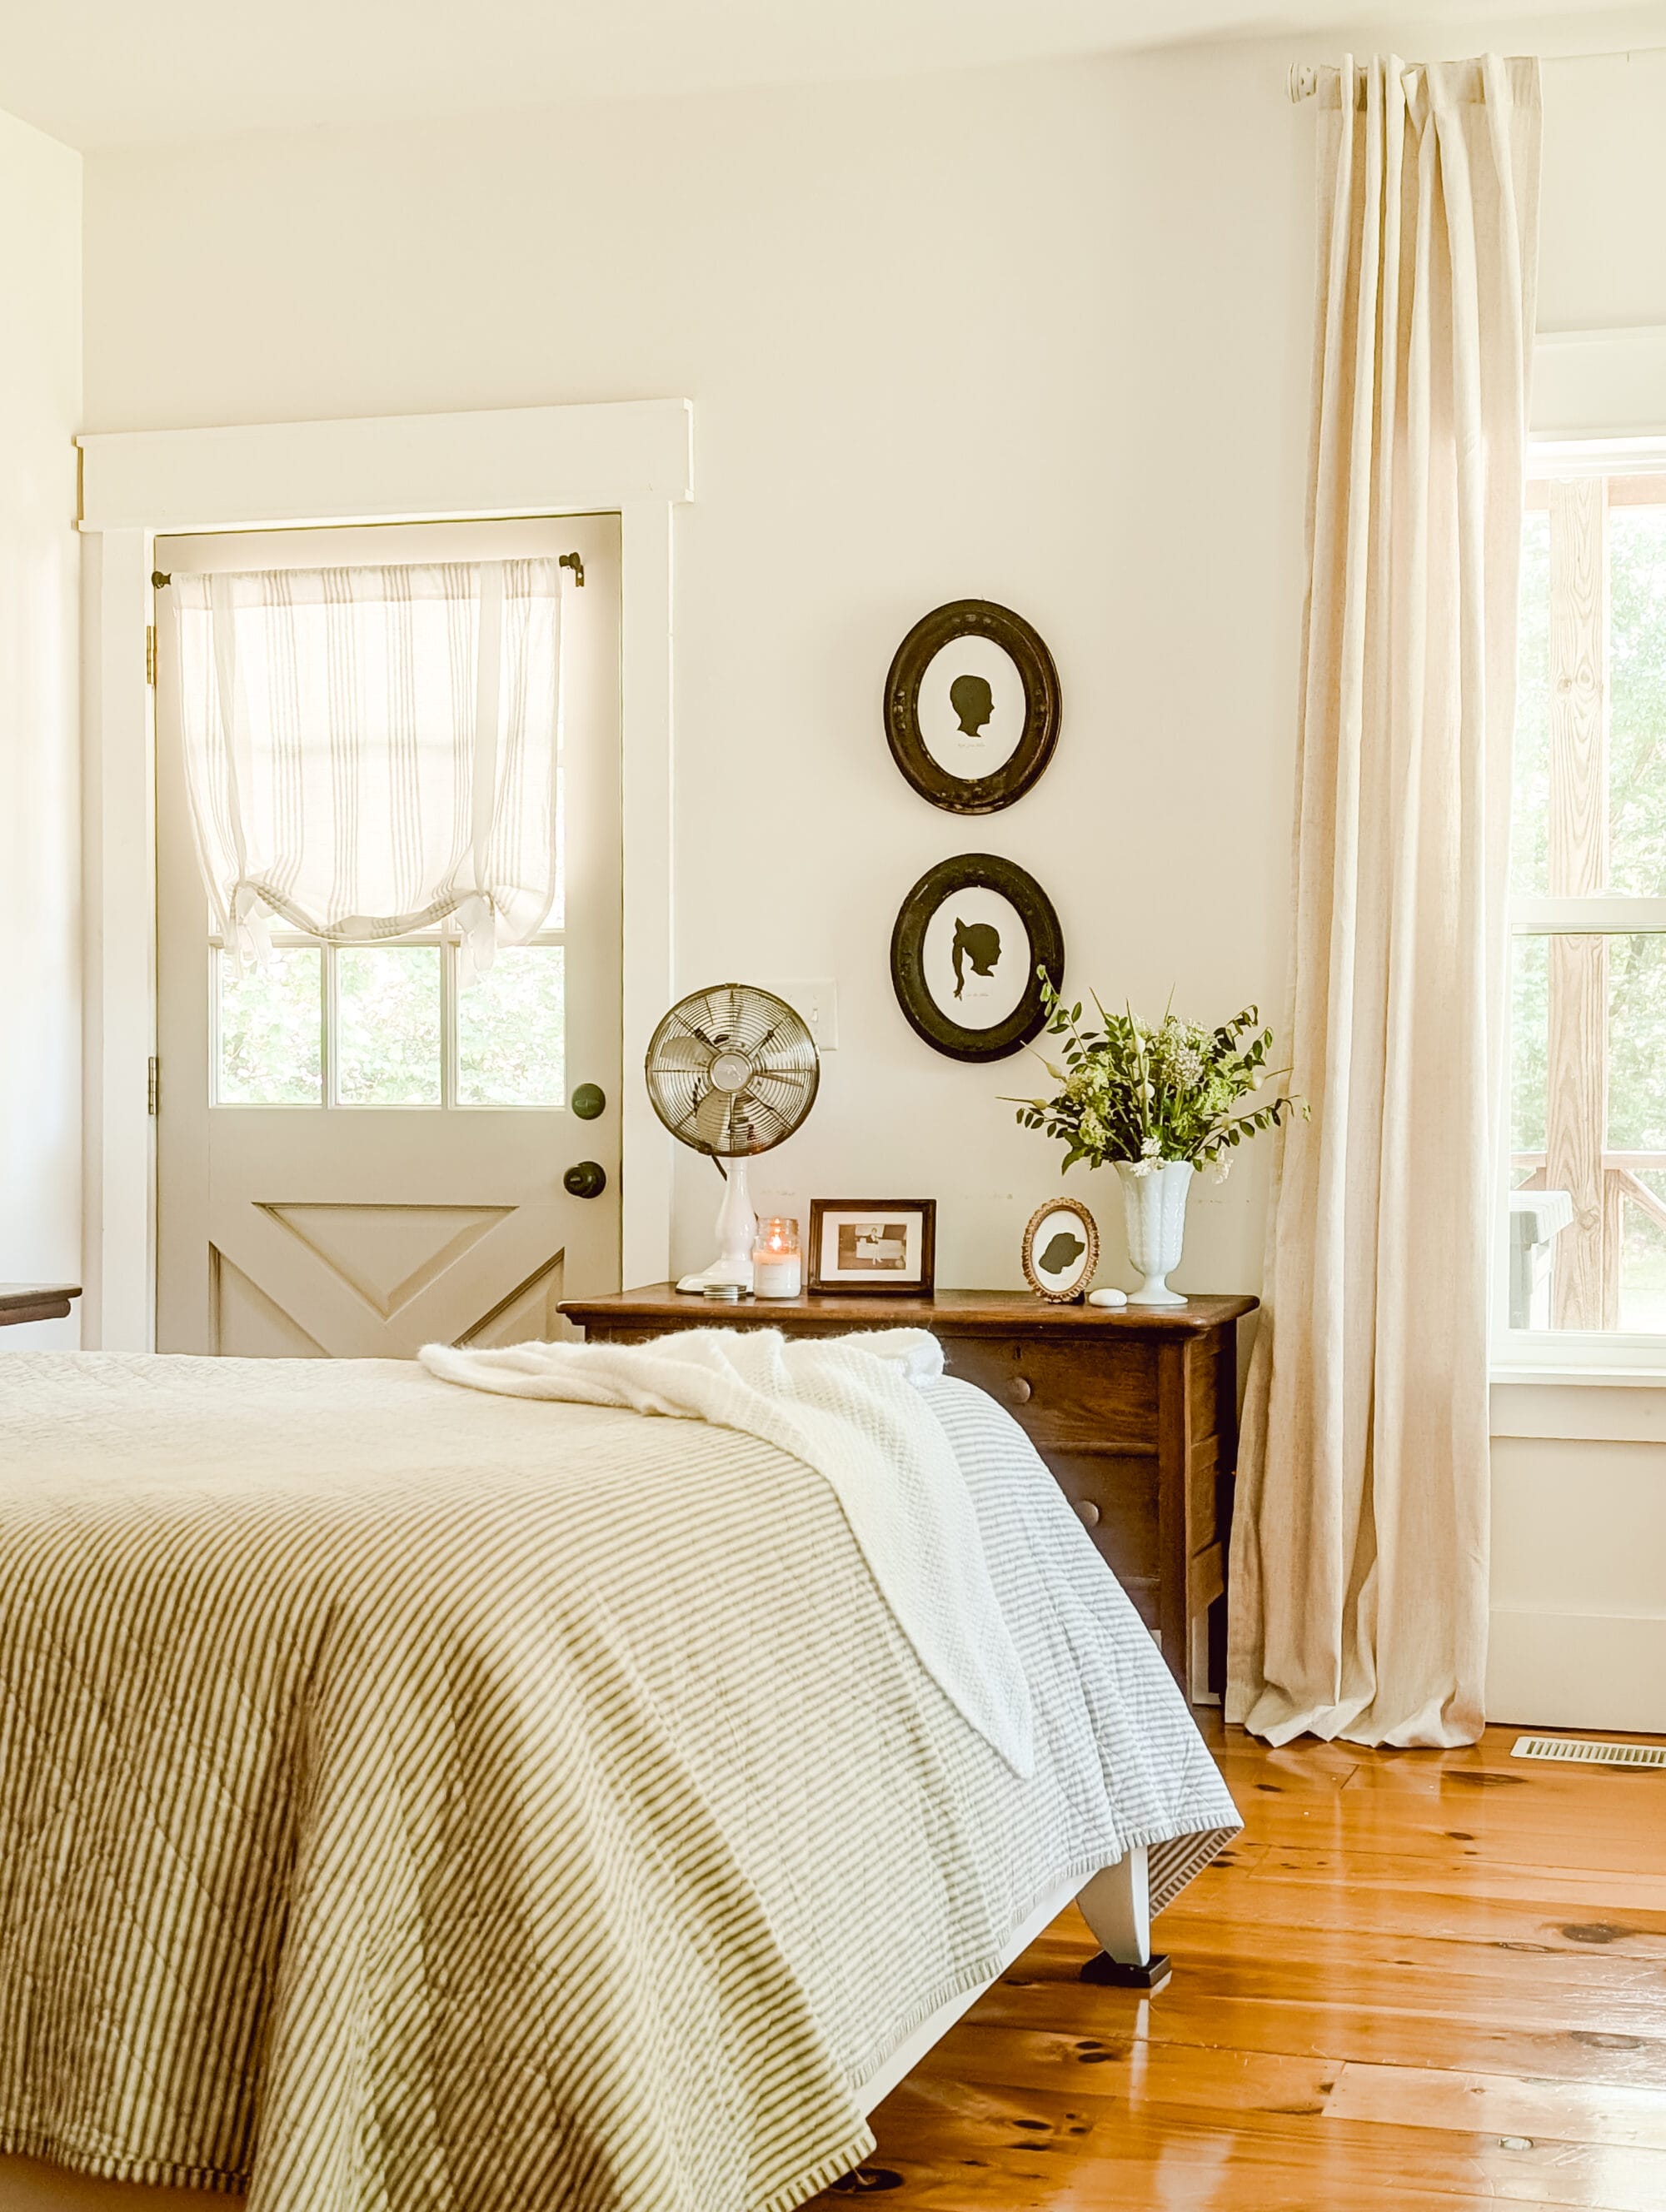
I can’t get over how good how these framed DIY silhouettes turned out! I think they look like antique silhouette art, especially the one’s of the kids in the antique frames.
But they’re all the more special and sentimental because they’re made with photos of my children, and of Ford too!
These DIY silhouette portraits would make a great gift idea for Mother’s day, or even as Christmas gifts for Grandma and Grandpa.
Also how sweet would it be to do this each year with your little one’s?! You could take a new photo each year as your kids grow, maybe even on their birthdays, to capture their features and how much they grow and change through the years.
I’m picturing them displayed all together in a gallery wall full of silhouettes through the years.
If only I knew how to make these when my kids were younger!
I’m so glad I learned how to now though… and I’m so happy to have these beautiful heirloom style silhouettes of my babies to cherish forever!
If you give this project a try, I’d love to see your version—tag me on Instagram so I can cheer you on!
And don’t forget to pin this post so it’s easy to find when you’re ready to make your own DIY framed silhouette art.
Don’t forget to pin this for later!

These DIY silhouettes aren’t just another craft – they’re keepsakes!
I hope today’s post brought a little inspo to your scroll today!
And I hope this project helps you freeze a moment in time and turn it into something you’ll treasure forever.
Thanks for stopping by the blog! Until next time…


