
DIY Farmhouse Headboard Makeover
I’m so excited to be sharing this DIY Farmhouse Headboard makeover with y’all today! If you follow my stories over on Instagram, you may have seen my poll asking readers what they most wanted to see on the blog. You may have even voted for this post to be shared today. I wanted to say thank you to everyone who participated!! And if you missed it no worries! Be sure to watch my stories when you can… I had so much fun hearing from you all, and I’ll probably do more polls like this in the future!
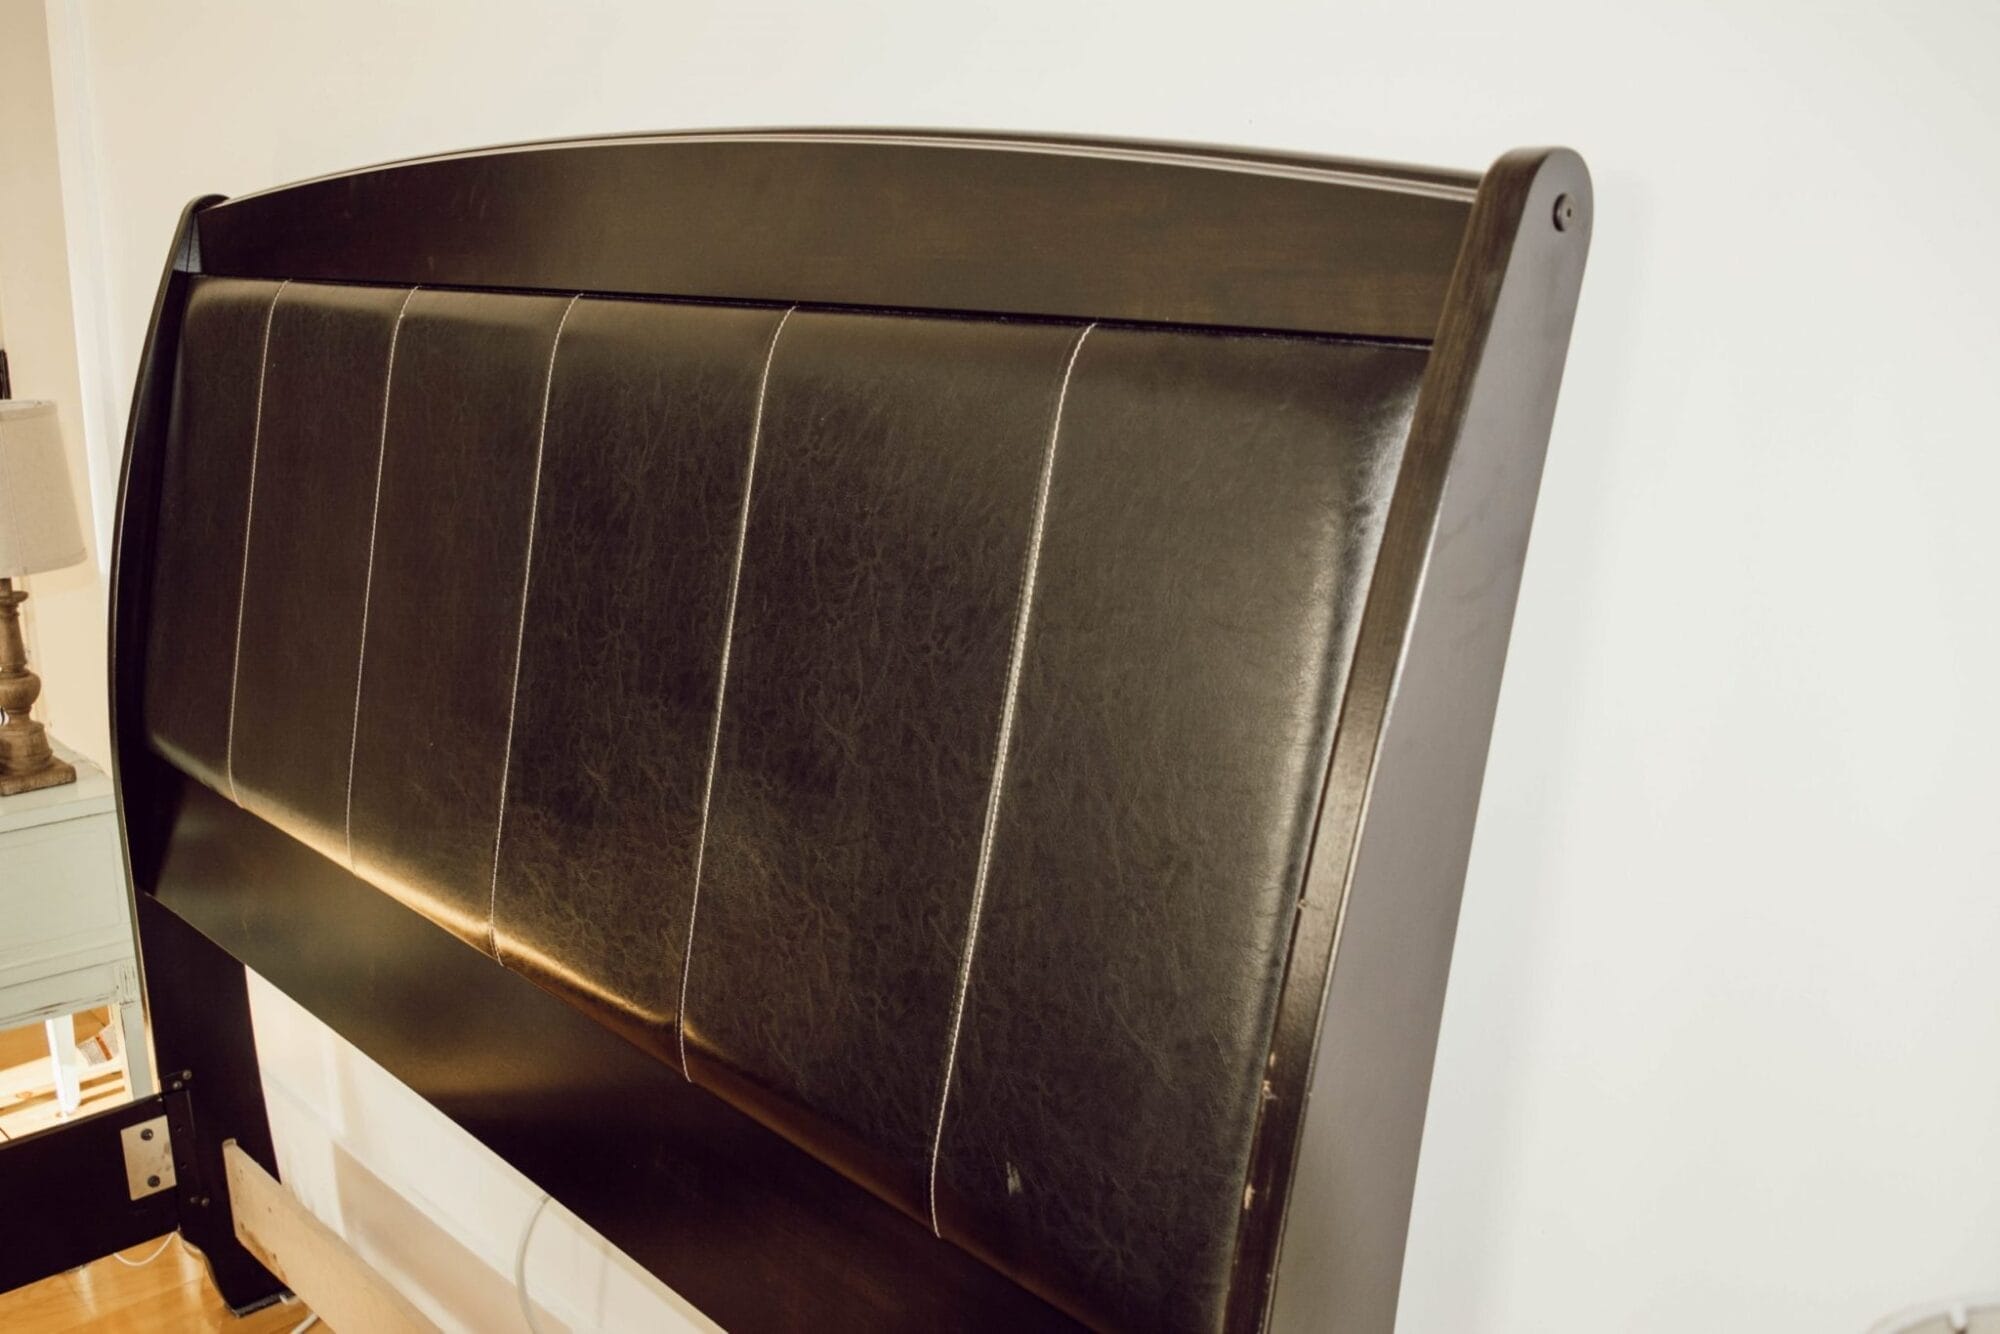
Ok, back to the bed! I think we all have that one piece of furniture we love to hate! For me, it was our master bed… I just hated it, and I feel a little bad saying that because there was nothing really wrong with it. It’s just not my style, and it didn’t fit the look I wanted for our bedroom. My husband chose this bedroom set before we were married. And the thought of replacing a perfectly good headboard has felt frivolous up to this point.

But to me it’s the one piece of furniture that really sticks out like a sore thumb in our farmhouse. We had been window shopping new beds for a couple months when I got the idea to give our current headboard a makeover. If it didn’t work out like I hoped, we could finally replace it… and if it turned out ok, it could end up saving us a few hundred dollars.
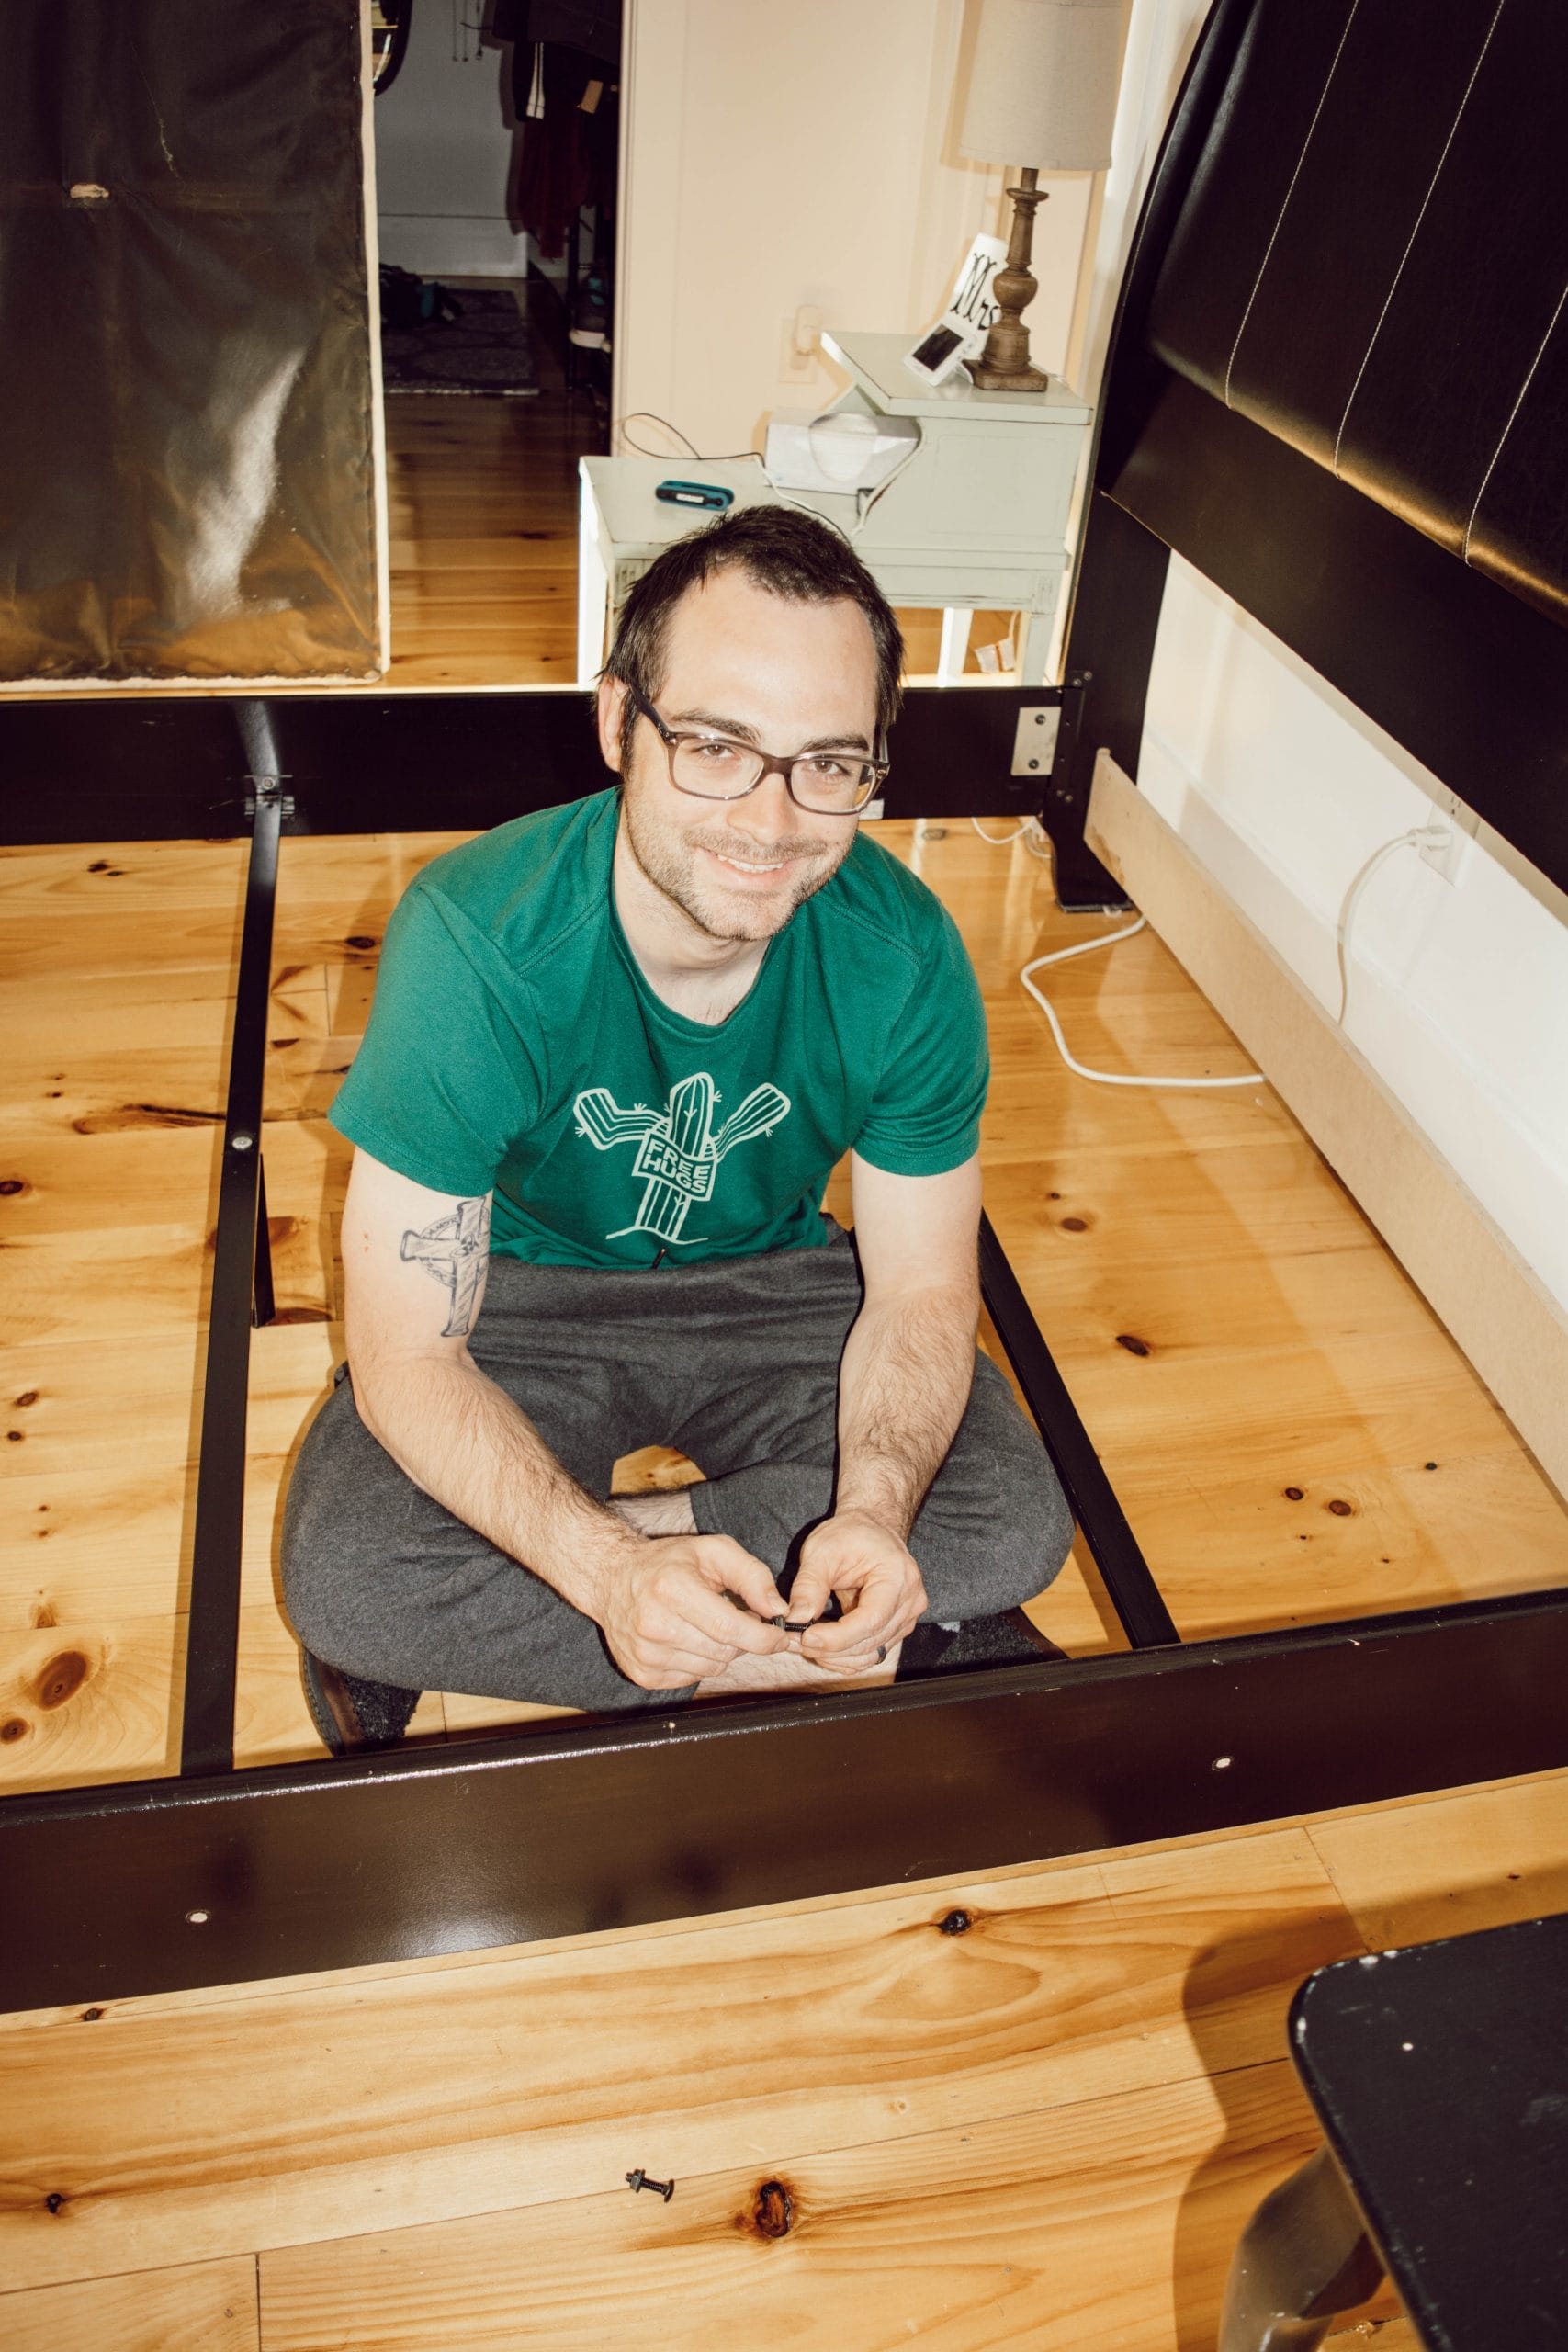
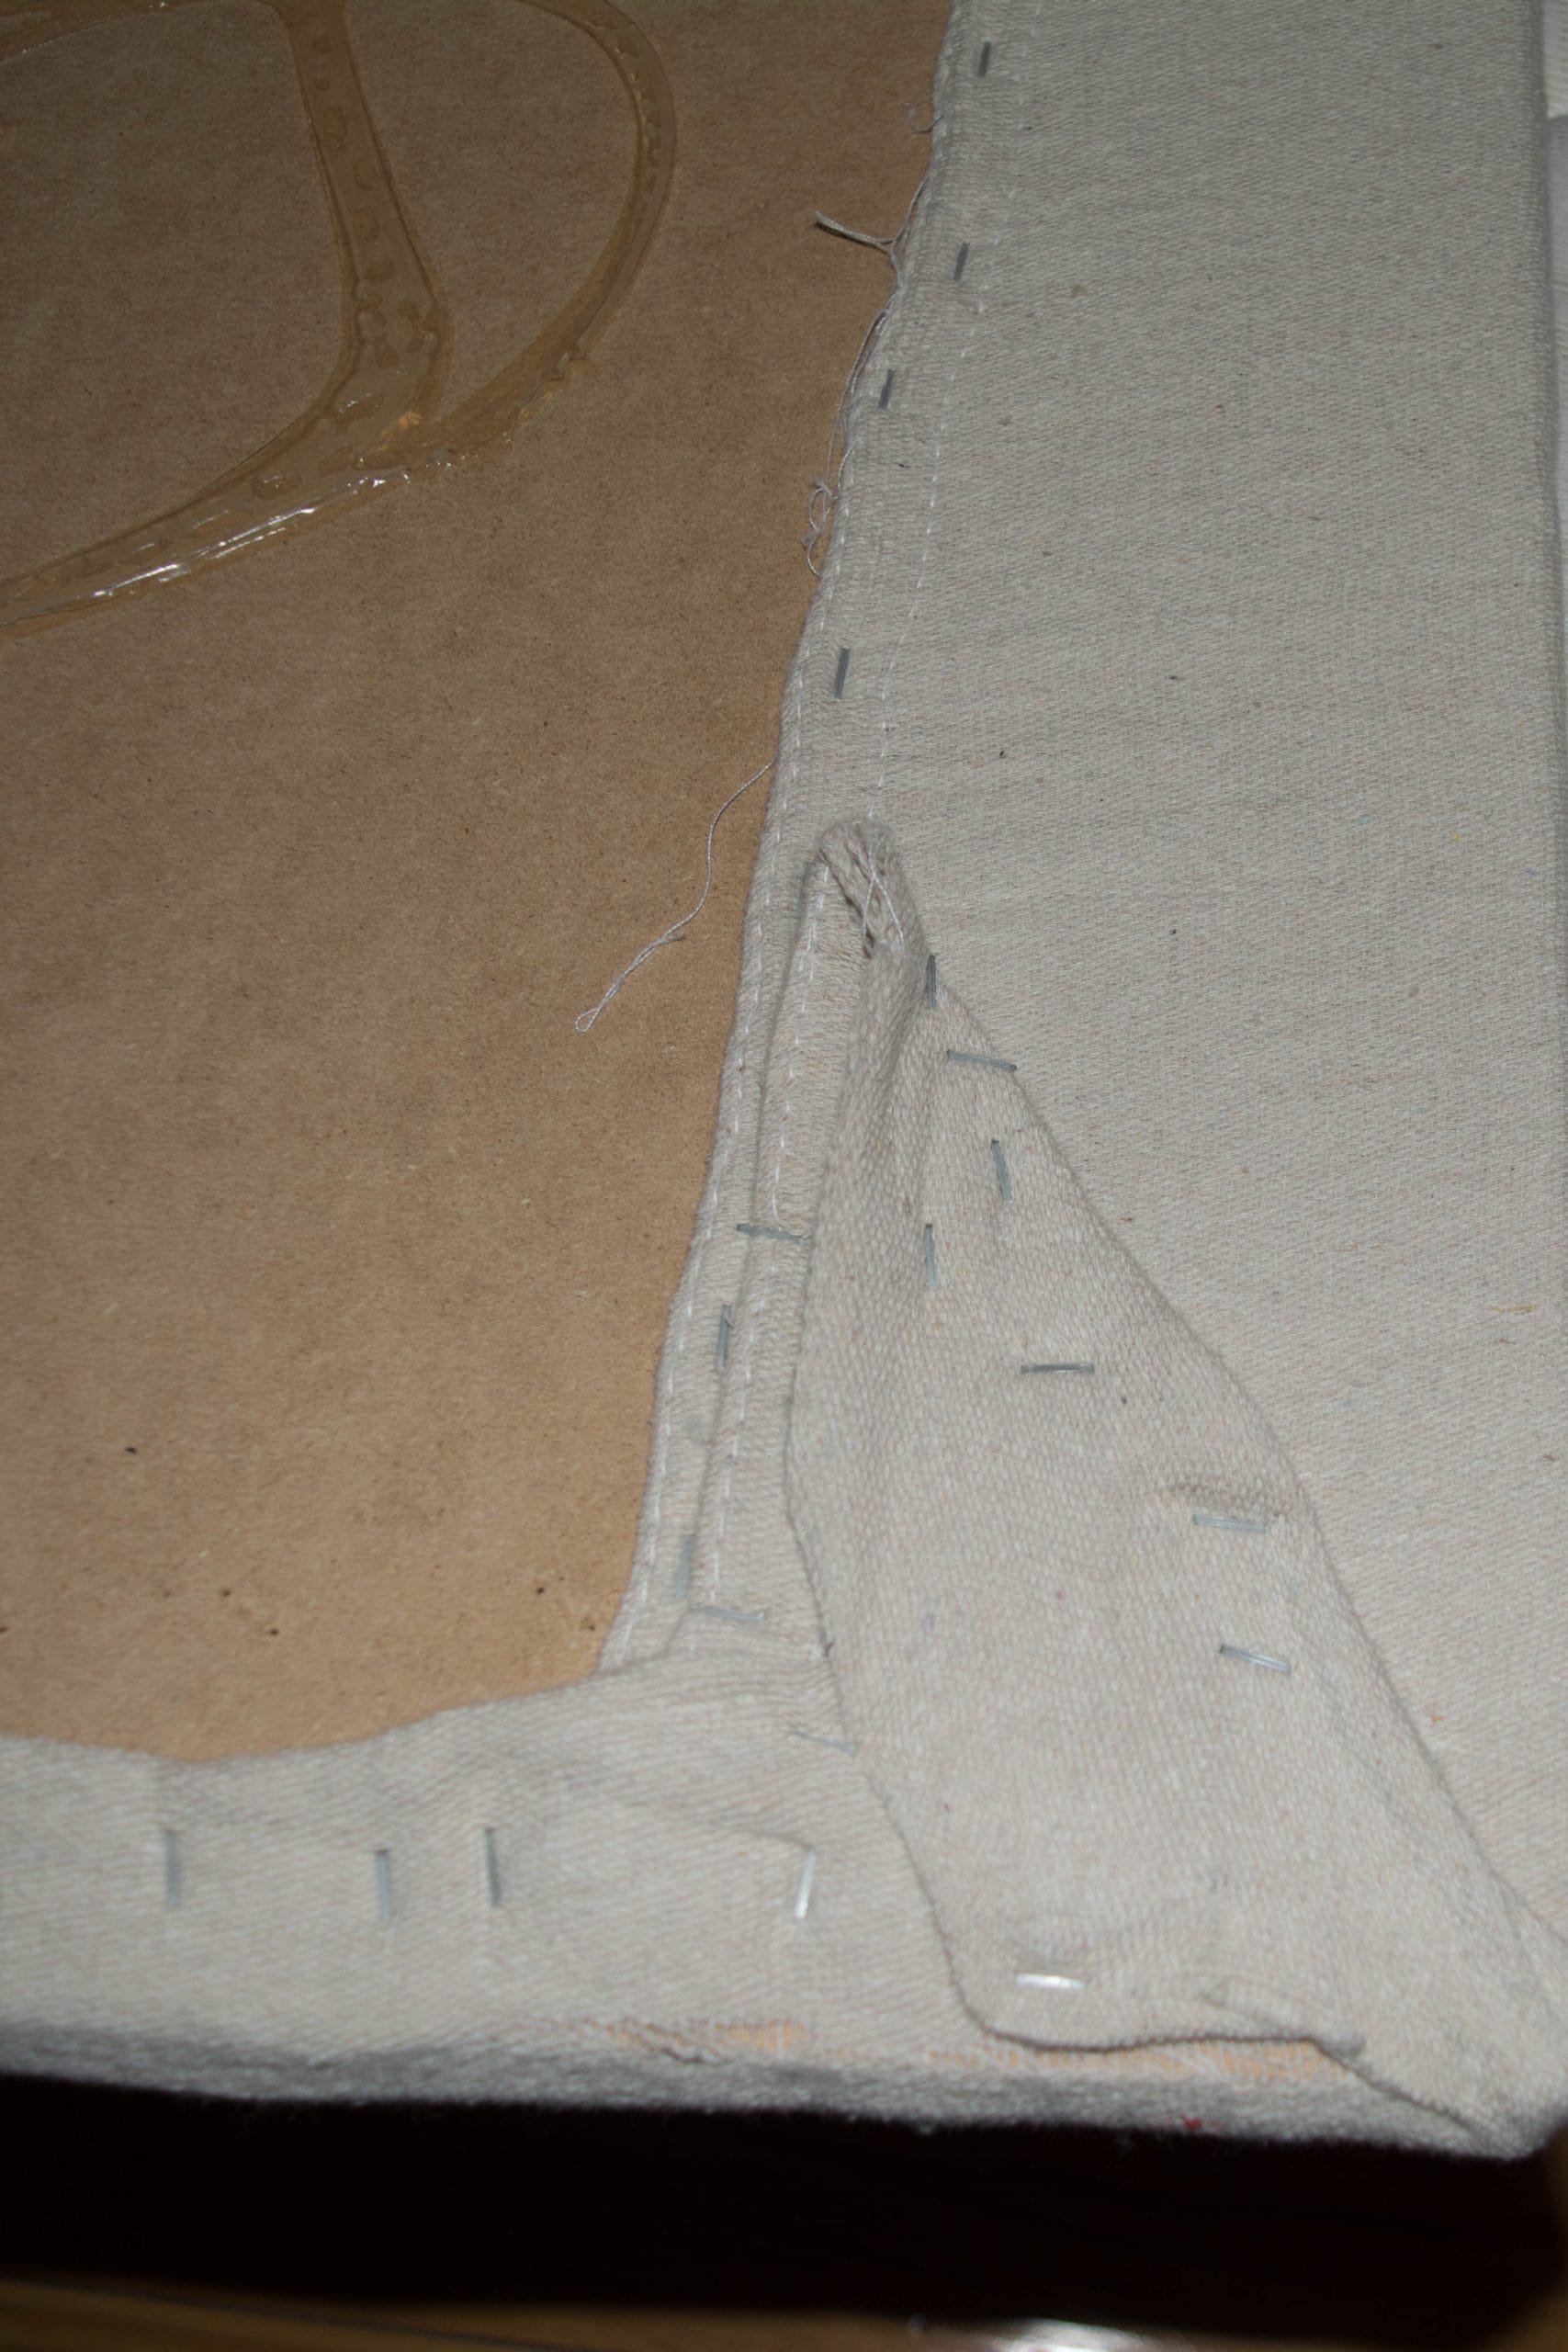
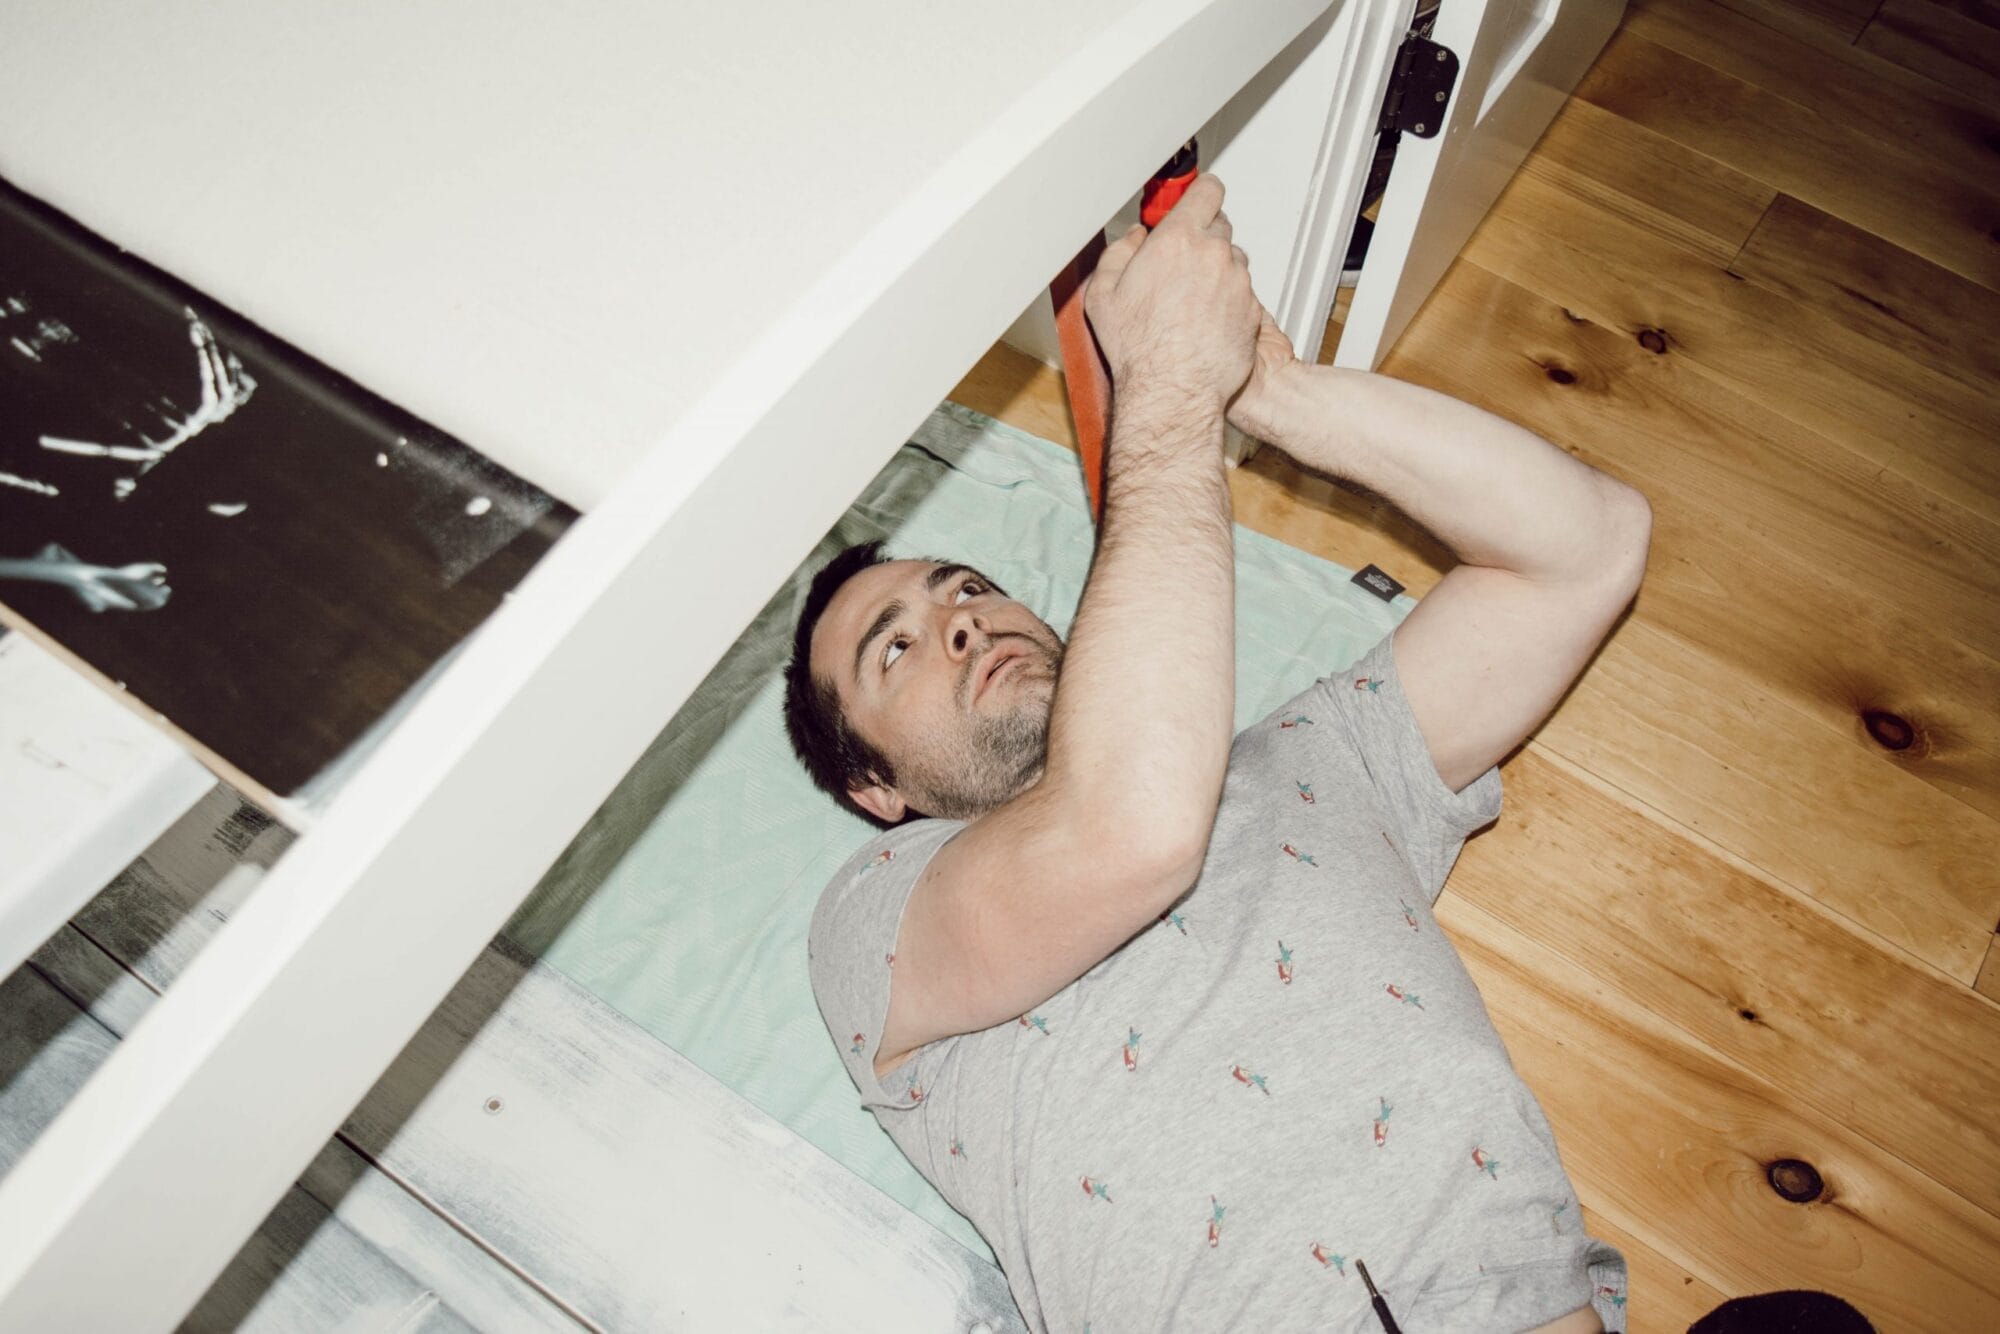
My plan was to brighten it up and get rid of the “leather” in favor of new upholstery! The first step was to disassemble the bed. My husband is such a good sport about all my projects!! Once the headboard was detached, I deconstructed the wooden frame so I could get my hands on that faux leather section.
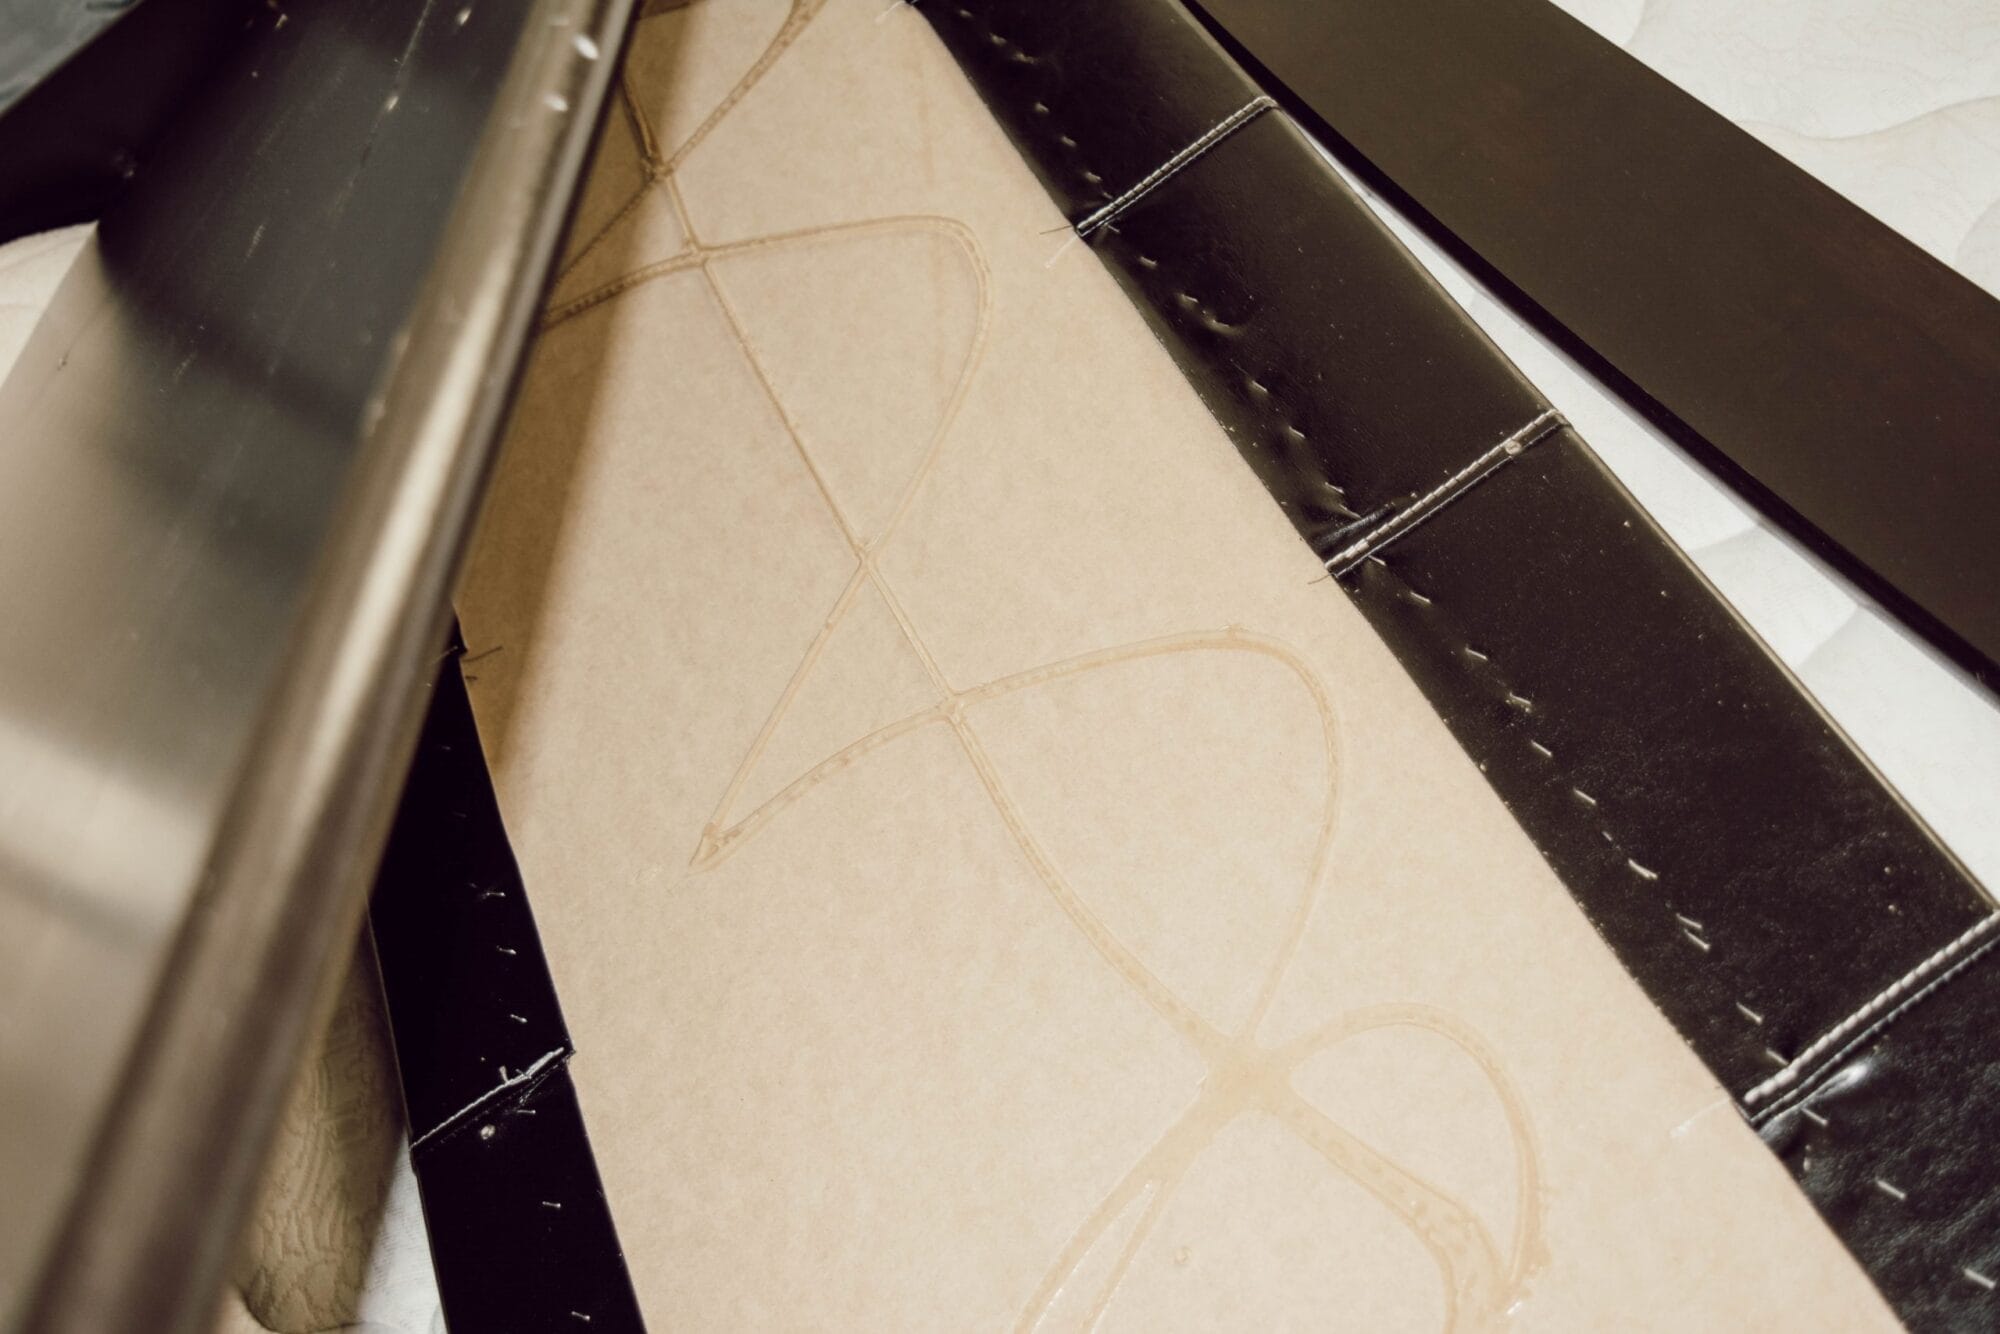
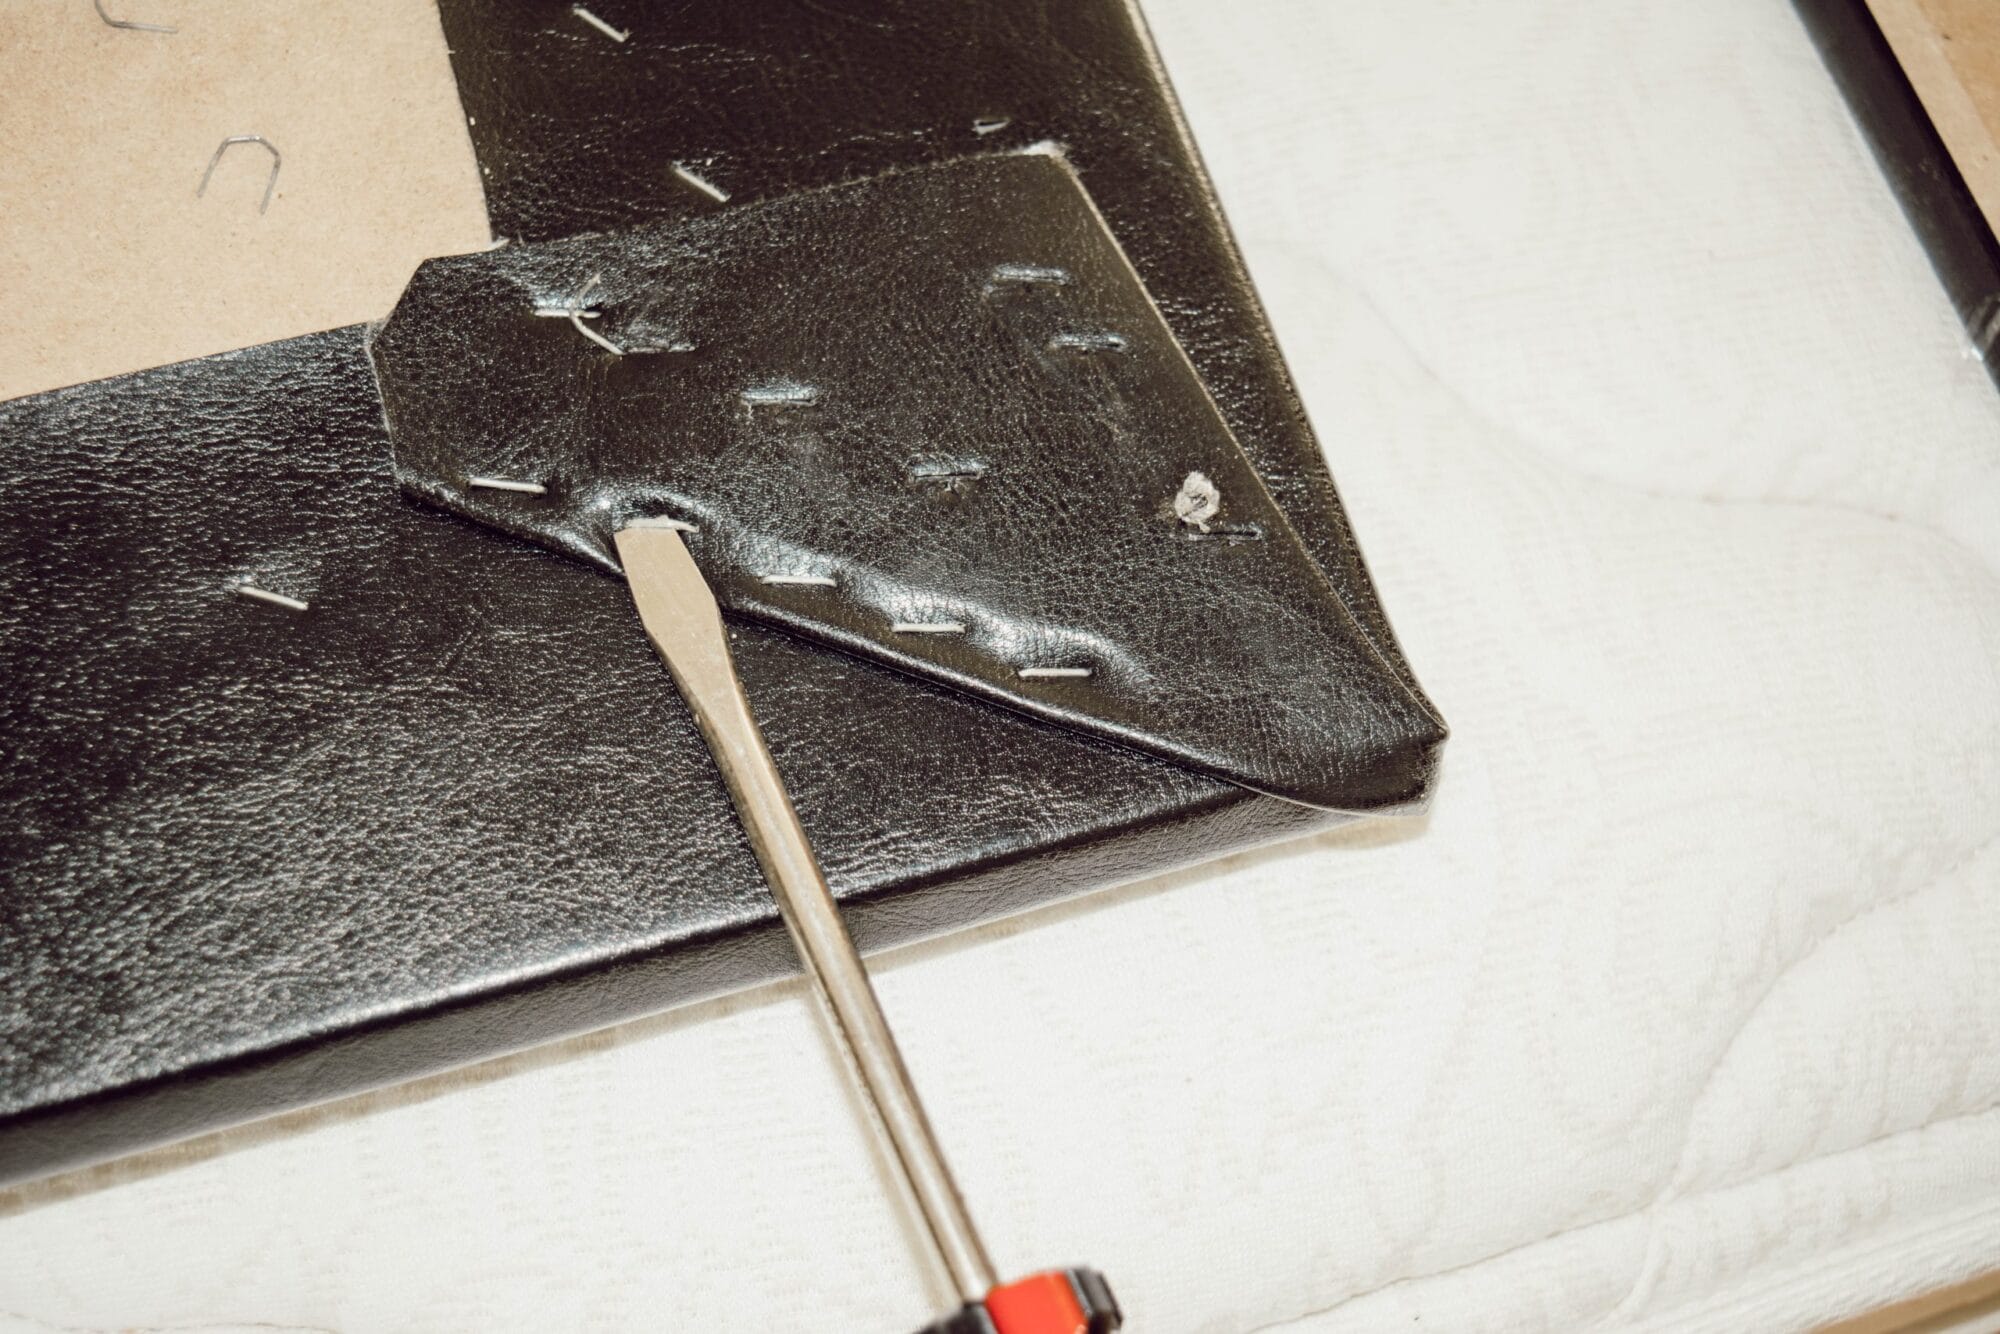
I removed all the staples and pulled back the “leather”, leaving the foam cushion piece in place.

Next, I recovered this section with painter’s drop cloth using a staple gun. Drop cloth is so versatile! I love using it for projects around the farmhouse because its a nice neutral color, and its very affordable. It almost has a linen look to it, without the linen price tag! I made sure to pull the material tight and keep the front part smooth and free of wrinkles.
On to the paint!! Because the finish on the headboard was pretty glossy, I first primed the bed, and then added 3 coats of Fusion Mineral paint in Raw Silk. I absolutely love working with Fusion’s line of paints! They have no odor and are Zero VOC so you can paint inside and not worry about the fumes or harsh chemicals. Raw Silk is one of my favorite colors from the line! Click here to learn more about Fusion Mineral Paint and why they’re my go to paint for furniture and DIY’s.


Once everything dried, we reattached the upholstered section to the headboard. I didn’t realize the bottom portion would show above the mattress. So I ended up having to paint that portion after we assembled the bed.

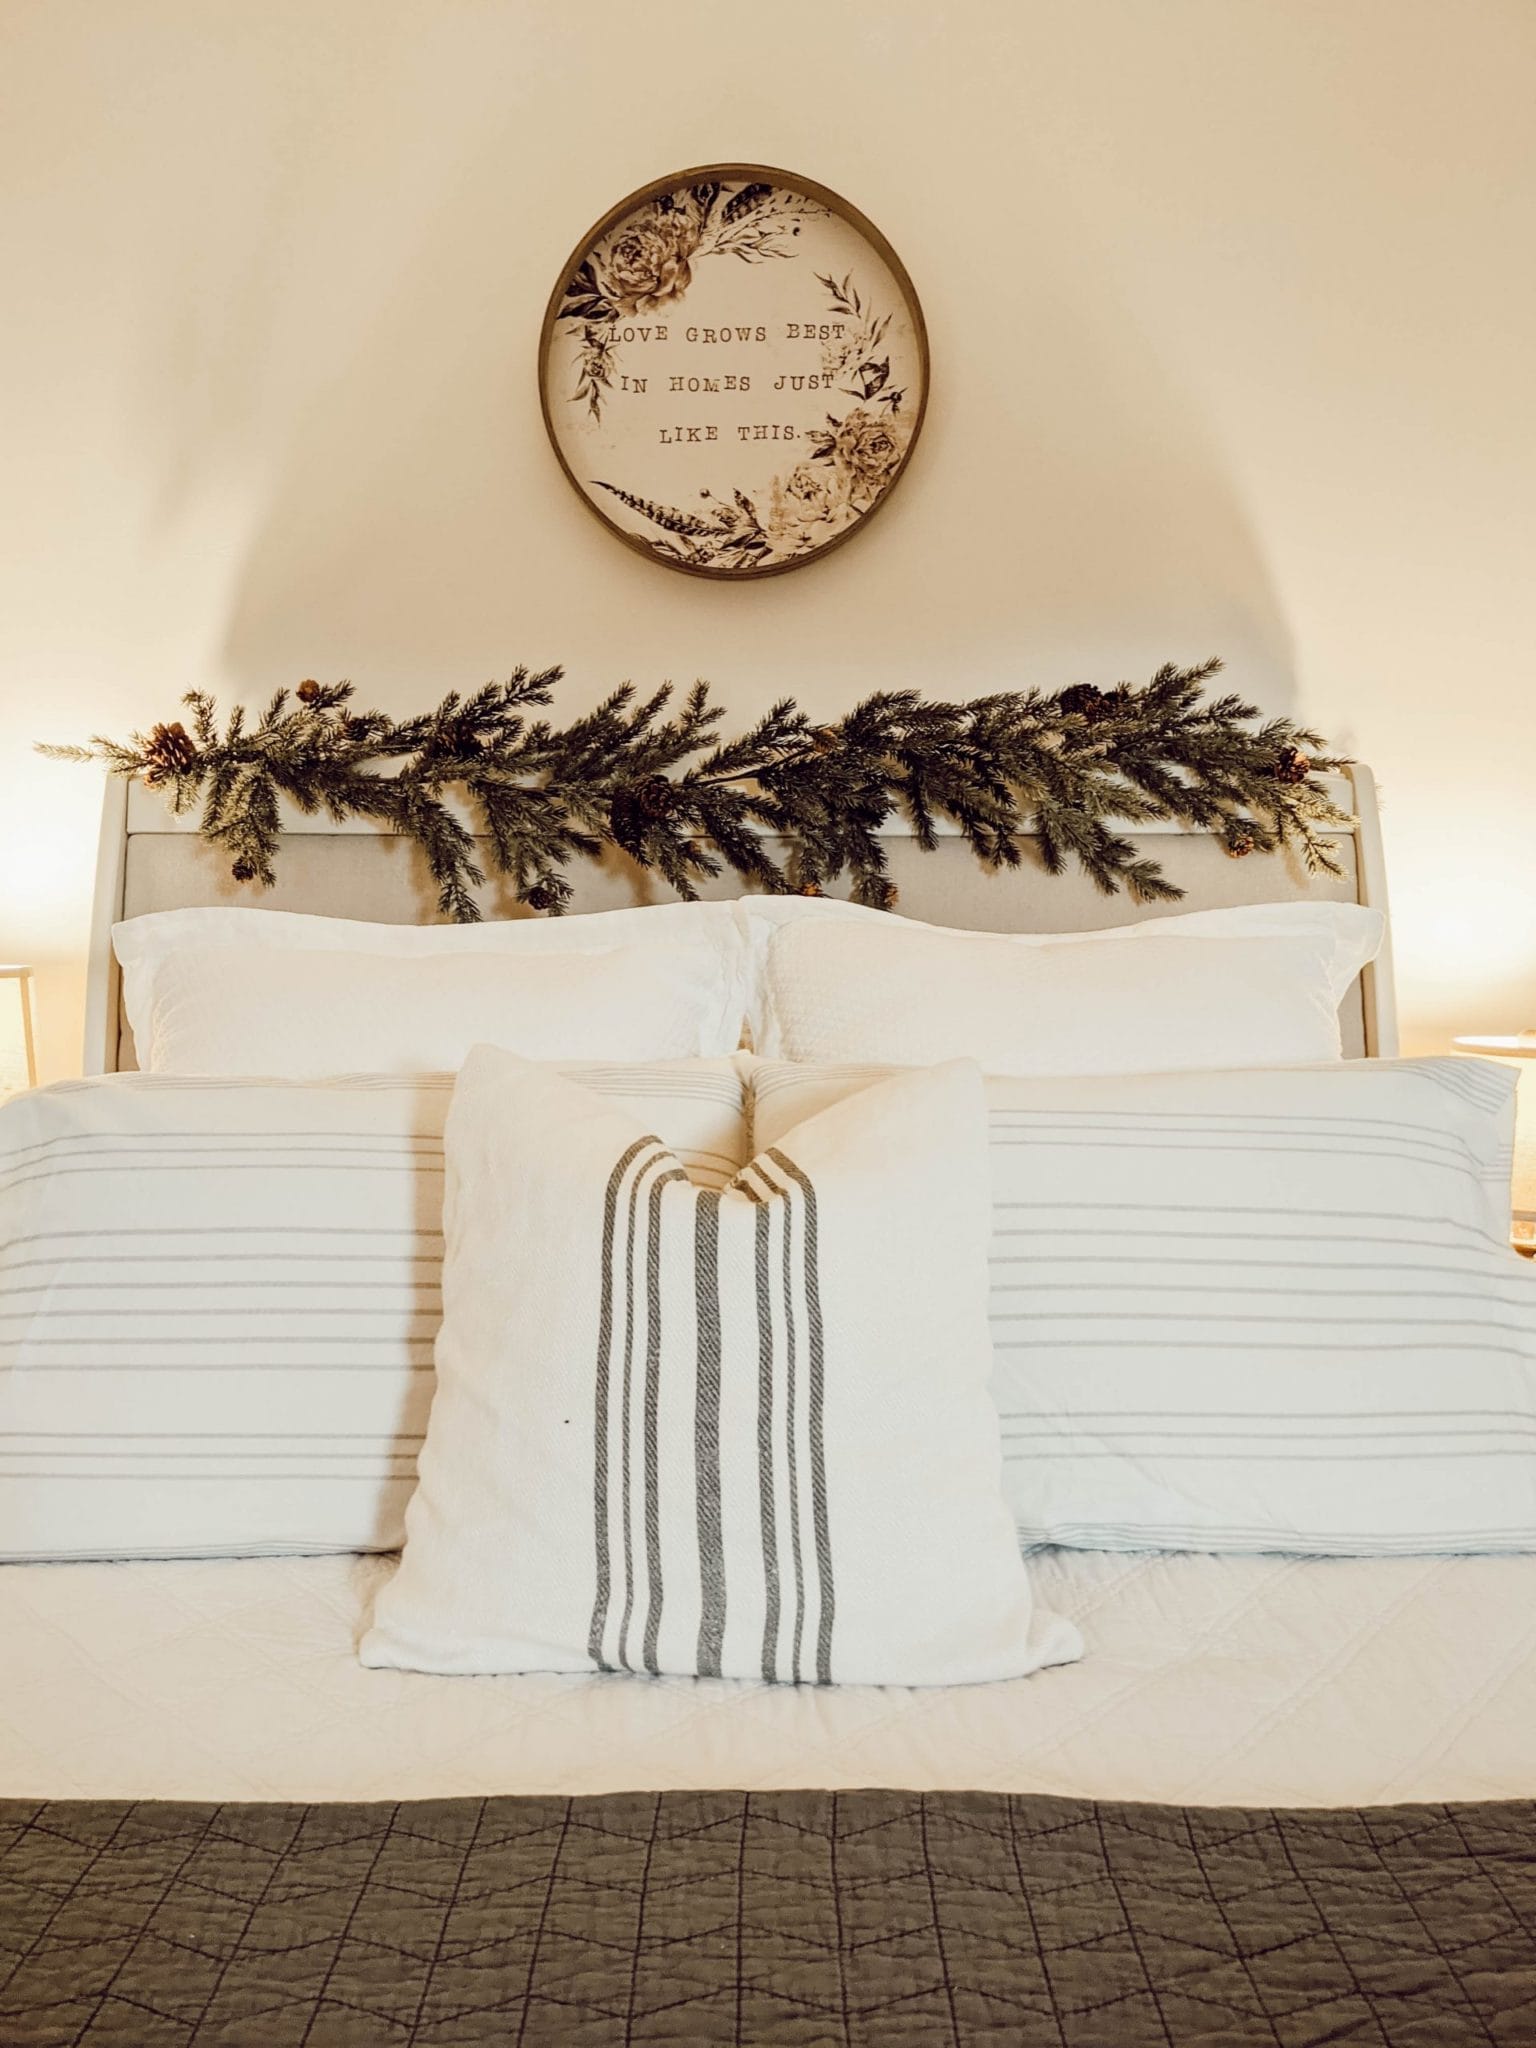
And here she is!


What a huge difference reupholstering and a little paint can make! It looks and feels like a brand new bed, and I probably used less than $30 in materials.


I just cannot get over how much better it looks! And it actually fits the style of our farmhouse now!

This DIY farmhouse headboard turned out even better than I could have imagined! It went from being my least favorite piece of furniture in our home, to one of the DIY projects I’m most proud of. I think we’ll be really happy with this “new” bed for a long time. Want to see some updated photos of this space? A lot has changed in this space since I first updated the headboard. I’d love for you to see an updated look at how I styled our bed for the holidays!
I hope this post inspires you to change it up, and give your least favorite piece of furniture a makeover. You don’t need to buy a brand new headboard to totally transform the look of your space! You just need an idea, and a little paint of course.
If you’re still feeling a little overwhelmed, or unsure where to start on your next paint project… grab my free furniture painting guide below!

Thanks for following along…
Love, Brittany


I have a headboard very similar to this, the whole bedroom set actually, nightstands, dresser, armoir…the whole enchilada! Its dark and doesn’t fit my current design style anymore, so I’m gonna be doing this for sure!! Thanks for the great idea!
You’re welcome, and I’m happy to share! I was feeling the same way about our furniture before doing this. It’s actually been over a year since we did this project, and it has held up really well!! 🙂 Good luck with your projects!
I was hoping you had more information about taking the bed apart. The part that holds the leather pieces to the frame. I was not wanting to paint or remove the leather, I just want to cover it. I too had been thinking of using drop cloths.
Lucky me, I have a foot board to cover also. My style is more French Farmhouse meets the Beach.
Your bed turned out lovely. I am encouraged to try, and for the same reasons.
Hi Beth! We might have the same bed because ours has leather on the footboard too. I left that part leather and just primed and painted it and it’s held up surprisingly well. Our quilt hangs low so you never really even see that part though. As far as taking the bed apart… it was just a matter of taking out a bunch of screws on the back of the headboard. And there were also some screws on the sides of the headboard that I had to use an allen key to unscrew. Eventually the headboard will come apart in sections and you’ll just want to make sure you put all the screws and pieces back exactly how you took it apart. You could definitely recover the upholstered part without removing the leather, and then just put all the pieces back together. Good luck with the project! 🙂
Do you mind sharing the paint colour you have on the walls- I like how they look with the bed.
Hey there, so sorry I missed your comment till now! It’s Bit of Sugar by Behr. Such a good white! I blogged a full paint color review with more photos of the color here: https://www.whiteandwoodgrain.com/behr-bit-of-sugar-the-perfect-white-paint-color-for-trim-walls-and-exterior/
Hello – Thank you for sharing this project. I have the same exact bed along with the dresser and night stands. This has inspired me to refurbish the whole set to something more “light” as I too am not a fan of the dark and leather. However I do wonder about the paint. In searching, looks like a very small container is $32 and I’m thinking that won’t cover much of the bedframe at all. If i repaint the full set, it feels like I’d need several of those paint containers. Do you have other thoughts? If I replace the upholstery and purchase multiple paint, I feel I’ll be spending similar to a basic but new frame 😏 I would appreciate your insights on this!
So you will need to prime if you have the exact same bed as us, otherwise the paint won’t stick to the glossy finish of the bedframe. You can get a quart of primer and that will definitely be enough for the bed, and probably enough for the nightstands too depending on their size. For our bed I believe I did 2 coats of Fusion Mineral Paint in the color Raw Silk, and it only took 1 container of the paint. You may need 2 containers if you are doing the bed and 2 nightstands. Some of their colors come in a bulk size that would be cheaper per ounce so that might be a good option. And I do have a code with them too that saves 10% off the total. It’s WHITEANDWOODGRAINFMP and it works on Fusion’s website. Hopefully that helps! Fusion mineral paint covers really well so that container will go further than you might think!