
How to Seal Chippy Paint on Antiques and Vintage Finds
This post may contain affiliate links. For more information, you can read my full disclaimer here.
Today on the blog, I’m gonna show you how I seal chippy paint to prevent it from flaking away and chipping further.
This is a technique I’ve used on authentically chippy antique pieces, as well as DIY projects where I’ve tried to recreate a chippy paint finish to make a piece look old and distressed.
I don’t know why I haven’t already written this post to share with you! Especially since it’s a technique I use fairly often.
But my recent antique find reminded me that I need to write this post and share it to the blog so here we are.
Let me show you the chippy piece I found!
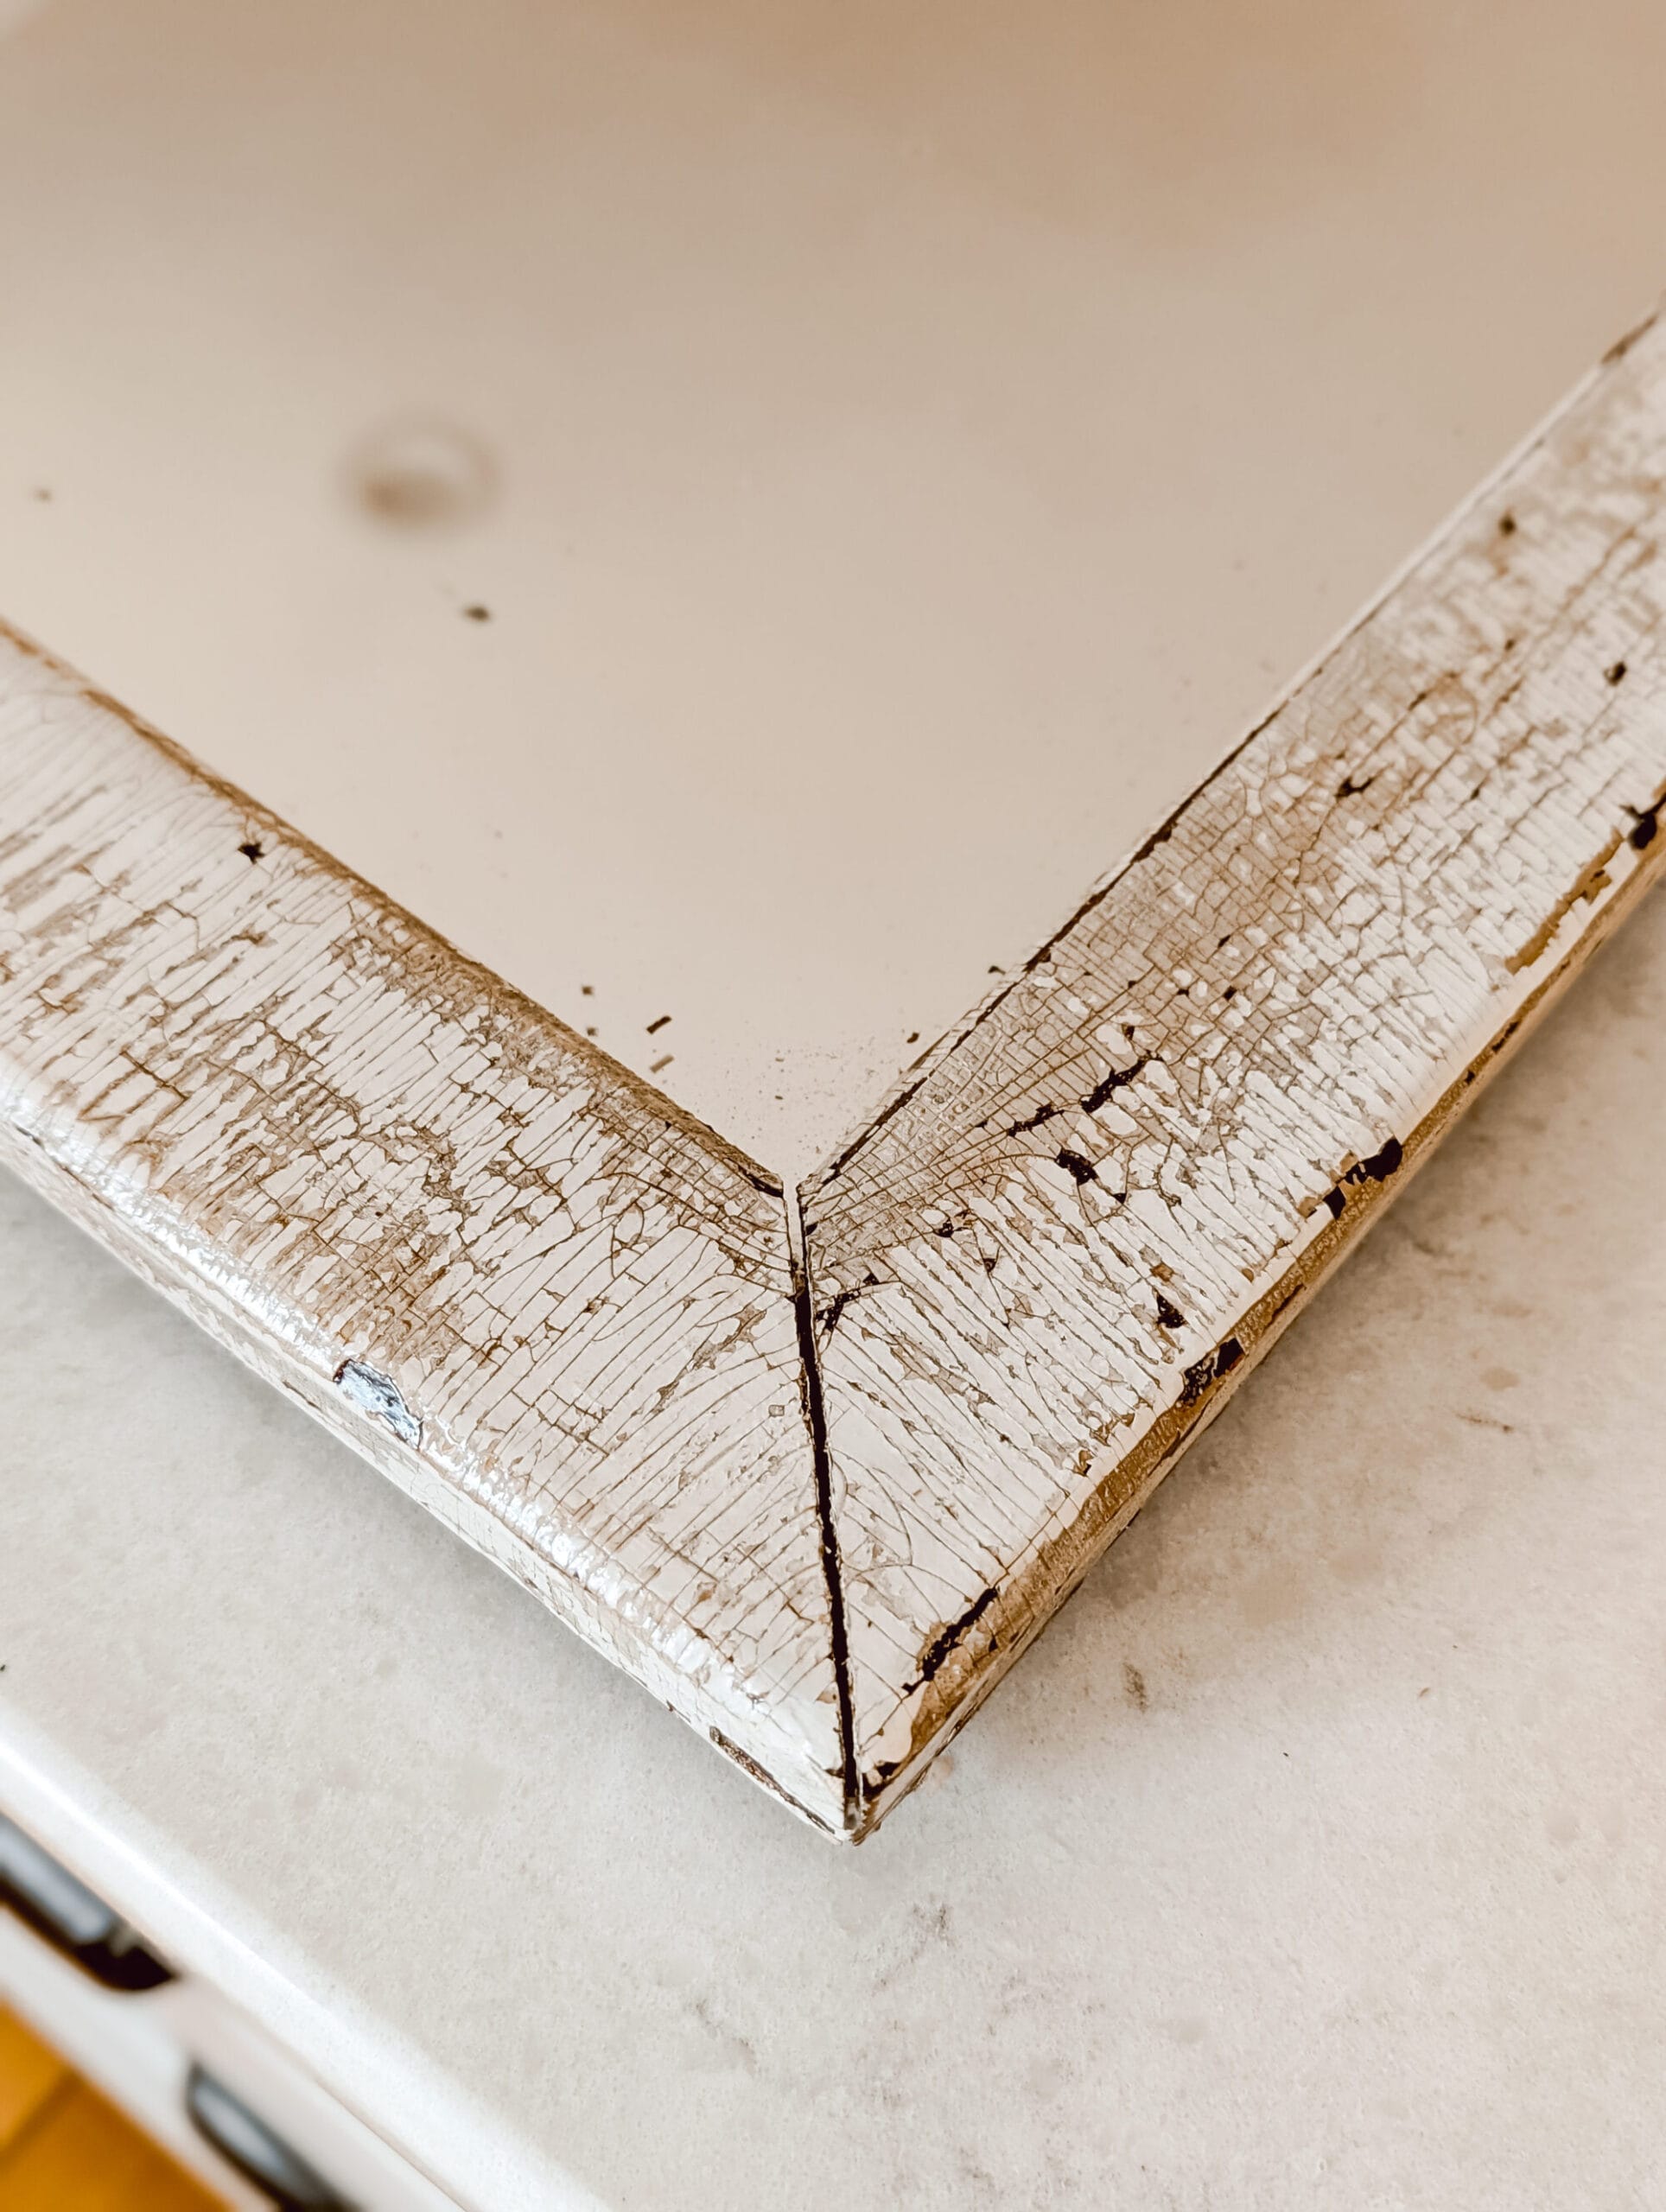
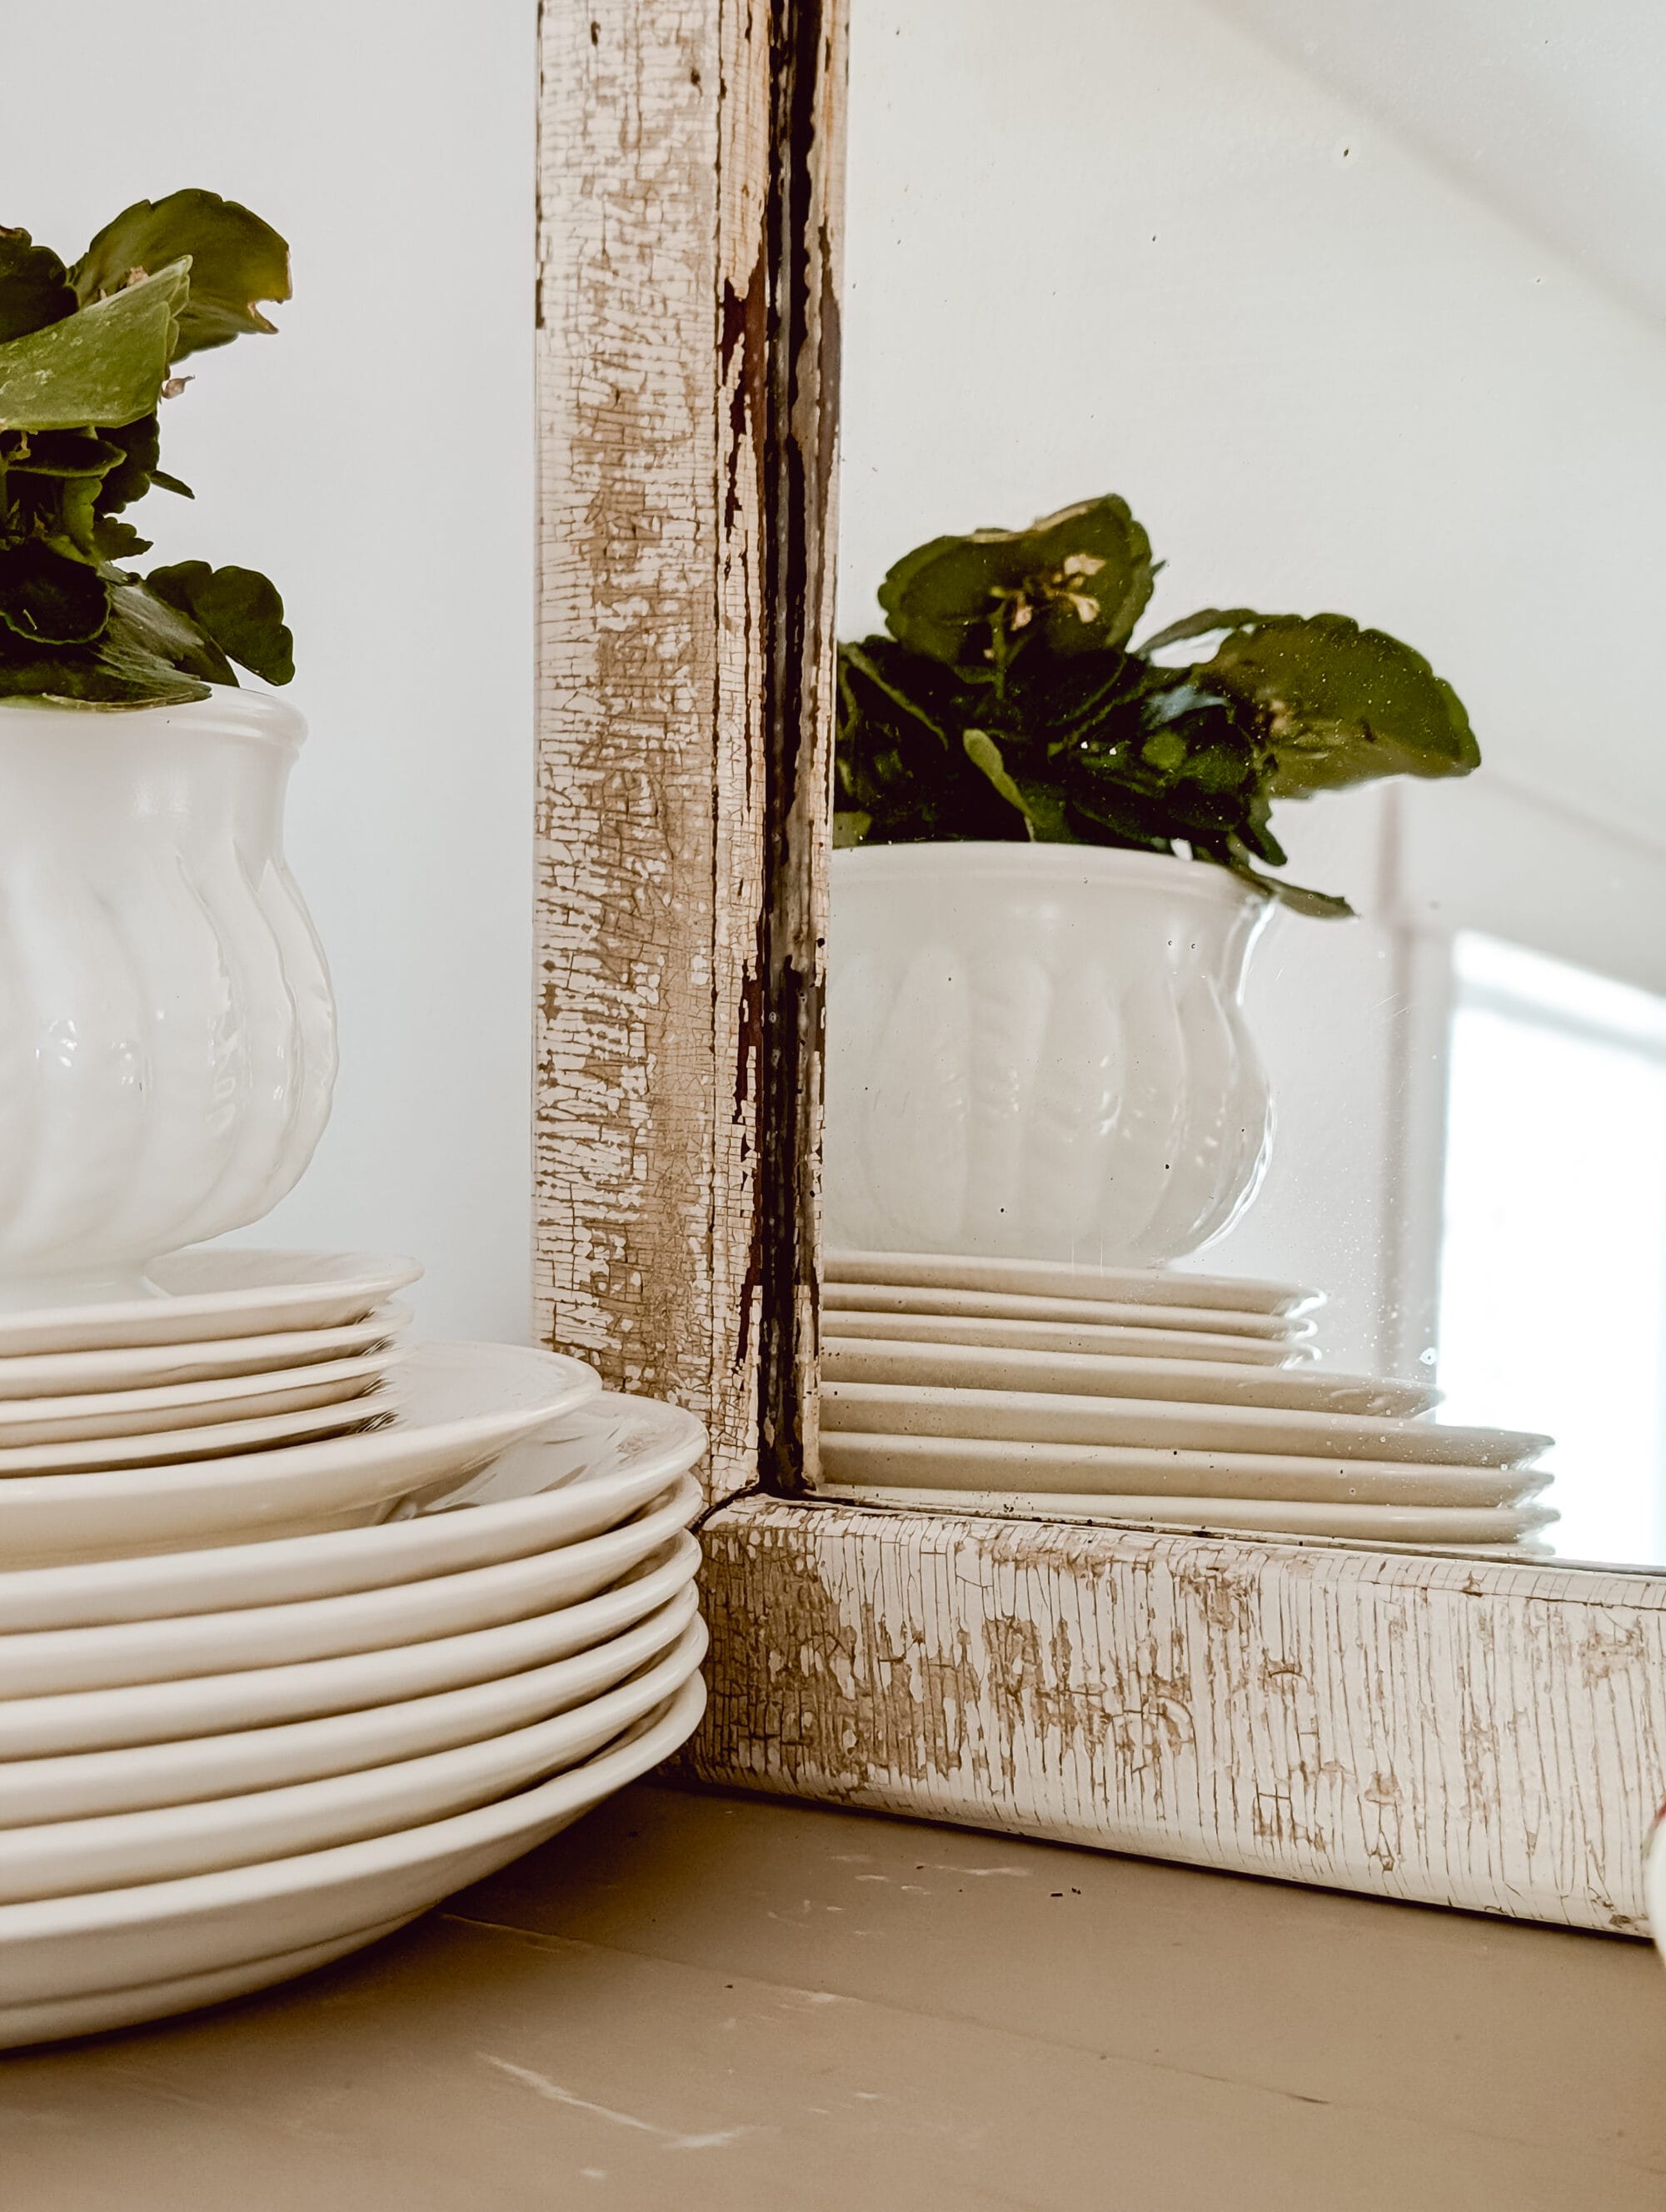
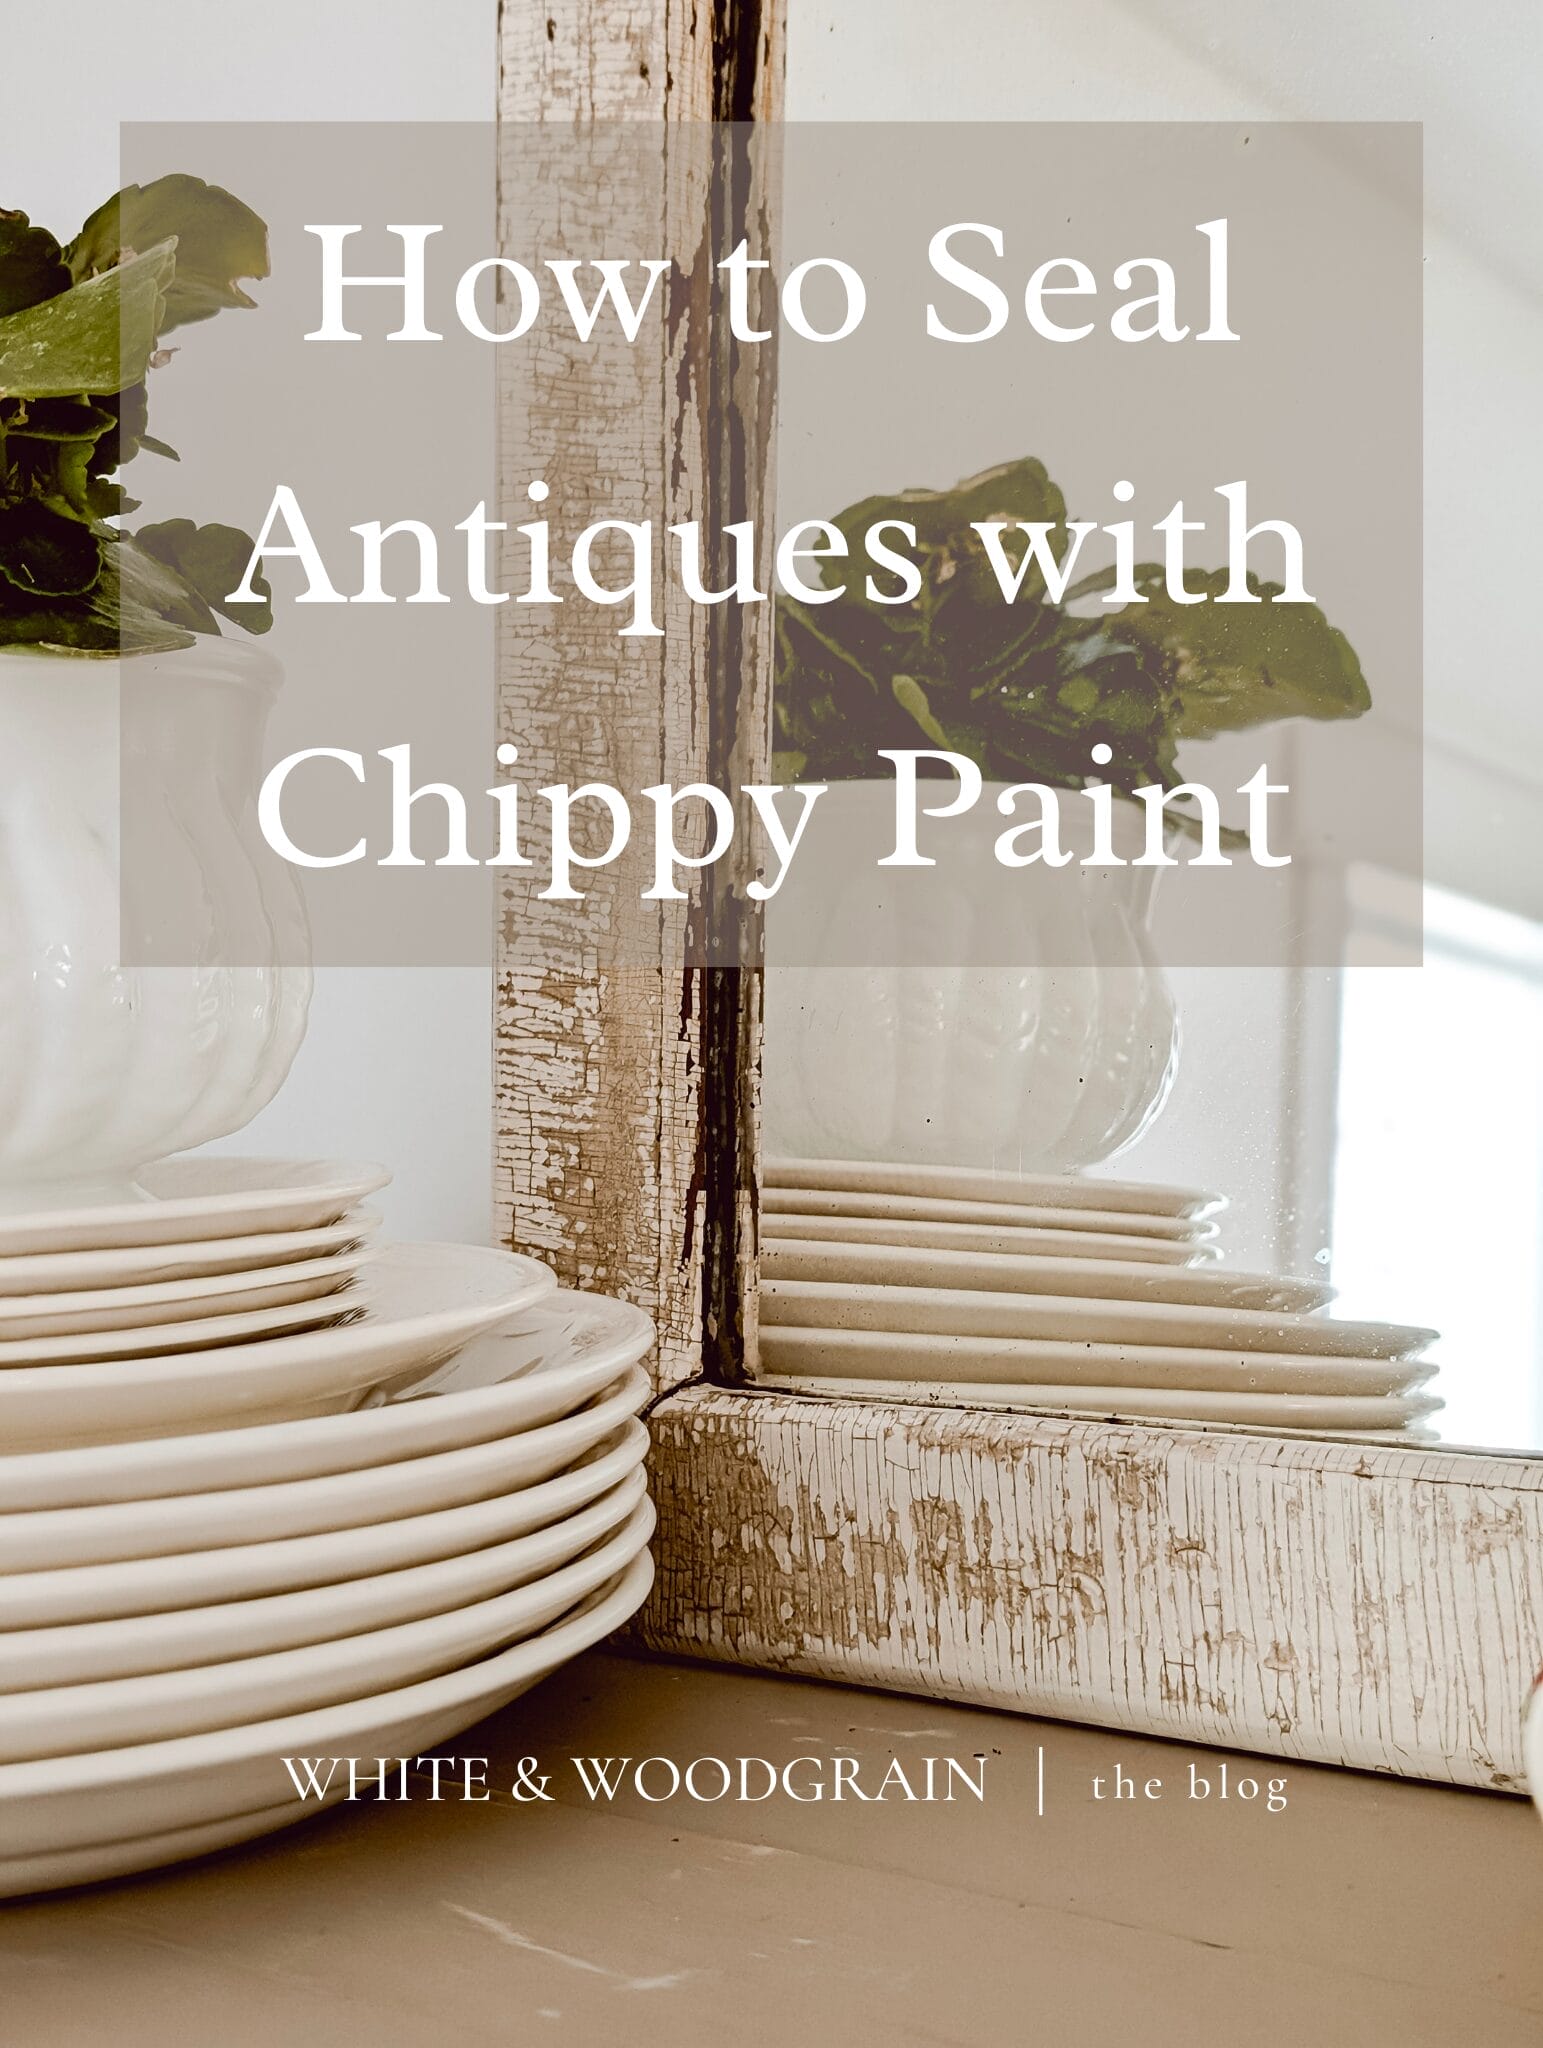
I found the prettiest antique mirror at a local antique shop over the weekend. The mirror has a wood frame that is covered in layers of chippy paint. I fell in love with it as soon as I saw it!
I mean… can ya blame me?! Just look at all that crackely chippy goodness!
Not to mention it was priced at only $11.99! Get in the cart, haha!!
The only problem is that the paint is so old and chippy it was flaking off. Luckily I know how to fix that, and today I’m gonna share my little tip with you so you can use it on your next chippy find!
Things to Think About Before Sealing Chippy Paint
Before we get into the method for sealing chippy paint… we should probably talk about lead paint. Yikes, I know!
There is a whole host of info you can read about on the EPA’s website. Click here for more info about lead paint from the EPA.
I am not an expert on lead paint, nor do I claim to be. I’m just a diy-er who loves antiques, especially the ones covered in old chippy paint!
Before sealing an antique piece covered in chipping paint, you may want to check it for lead. You can find at home lead paint test kits at Lowes, Home Depot, and even on Amazon.
Again, I’m not an expert in lead paint. You’ll want test for lead and do your own research, before deciding how to move forward if your piece does have lead paint on it.
How to Seal Chippy Paint
Step 1: Clean the chippy piece you’re wanting to seal.
If you’re sealing an antique or vintage item, you might need to clean it first.
You can vacuum off any loose dirt or dust with the brush attachment. Then you can use an old rag to lightly wipe away any grime or stuck on debris.
Then you’ll want to use a damp rag soaked in water and a gentle soap like Dawn or even Mr. Clean.
If you’re sealing a newer piece, one where you created your own chippy paint finish, you can skip to step 2.
Step 2: Let the piece dry completely.
You don’t want to move to step 3 until your piece is completely dry. Otherwise you’ll be sealing in all that moisture. I promise it’s worth the wait!
Step 3: Brush on a layer of Tough Coat.
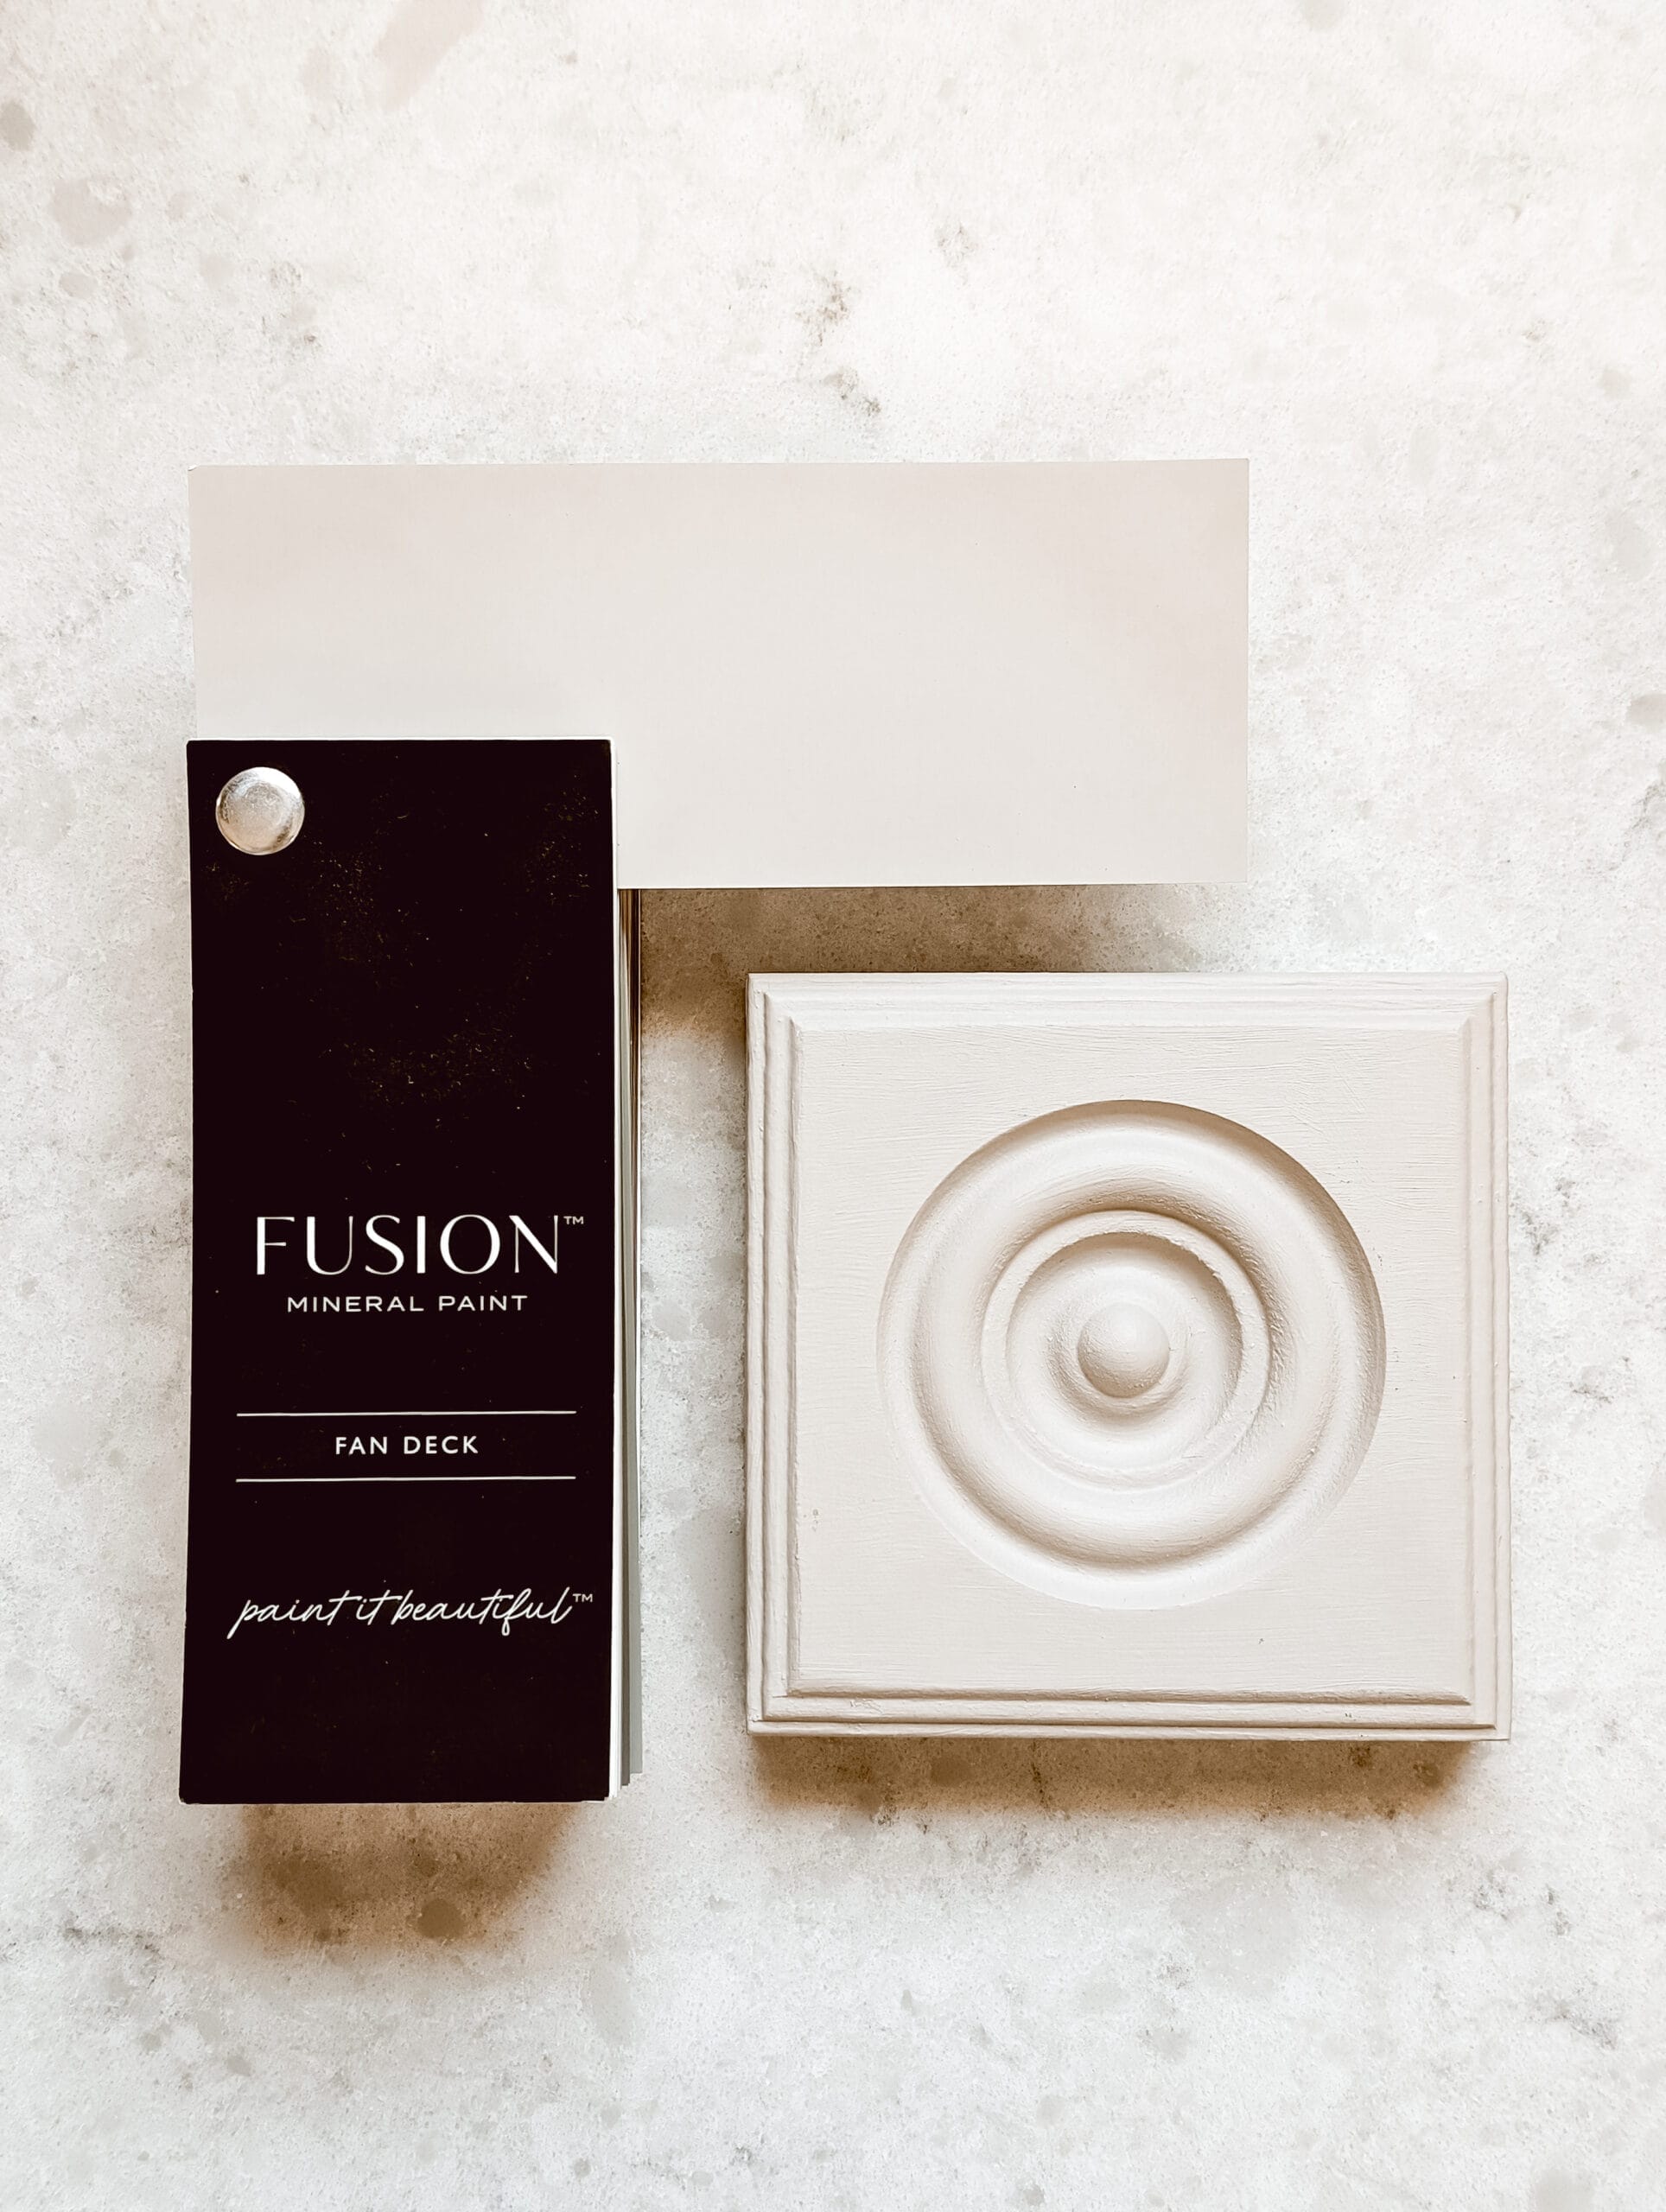
To seal the chipping paint, brush on a layer of Tough Coat by Fusion Mineral Paint. Then let that layer dry completely.
Fusion’s Tough Coat is my go to sealer when it comes to working with chippy paint.

Tough Coat is a water based poly sealer. It doesn’t have a strong smell like other products I’ve tried in the past, but it still gives you a durable strong finish… hence the name “Tough Coat”.
DIY Tip: Pour Your Sealer into a Plastic Cup
Fusion Mineral’s Tough Coat comes in a little bottle with a pour spout. I like to pour a little bit of the sealer into a disposable plastic cup and use that like you would a paint tray. Pour a little less than you think you’ll need. You can always add more sealer! But it’s hard to pour it back into the bottle if you have any leftover.


I especially like using Fusion’s Tough Coat because it doesn’t turn yellow like oil based polyurethane.
I’ll include my code below so you can save a little money at check-out when you order your Tough Coat or any other Fusion Mineral paint supplies for your DIY’s.
for your next DIY
Save 10% on Fusion Mineral Paints with code:
Step 4: Brush on a second layer of Tough Coat. (Optional)
This step is optional, so just use your own judgement.
Sometimes I like to add a second layer of Tough Coat after the first layer is dry.
It all depends on just how chippy a piece is, and sometimes it depends on how thick my first layer of tough coat was applied.

It’s worth considering a second coat of sealer if your piece is a high touch item like a table top or a desk.
Adding a second layer of tough coat will make your chippy finish that much more durable and keep it protected from further chipping with everyday use.
After you add a second coat of sealer, let your piece dry fully.
And that’s all there is to it! Now your chippy paint is sealed and will stay chippy without the paint actually chipping away.
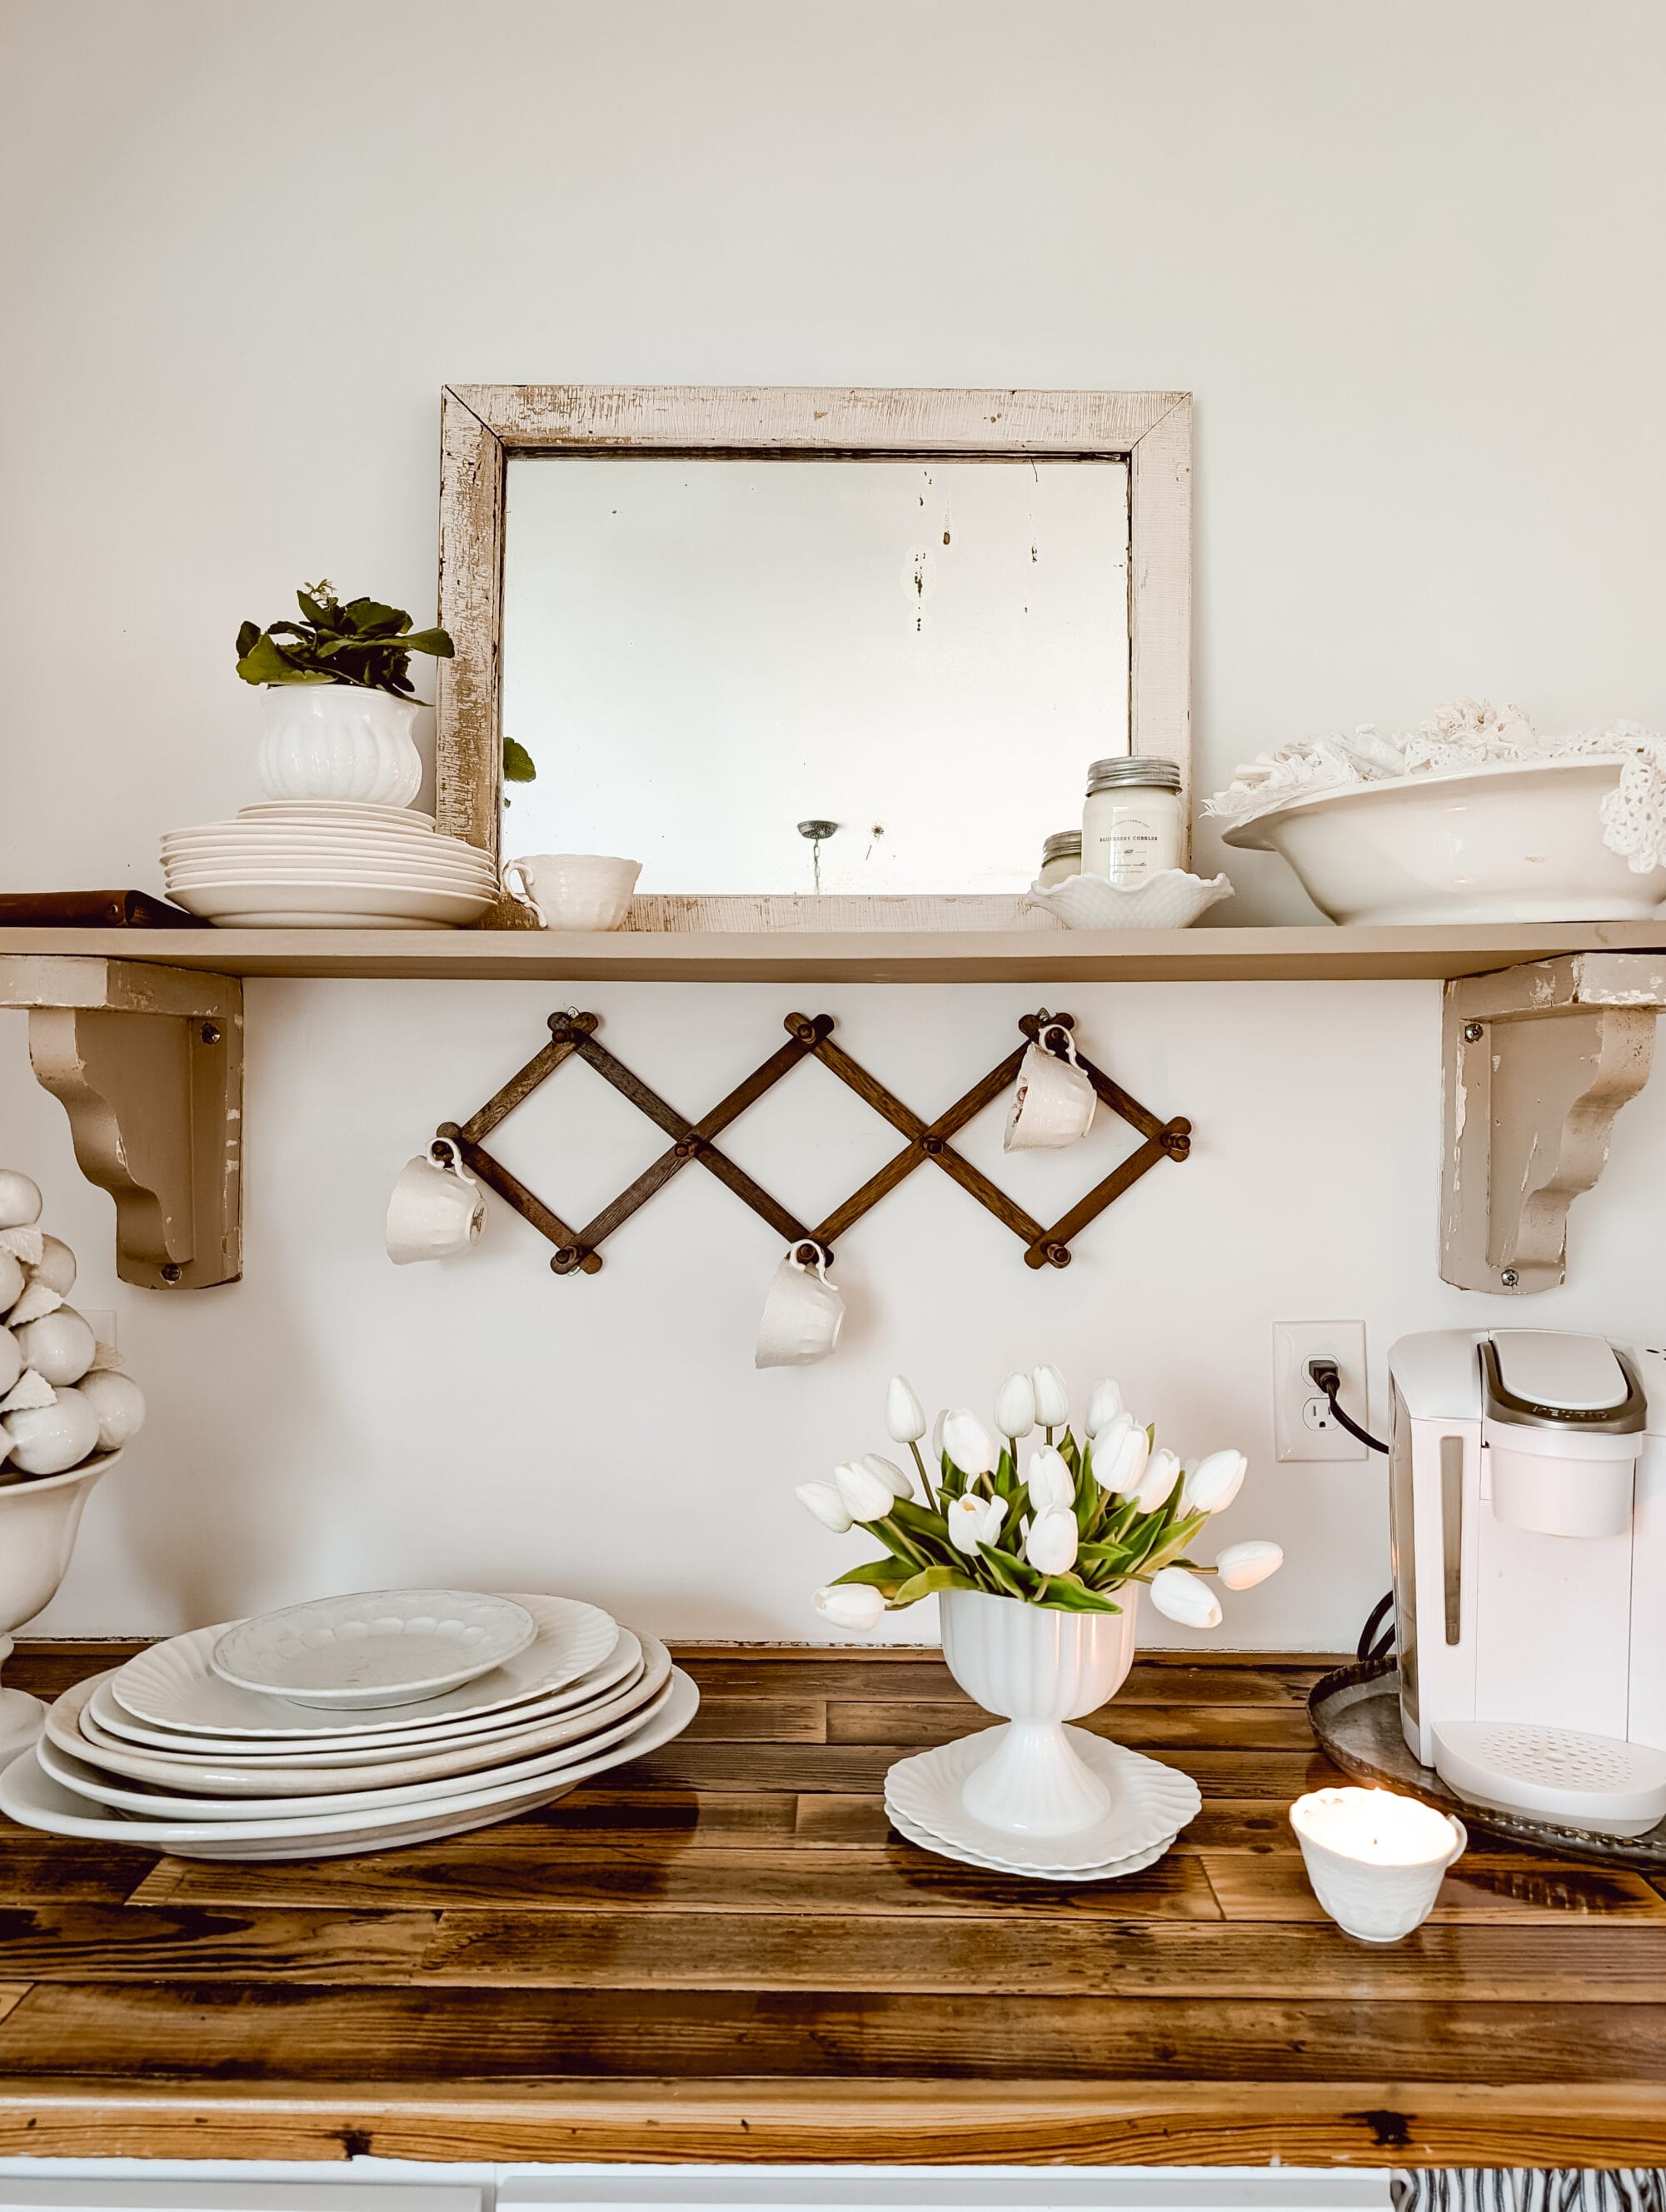
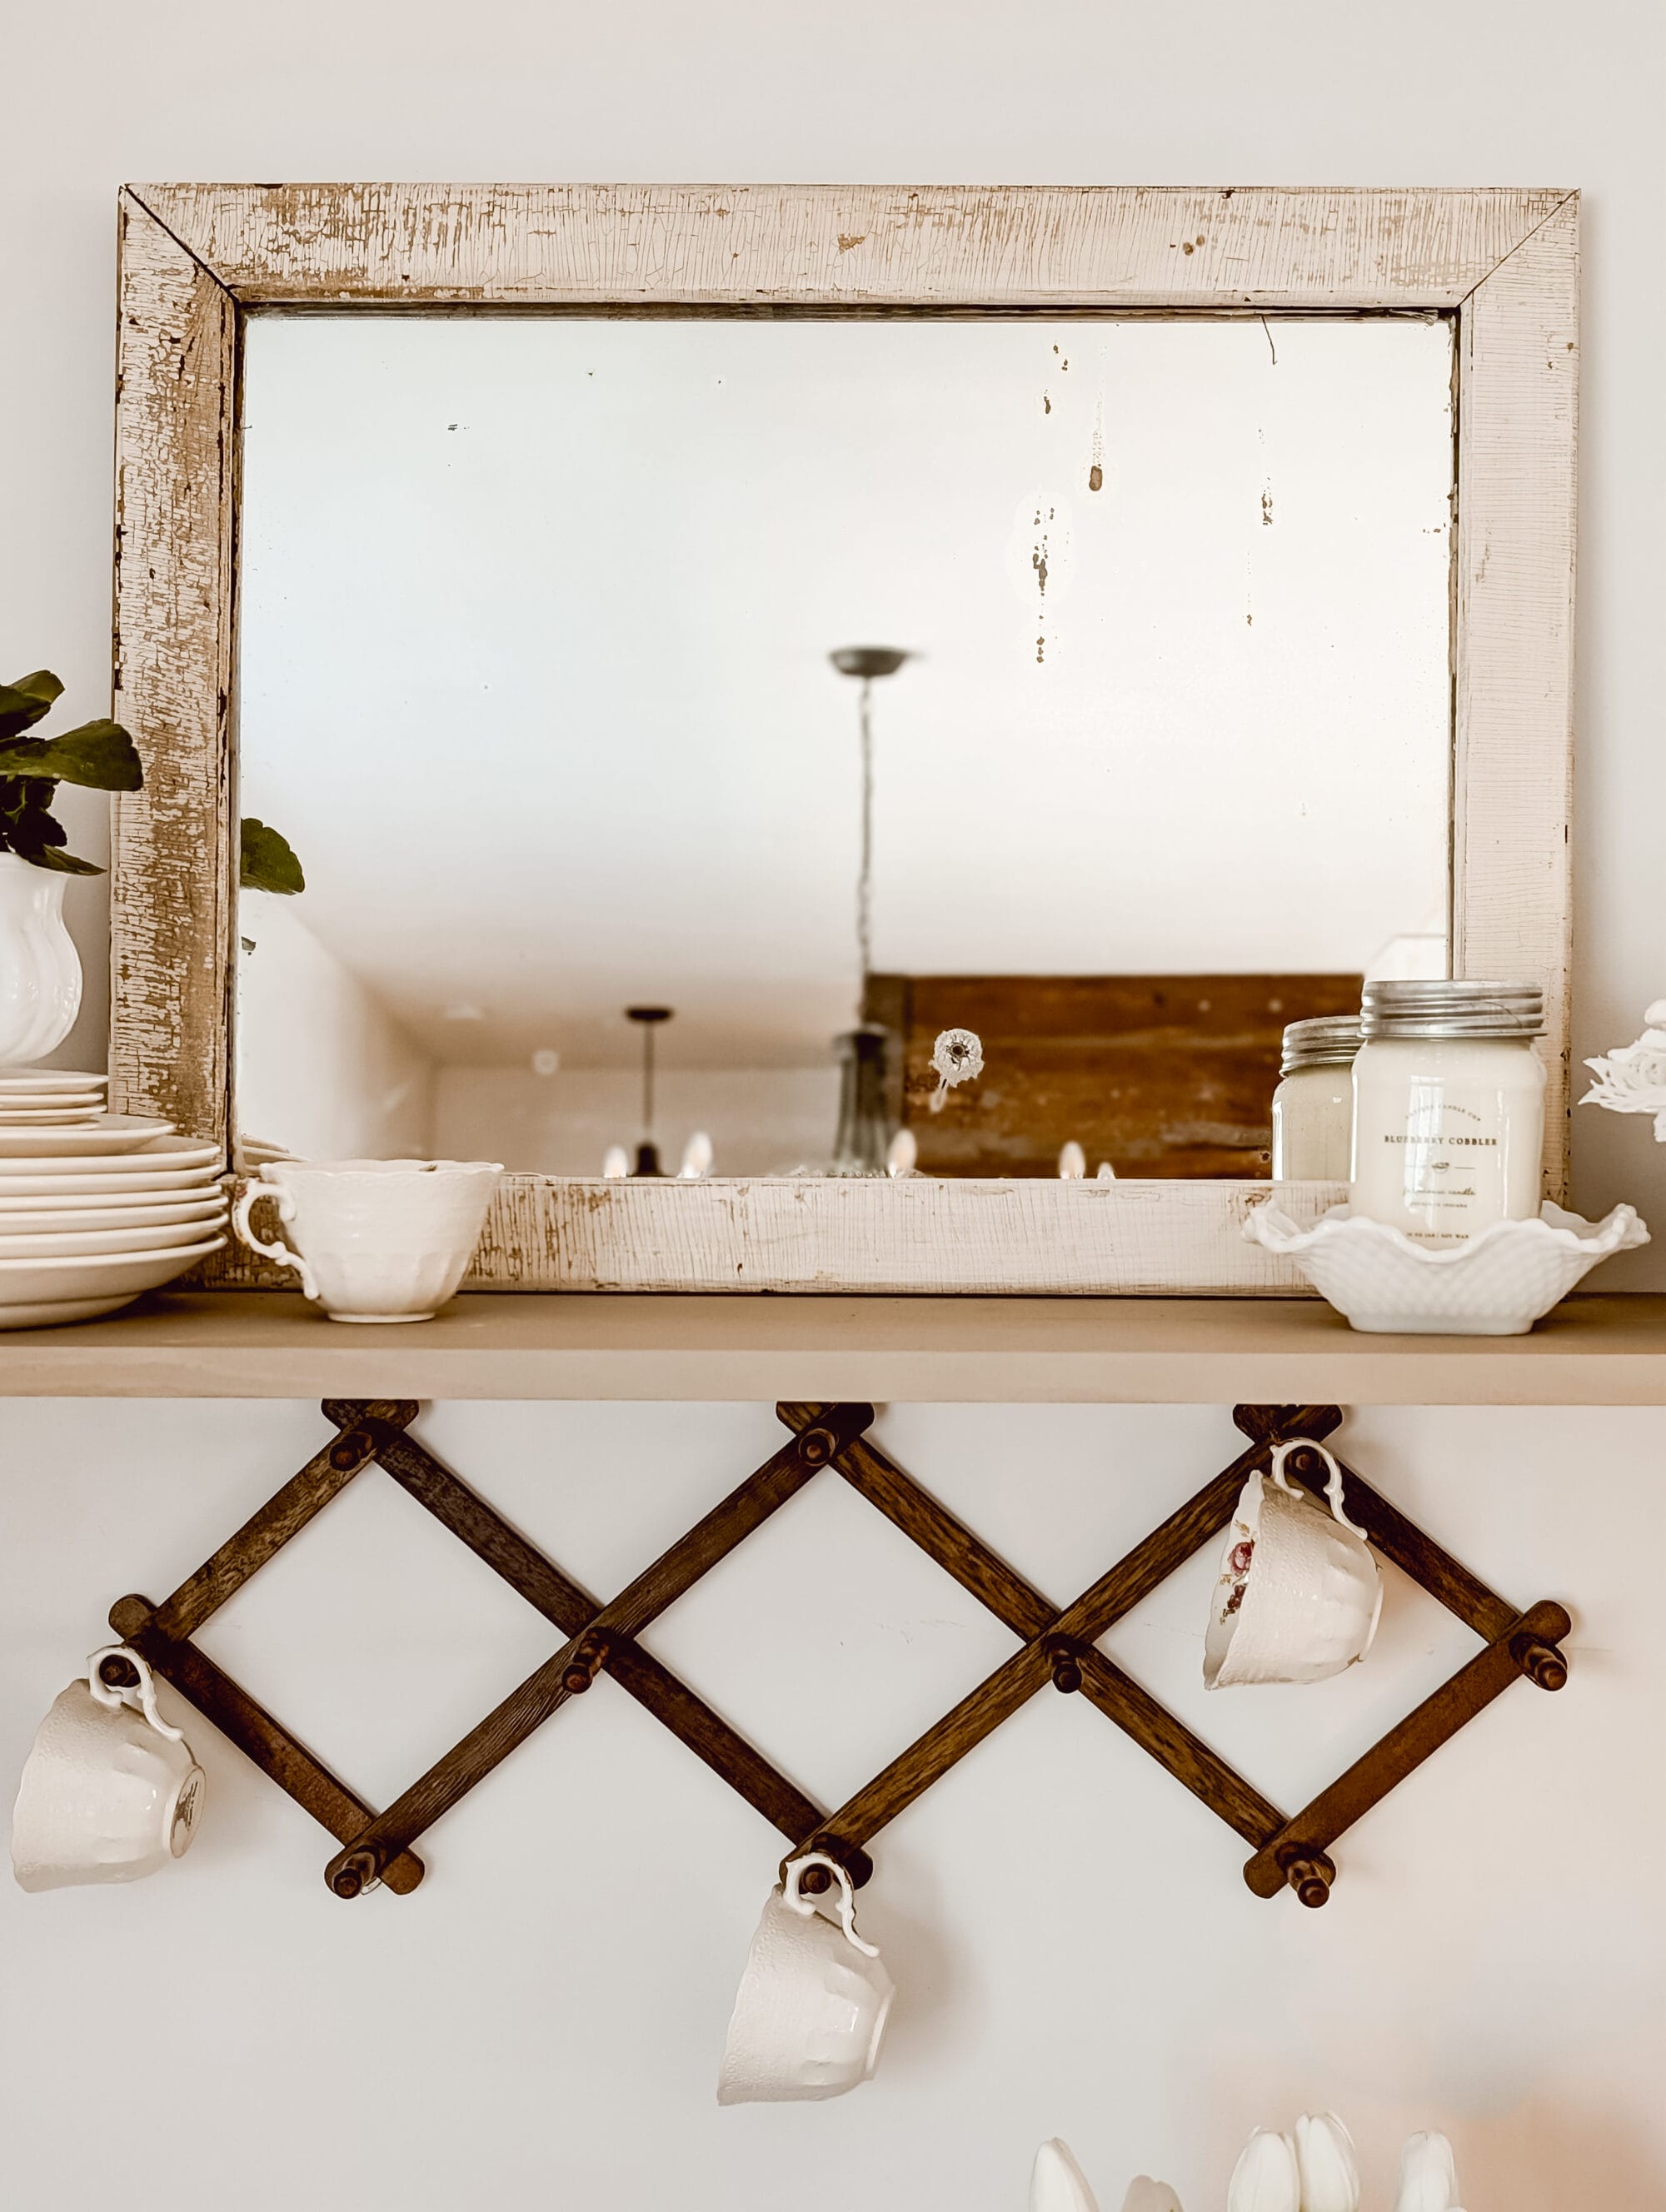
I ended up displaying my new old mirror in our built-in coffee bar area and I love the extra light it adds to this space.
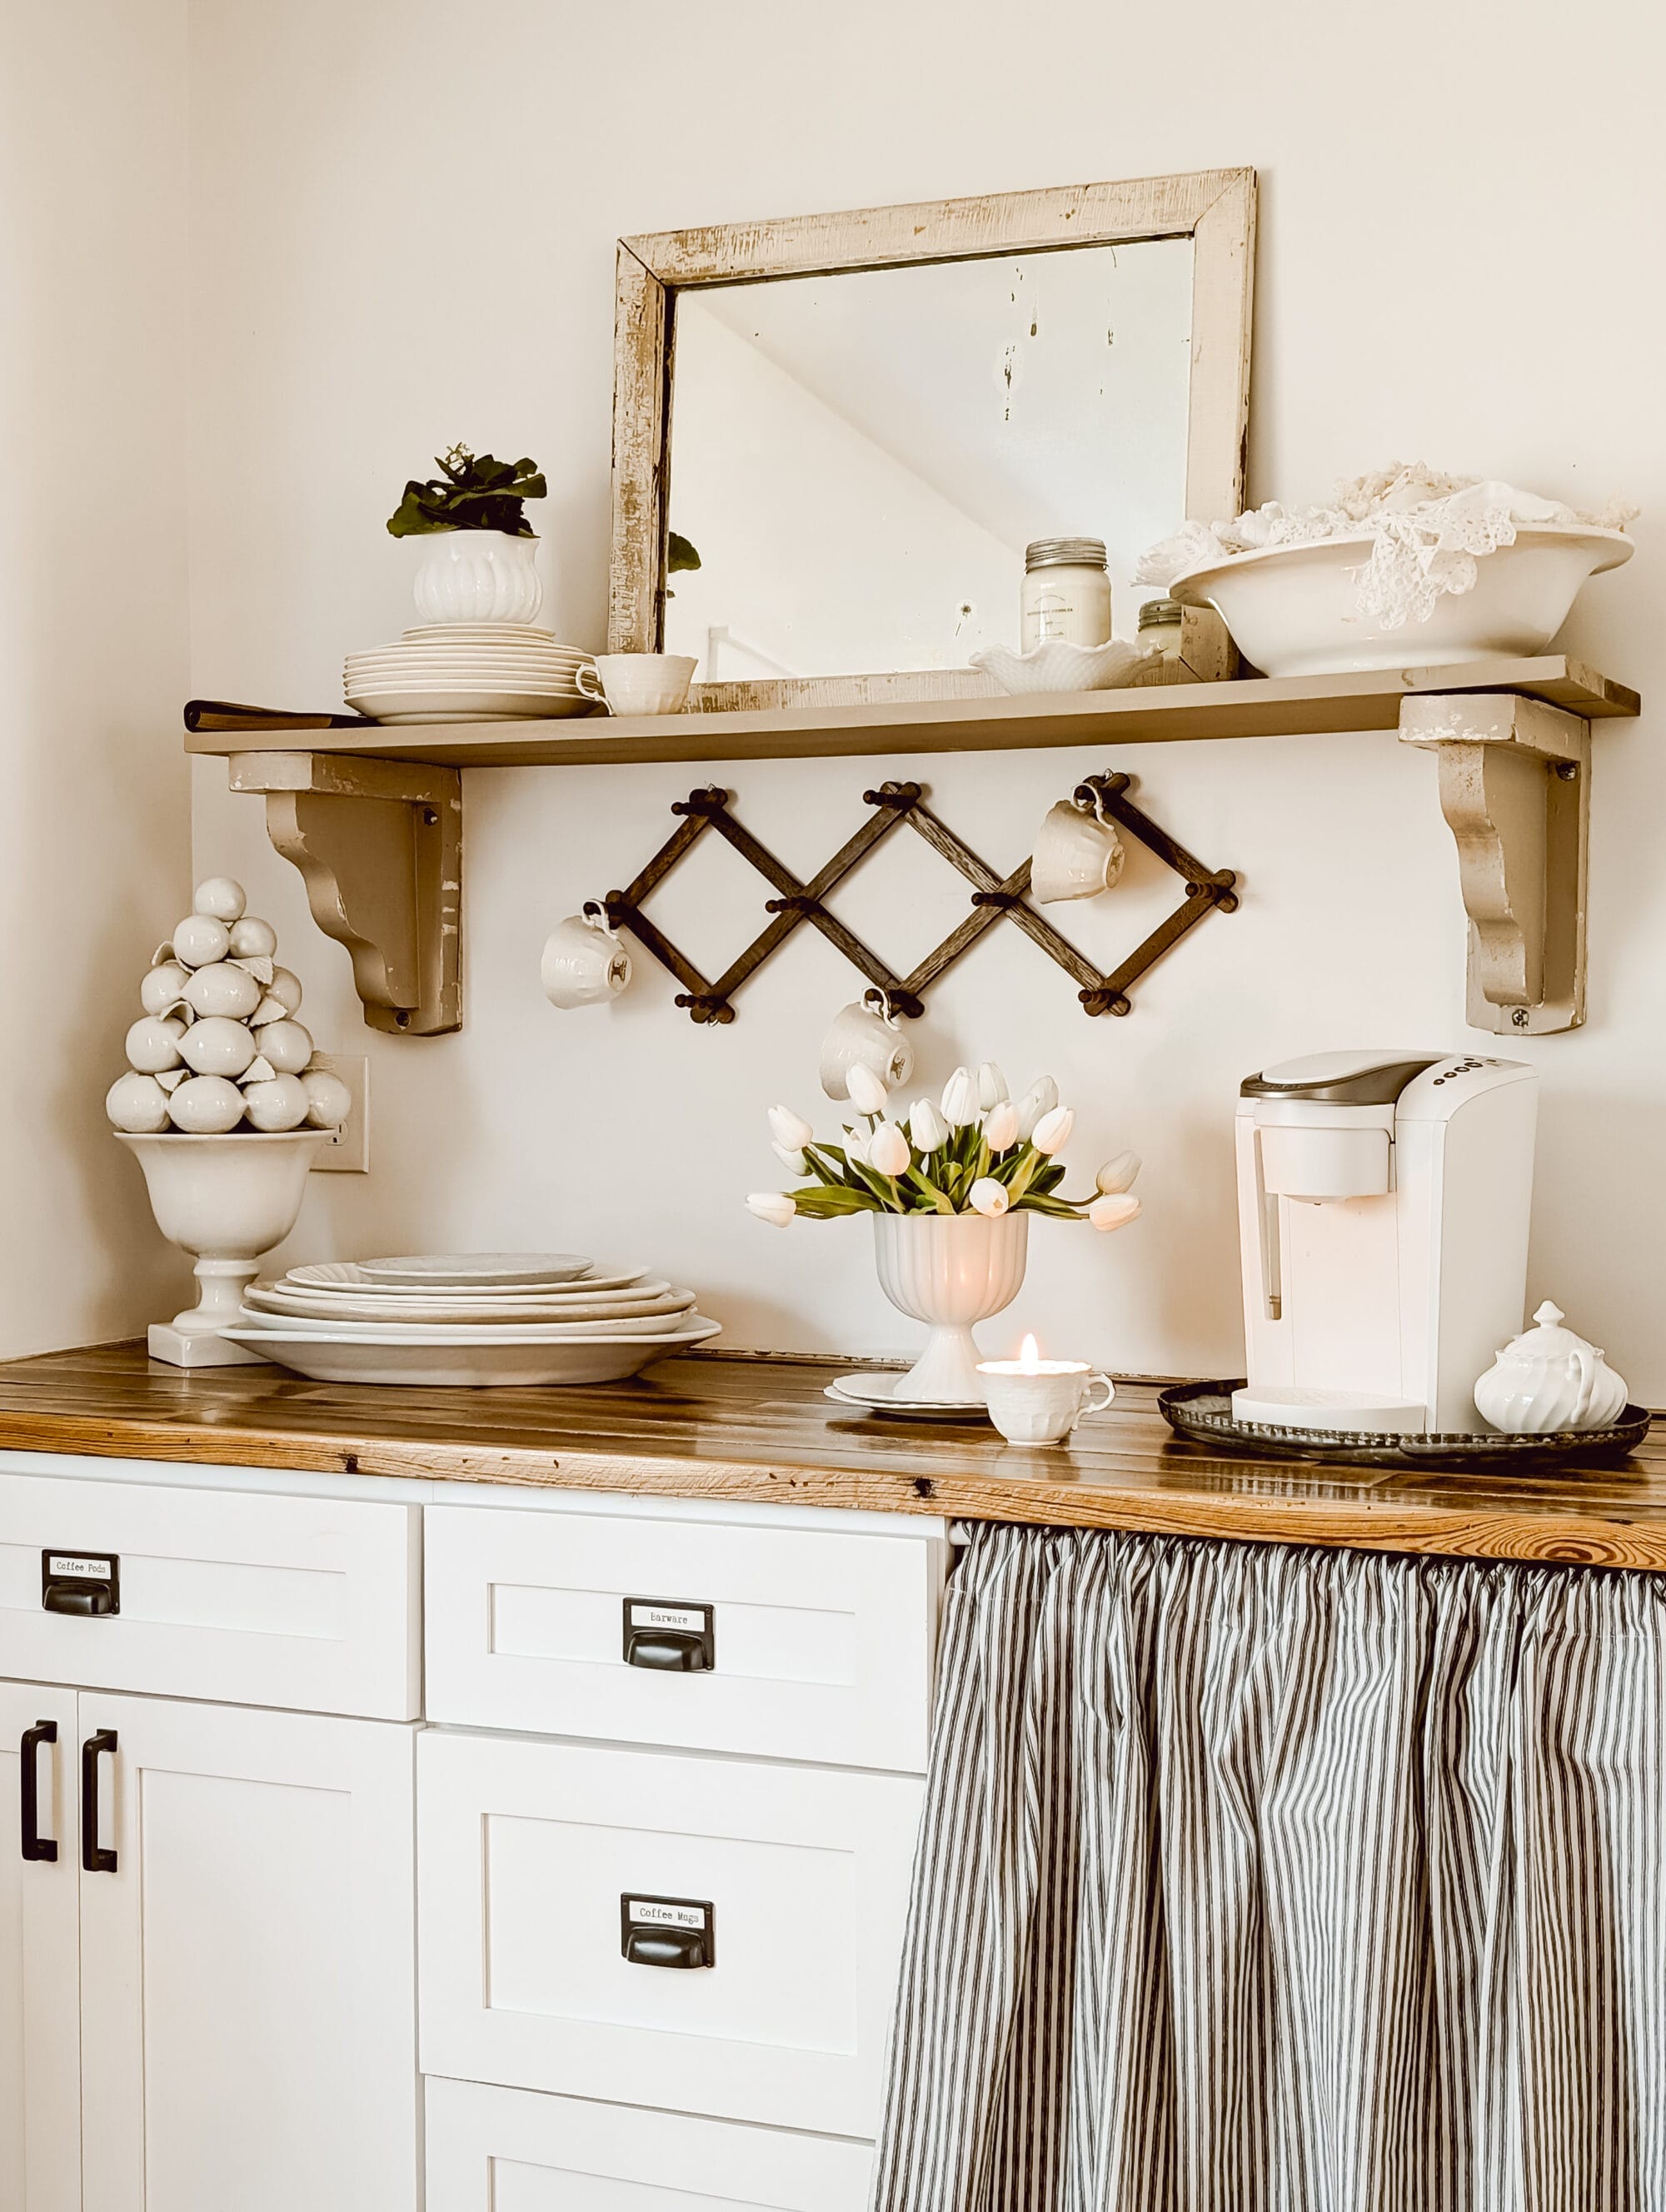
I also love that I don’t have to worry about the paint chipping away any more now that I sealed in that chippy texture!
I hope this post was helpful and brought a little inspo to your scroll today!
If you haven’t already, be sure to download my free furniture painting guide below. It’s full of paint tips and tricks, answers to some of my most frequently asked paint questions, and a list of my favorite Fusion paint colors too!

You can also save this post to your Pinterest board in case you want to come back to it later when you’re ready to seal up that next chippy flea market find!
Don’t forget to pin this for later!
Thanks for stopping by the blog today! Until next time…


Hello, I recently purchased a lot of vintage glass ornaments from an antique store. Most all of them have some paint chipping off. I want to preserve them with all their chippy goodness! Can I use this method you mentioned on glass ornaments? Will the tough cost dry clear? Do I need to test the ornaments for lead first? Thank you!
Ooooooo, I bet they’re beautiful! Yes the tough coat will dry clear. But I think for the ornaments you might be better off to try something like this: https://amzn.to/43HDyCp It’s a water based poly sealer, so it won’t yellow. But the reason why I would recommend it is because it’s a spray can, sort of like spray paint, but it’s a sealer. I normally love my Fusion Tough Coat – but for something as delicate as vintage ornaments, this spray might be a little easier to apply and preserve the chippy paint on them! 🙂 Good luck and hope this helps!